
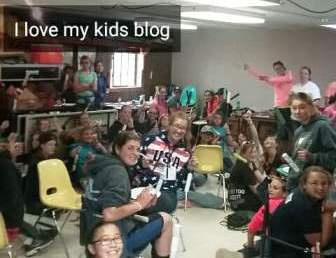
I think the cost of roasting sticks is insane so I set out on a mission to create a less expensive DIY version of a long lasting roasting stick! I had been planning a church camp for 82 teenage girls and their leaders and really wanted to come up with a fun craft for them to do. These roasting sticks would be fun to create, be helpful to use while at camp and be a fun memento to take home!
I am so happy with how they turned out (and the girls LOVED decorating them) that I had to share it with the world! Each stick came to about $1 each….you can’t find that price anywhere and these are heavy duty! If you’re up for a fun DIY project and have a need for some roasting sticks for your next roasting event, then you are in the right place! Check out the following tutorial to see how to make your very own roasting sticks!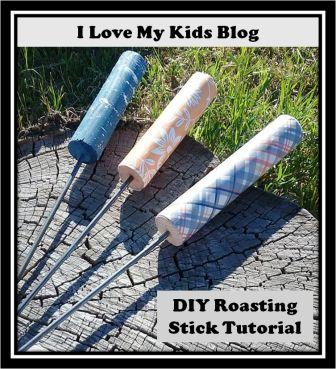
Materials needed for roasting sticks
You will need:
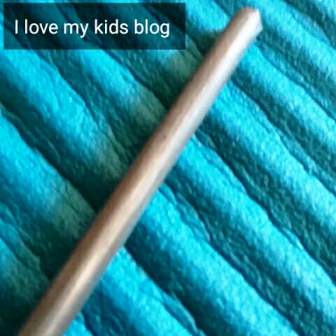
* 24″ long metal rod about 1/8″ or 3/16″ in diameter
*6″ piece of wooden dowel or closet rod about 1″ diameter
*Fast drying wood glue
*Sandpaper
*Decorating supplies
Where to get metal rod:
I started out by doing some online searching and found lots of metal dowel options, thin metal rods, etc on several sites for about $1.50-$2.00 each. After I found just what I needed at Home Depot I went to check out and the shipping was, lets say, shocking. I live in a small town and the nearest Home Depot or Lowes is a solid 4 hour drive for me. Not having time for a full day trip and or the money in my budget to pay for the shipping, I decided I needed to find something local and at a good price.
I started at our local Farm and Home True Value store where I presented my idea to the kind workers there who divided themselves throughout the store to see if they could come up with an idea for the metal rod part. We did end up finding something but it was a tad too flimsy, similar to how a metal coat hanger would hold up to the weight of a hot dog.
They suggested I check at the welding/auto supply store in town. I was able to get a piece of copper rod from there, but they suggested I go see the metal recycling center to see if they had something that would last longer. It was here that I found some slightly greasy (washed off with soap) 3/16″ Cold Ground Round (yeah I never would have thought to search that name!) For a small fee, the kind people there even cut them all for me from the original 12′ rods. You don’t want anything bigger than 3/16″ as it will split your hot dog or marshmallow in half. This size was perfect!
Where to get the wood part:
I thought I’d just wooden dowels for this part, but they were EXPENSIVE in my little town. It was the genius employee at the local ProBuild who said, hey, why don’t you use closet rod instead? He also mentioned that they had some random small pieces that they would give me a super price on. So If you are making these, go to your local building supply and ask if they have any closet rod scraps they’d make you a deal on. 😉
How to make the roasting sticks
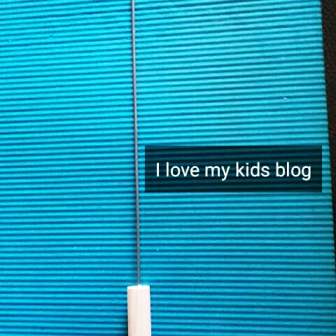
Step 1: Cut your wooden dowel into a 6″-8″ piece. Due to some of the scraps we got for super cheap, we had some that were bigger than others, just don’t do less than 6 inches.
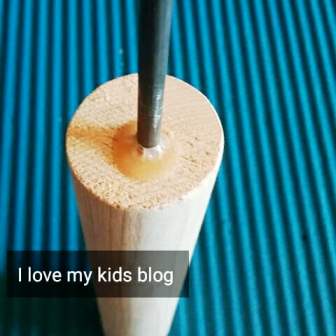
Step 2: Using a drill bit, create a hole about 3 inches deep to insert your metal rod into the dowel.
Step 3: Pour some fast drying wood glue (I used this kind*) into the hole. Another choice is to remove lid of glue and dip your rod slightly into the glue and push into dowel.
Step 4: Let glue dry. The kind of wood glue I used said it dried in 20 minutes. We didn’t have much spare time the next day before we were going to decorate them, so we set them upright and let them dry overnight. If you were doing just a few, I am sure an hour before hand would be plenty of time.
Step 5: Sand down any rough edges. You can also sand down excess glue (if you care that much-I didn’t an the girls at camp didn’t either).
Time to get creative!
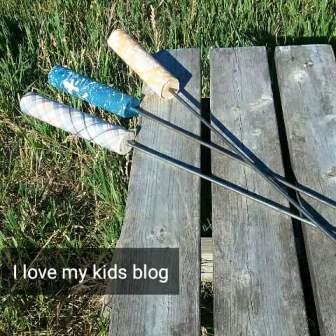
It’s time to decorate! This is where the sky is the limit. You can draw on it with markers, modge podge on cute paper, paint a design on. Or ask someone more talented than you to do it for you (this is what I did, haha). You can paint and then use vinyl lettering…pretty much do anything! The day we did this at camp, the wind was blowing 40 mph and it was pouring rain. So we squeezed into the mess hall and painted until the rain stopped. Weather permitting, just stick your roasting stick in the ground and paint the wood part! Even the not crafty girls had fun doing this craft!
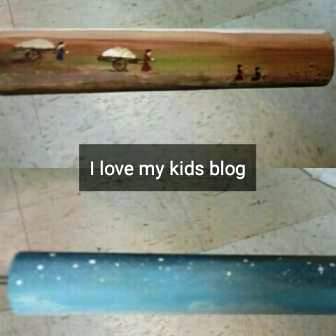
One of the leaders painted this incredible pioneer scene and when it rolled over it was a sky! WOW!
There you have it! Inexpensive DIY roasting sticks are so easy to make and fun to boot! These broke down to about $1 a piece and it was a huge hit with the campers at my camp. My own kids, who weren’t at camp, are anxious to do these with our family sometime soon! Let me know if you try it! This would be great a great addition to any Fourth of July BBQ! Thanks for reading!
Disclosure: An affiliate link is present in this post noted by *

- A VIVO Mask Will Complete Your Costume! - 10/18/2019
- 10 easy tips to make beautiful pies! - 07/09/2019
- 10 Boredom Busters for Summer Break! - 05/28/2019

To the ilovemykidsblog.net Webmaster.
1