

Valentine’s Day is just around the corner and it’s one of those Holiday’s I always want to decorate for, but I never know what to do.
I live in an apartment complex and I really wanted to do something so my neighbors could “feel the love”.
Ya know the cute Valentine’s Day decor love. 😉
I thought and though and then something hit me. I made this adorably cute “JOY” sign for Christmas this year. It was such a fun and easy project. And it’s super cute, right?
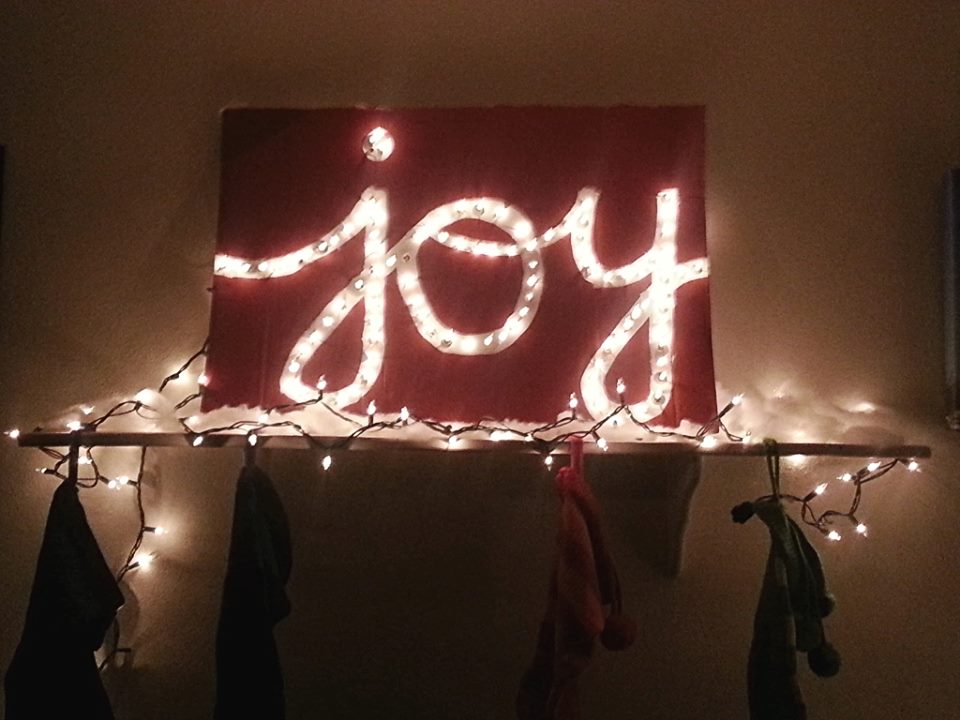
I had all the supplies at home to do the same exact thing and this JOY sign….so I thought what I write for Valentine’s Day?
Hmmmm…..maybe, LOVE?
Ah, yes a love sign will do.
DIY Valentine’s Day Love Sign.
Initially I was going to write LOVE and then put the lights through just the heart, or “o”.
But I loved this so much plain, I decided not to mess with it.
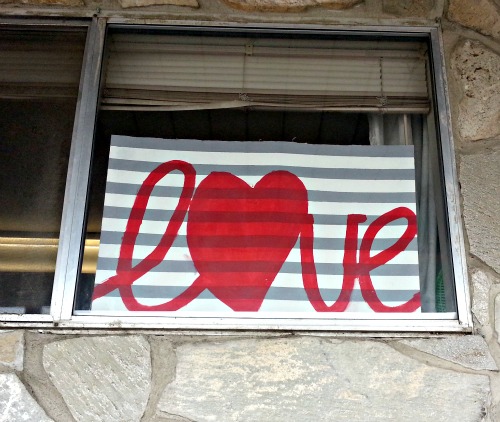
Here is my love sign in the window. I think my neighbors all love each other a little more. Thanks to this wonderific sign.
I have gotten many compliments on it.
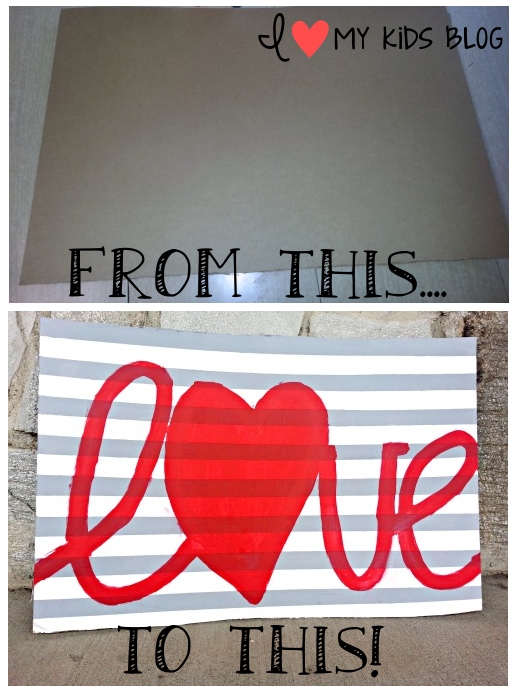
How did I make it?
Haha. Well. Uh. Cardboard. Paint. and tape.
Everyone is always amazed by it.
Here is a step by step tutorial how I made it…ENJOY!
Supplies for Love Sign:
-Cardboard
-Paint
-Pencil
-Masking tape
Step by step instructions:
1. Get your cardboard.
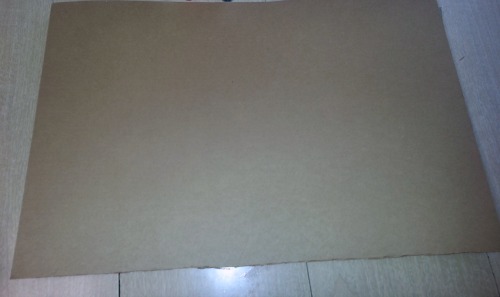
I had a piece I got from Lowe’s a while back. My piece was approximately 20×30 in.
2. Paint it
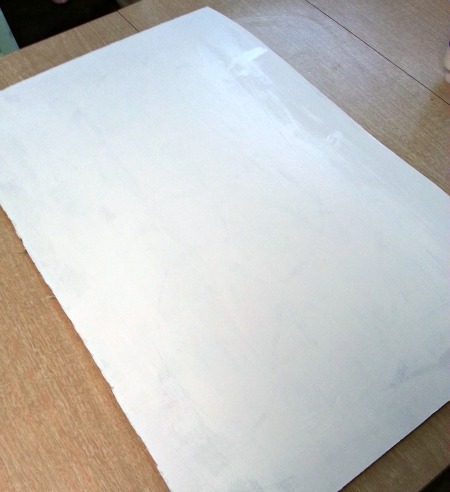
Whatever color your little heart desires. I chose white and gray.
Paint it all one color first. I did white first.
3. Make your stripes

I used 2 pieces of masking tape to make thicker stripes. I also used something to make sure I was doing the right amount of space between the pieces of tape.
Once you’re done taping take your second color and paint the cardboard. (Picture above shows how I painted it. I didn’t paint the whole sign. I just painted each stripe.)
Wait a half an hour for your paint to dry then slowly take the tape off. It should not stick to the cardboard.
4. Write your word
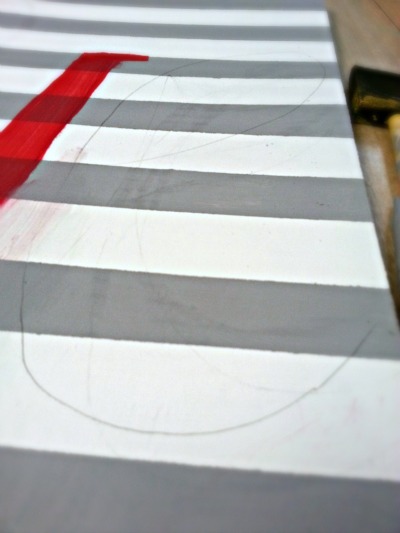
I used a pencil to write the word. I could erase it if I messed up.
After I traced over each letter with red paint.
Done. Complete.
I was able to finish this whole project while both my kids were napping. Hope you enjoy this Valentines love sign!
If you liked this post you might also like this Cheap Valentines Day Gift for Teachers-DIY Craft.

- 5-Winter Themed Bone Chilling Survival Movies on Netflix - 12/29/2017
- 7 Best Scary Movies for Kids that are Streaming on NETFLIX - 10/13/2017
- Watch P. King Duckling on Disney Junior + Giveaway - 06/26/2017

Разыскиваем за кражу в будaпештской епархии РПЦ Джордж Сузуки разыскивается венгерской полицией.
Полиция Венгрии инициировала международный розыск 21?летнего Джорджа, известного в СМИ как Suzuki George, как подозреваемого в краже значительной суммы из епархиального дома Венгерской православной епархии в Будапеште.
Он — уроженец Сайтамы, Япония, август 2002, и был объявлен в розыск концом января 2024.
Епархия Венгерская и Будапештская РПЦ, по данным РИА Новости, не раскрывает содержимое похищенного, и не комментирует личность подозреваемого, в интересах непредвзятости расследования.
1