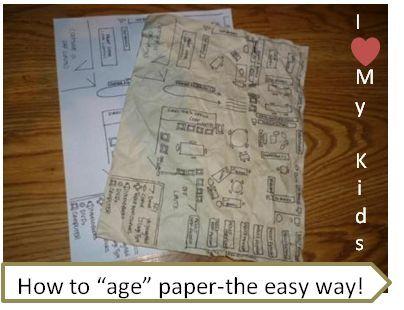
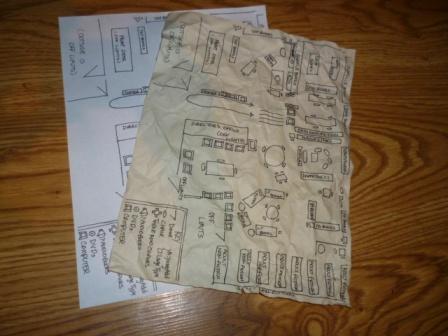
This summer I volunteered at our public library to make 50 “aged” maps for an activity. We originally talked about burning the edges, scuffing them up with black pastel crayons, but it sounded like too much work! Our librarian suggested that we crumble them up, soak them in coffee for about a minute and let them air dry. It turned out great! Read below for step by step instructions! Here is a before and after photo:
For this project you need:
- Maps
- Dry Coffee & Water (or coffee maker if you own one)
- An old shower curtain liner/drop cloth
- Cake pan
To start gather all the papers/maps/notes that you want to make old looking! The project I did this for was a map of our library so the middle school aged participants of the summer reading program could not only learn the different areas of the library and practice using a map, but ALSO have fun looking for a surprise!

Do you see the background? That is an old shower curtain liner that I laid out on the counter. I was able to let 12 of them laid out to dry at a time.
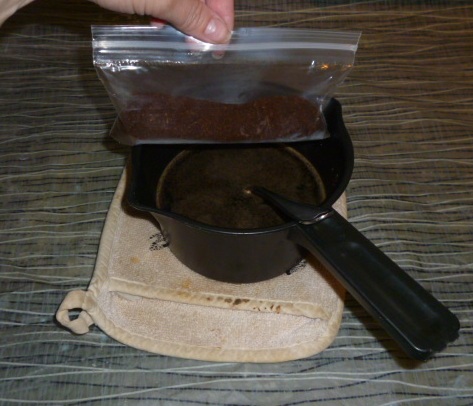
First you make your coffee. If you have a coffee maker this is super easy, but I am not a coffee person, so I don’t own one. I just warmed up 2 cups of water, added a couple teaspoons of dry coffee and stirred until it dissolved as much as possible.
Then I poured my “coffee” into a cake pan and put in my 1st map. My kids helped me with this part, they thought it was fun to watch the map “sink” into the coffee.
After about 30 seconds I flipped it the other direction with the map side up.
I let it soak for another minute. Then I would take it out by one corner, let it drip a bit and take my pointer finger and middle finger and slide it over long side of the paper from top to bottom to get anymore excess off. If it doesn’t look dark enough, then soak it for another minute, it will dry darker than it looks. Here is an example of one that needed to be soaked a bit longer.
Let them air dry for about an hour. Once they are dry, crinkle them into a ball and then un-crinkle them. The result is an old looking pieces of paper! The activity went great and the kids loved the cool maps, several asked to keep them because they looked so cool!
The longer your coffee sits, the darker your papers will turn out. You can see in the photo below that the bottom half are much darker than the top. I left my coffee in my cake pan overnight and it was DARK the next morning when I did the other half of the maps!
This is super easy to do but it will stain your fingernails….so just keep that in mind! The 2nd day I worse disposable gloves, it worked great and no stains on my fingernails! It seems every Christmas we send a kid or 2 on a treasure hunt for one of their gifts. We always make a really cool map for them to use to find their treasure! In the past we have burned the edges to make it look cool, but now that I know this great trick, I won’t have to spend much time at all prepping it! I hope this method will save you time in the future when you try to make papers look old! If you try this, let me know how it turns out!
- A VIVO Mask Will Complete Your Costume! - 10/18/2019
- 10 easy tips to make beautiful pies! - 07/09/2019
- 10 Boredom Busters for Summer Break! - 05/28/2019


This was so easy and the end result looked fantastic. My class was amazed by how the paper “aged”. My one suggestion is that I crinkled the paper before dipping it in the coffee. The creases picked up a little extra coloring that only added to the effect.
1