• Home
  • About
    • Disclosure And Privacy Policy
    • PR / Media Kit
    • Privacy Policy
    • Contact
  • DIY & Crafts
  • Lifestyle
    • Parenting
    • Healthy Living
    • Food
    • Fashion
    • Fitness
    • How To
    • Kids
    • Reviews
  • Toys
  • Entertainment
    • Movies
    • Disney

I love My Kids Blog

Parenting tips, Crafts, Product Reviews and More!

  • Home
  • About
    • Disclosure And Privacy Policy
    • PR / Media Kit
    • Privacy Policy
    • Contact
  • DIY & Crafts
  • Lifestyle
    • Parenting
    • Healthy Living
    • Food
    • Fashion
    • Fitness
    • How To
    • Kids
    • Reviews
  • Toys
  • Entertainment
    • Movies
    • Disney

Christmas Santa Face Cookie Pops

11/20/2013 By Irina Leave a Comment

Share

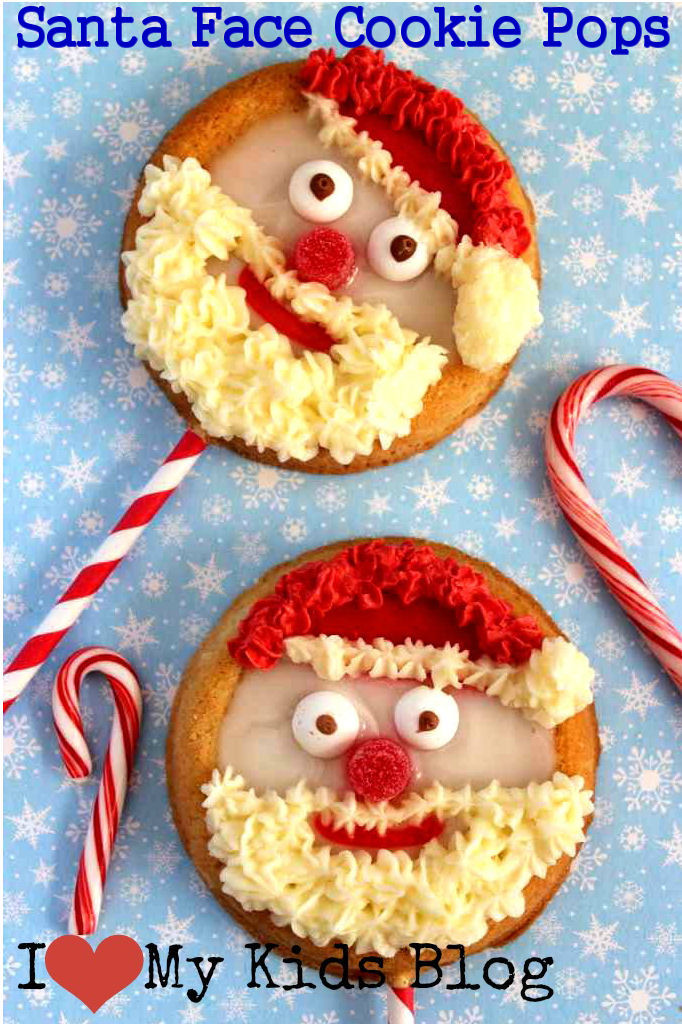
I came across a great idea for a very tasty Christmas treat that is not too difficult to make  They are called Santa face cookie pops and you can check out the recipe below.  There are a bunch of ingredients that you have to get together first and you also have to get lollipop sticks.  I would try an arts and crafts store or a candy store if you have one in your neighborhood.  After you get everything together its time to invite your children into the kitchen because they will have lots of fun creating these Santa Face Cookie Pops.

Santa face cookie pops

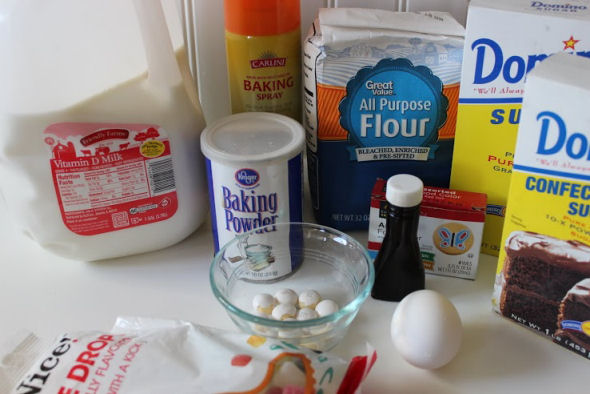
INGREDIENTS (Yields approx 12 pops)
1 cup softened Butter
1 1/2 cup Sugar
1 Egg
2 tsp Vanilla
2 3/4 cup Flour
2 tsp Baking Soda
12 long Lollipop Sticks
GLAZE INGREDIENTS
2 cup Powdered Sugar
2 tbsp Milk
2 tbsp Corn Syrup
Food coloring
ICING INGREDIENTS
1/2 cup softened Butter
1 tbsp Milk
2 cup Powdered Sugar
Food Coloring
DECORATIONS
24 White M&M Candy Corn pieces
12 Red Spice Drops

ingredients for santa cookie pops

DIRECTIONS
Cream butter and sugar.
Add egg and vanilla and continue beating.
Mix dry ingredients together and incorporate into wet mixture a little at a time.
Press dough into pan, filling each about 3/4 full.
Press stick into each cookie.

Round Pops Cookie Pan

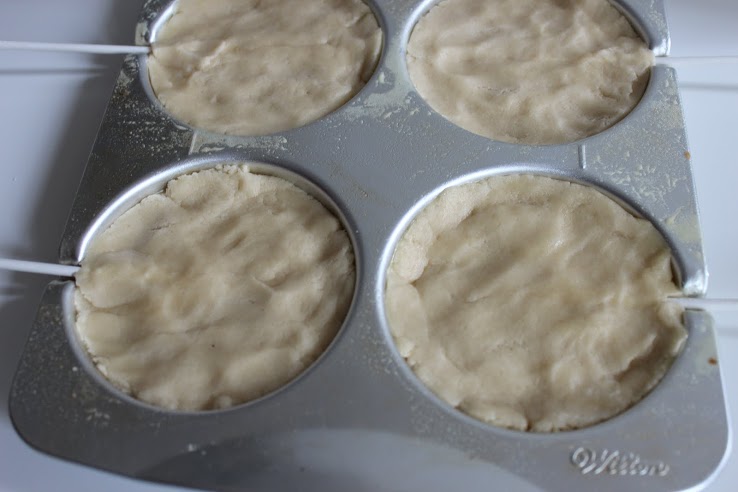
Add additional dough on back as needed to cover stick.
Bake in oven at 400 degrees setting for 13 minutes or until lightly brown around edges.
Let cookie sit in pan for about 5 minutes, then carefully run a knife around the edge of each pop to loosen.
Cool on a wire rack.
Mix powdered sugar corn syrup and milk to make glaze.
Fill in face of pop in white glaze.
Press Red Spice Drop nose  and white M&M eyes in place.
Allow to set at least 30 minutes.
Add red food coloring to glaze.
Transfer part of this red glaze to the corner of a zipper bag and clip end to pipe a diagonal line for edge of hat.
Also pipe in mouth.
Allow to set for at least an 30 minutes.
Fill in rest with red glaze.
Add blue and yellow food coloring to make remaining glaze dark gray to black.
Take a toothpick and dip in dark glaze and dot pupils on eyes.
Allow to sit for at least 30 minutes.
In a large bowl, cream the butter.
Mix in the sugar one cup at a time.
Beat in the milk mixing until fluffy.
Transfer 2/3 of mixture to piping bag.
Add red food coloring to remaining icing and mix until blended.
Transfer icing to a piping bag.
Refrigerate to firm.
Pipe a red ring around the top of the red hat.
Pipe white fur at bottom of hat and make fur ball at side of hat.
Pipe in beard and mustache.

Feel free to share your results with me. Have you done any Santa Cookie Pops with your kids? Share your creations below! 

  • Author
  • Recent Posts
Irina
Irina
Irina is the owner and editor at I love my kids Blog. Mom of 2. She enjoys writing about parenting tips, DIY projects and feature lots of toys and products for family and kids of various ages.
Irina
Latest posts by Irina (see all)
  • 5-Winter Themed Bone Chilling Survival Movies on Netflix - 12/29/2017
  • 7 Best Scary Movies for Kids that are Streaming on NETFLIX - 10/13/2017
  • Watch P. King Duckling on Disney Junior + Giveaway - 06/26/2017

Share this:

  • Click to share on Facebook (Opens in new window)
  • Click to share on Twitter (Opens in new window)
  • Click to share on Pinterest (Opens in new window)

Related

Filed Under: DIY & Crafts, DIY Projects with kids, Food, recipes

About Irina

Irina is the owner and editor at I love my kids Blog. Mom of 2. She enjoys writing about parenting tips, DIY projects and feature lots of toys and products for family and kids of various ages.

« Bright Light Pillows are a night light and cute bedroom decor!
“Name Your Deal Promotion” at RadioShack »

Leave a Reply Cancel reply

Your email address will not be published. Required fields are marked *

Follow our blog

Follow Us on FacebookFollow Us on TwitterFollow Us on PinterestFollow Us on YouTube
Enter your email for a free daily update:

Our popular posts

Moon Dough play dough! Softest Play Dough EVER! - only 2 ingredients!
Ease Your Baby to Sleep with the HALO Bassinest Swivel Sleeper and HALO SleepSack Swaddle
Learning the ABC's with Pull & Learn Alligator from VTech
How to make DIY Stanchions for your event!
How to make a Unique Cherish for a lifetime Mommy & Me gift using Salt Dough and your child's hand print
8 Fun & Unique Halloween Hairstyle Ideas For Kids
L is for Lollipop, Lego, Leaf, and Ladybug: Preschool Activities for the Letter L
Using Netflix to Teach Your Kids About Honesty

Recent Posts

  • 10 Ways to Practice Self Care During Social Isolation
  • Make Brushing Teeth Fun with BriteBrush GameBrush and Baby Shark
  • 2019 Gift Guide for Elementary Girls: 10 Fun Ideas!
  • 2019 Gift Guide for Preschoolers: 5 Fun Ideas!
  • 2019 Holiday Gift Guide for Toddler Gifts: 7 Fun Ideas
  • A VIVO Mask Will Complete Your Costume!
  • How to Make DIY Mason Jar Pen Holders for Your Desk
  • 10 easy tips to make beautiful pies!
  • X is for X food, X-ray, X Marks the Spot and Xylophone: Preschool Activities for the Letter X
  • W is for Worm, Water, Watermelon and Web: Preschool Activities for the Letter W

Copyright © 2025 · Tasteful theme by Restored 316

[footer_backtotop]

Copyright © 2025 I Love My Kids Blog - Site Design by SerightDesigns
About | Privacy | Disclosure | Contact