
I recently re-arranged my bed room. While rearranging, I actually started putting stuff on our walls since we’ve moved into our new apartment which was almost one year ago…I know I am super delayed! As I started to add things I noticed that my husbands side of the bed had 2 things hanging on the wall, and I had nothing. He had some sentimental valued stuff he’s been longing to put up, have me put up. I don’t have treasured items like him, so I had to think of what I could put on my side of the wall. After much thought and searching the web I found what I would put on my side of the wall, this. I could not find platters like her, I am not sure what Dollar Store she was going to, but it wasn’t the one I go to. Mine still turned out wonderfully, don’t ya think?
Now onto the good stuff-
Chalkboard Dollar Store Platters-with Homemade Chalkboard Paint
To make chalkboard paint you’ll need these supplies:
Paint-I just used 2 bottles of acrylic paint (the 50 cent kind) in dark gray
Non-sanded grout-I got mine at Lowe’s for about $4 in the tile section. It will last you about 100 chalkboard paint projects(maybe a little bit of exaggeration but it will last you a long time!), so it’s well worth the $4.
Sand paper
Paint brush
You’ll also need these for the project:
Dollar Store platter, the clear plastic ones.
Ribbon
Hot glue gun
How to make Chalkboard paint:
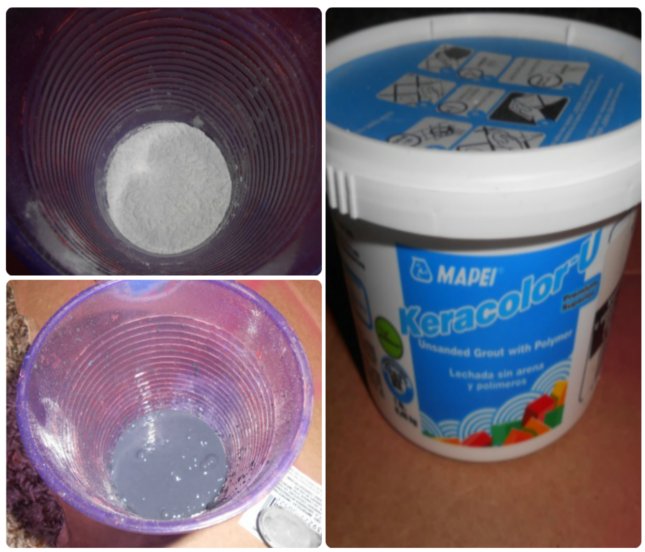 1. Get a plastic cup and pour about 1-1.5 Tablespoon of non-sanded grout.
2. Take paint and pour 1/2 cup-3/4 cup, I don’t know my exact measurements, but you’ll want the paint to be thick and grainy. Once paint and grout are in, mix the paint until blending well.
You’re done with the paint. This is so much cheaper than buying chalkboard paint and cost less and goes a lot further. You can even change the color ever project. You can pretty much add the paint to anything and it will work! It’s great!
Chalkboard Platters
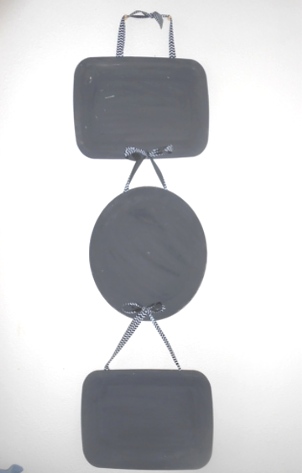
I decided to put 3 platters together to make it extra long, I love the way it looks and love the chevron ribbon. You are welcome to use pre-made chalkboard paint from the store for this, but you should try to make your own if you haven’t yet, it’s seriously awesome!
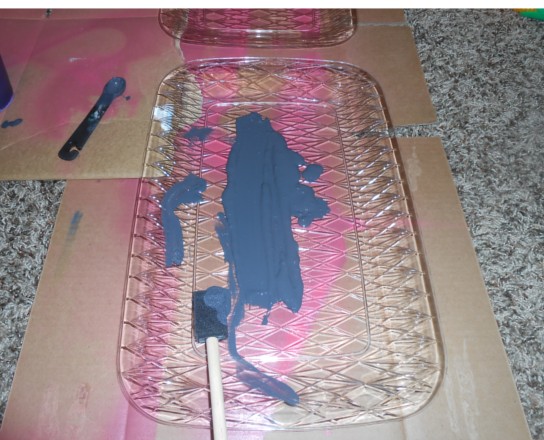
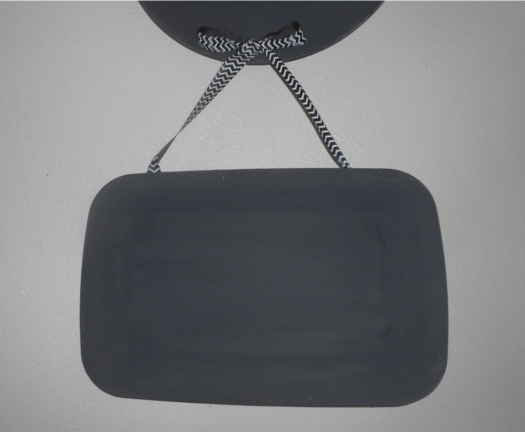
(Here is what the platter looked like. I forgot to take a picture of them before.)
1. Once you have your paint made, or store bought you can start painting your platters. I only painted one side and two-ish coats (I didn’t fully paint over it all just parts of some platters). It turned out great. The drying time takes longer than usual, so feel free to watch a good show and enjoy a nice treat while waiting. That’s what I did. 🙂 (My daughter was asleep thank goodness!)
2. After they are dried take your ribbon and cut it about 2-3 feet long. I need to really start measuring when I know I am going to be giving a tutorial! Your ribbon is going to make the bows, so make sure it’s enough to be able to tie a bow in the ribbon.
3. Cut the ribbon you just cut in half. Glue your ribbon to both sides of the platter and tie a bow at the top. (Picture below shows how it looks)
4. I glued my ribbon to each platter, so I could make the 3 connected. You don’t have to do this. If you want you can make 3 single ones, or two, or even just one.

5. Take your sand paper and sand each platter you painted. This will make writing on the chalkboard easier and will refrain the paint from being chipped.
That was pretty much all I did! This was a super cute and easy project and would be fun to do with kids. It is cost efficient as well!
NOTE: It was hard for me to get the chalk off at first. Then I had the idea of getting a baby wipe. The chalk came off very easily and none of the paint did. It made it look fresh and clean again. Once you use the wipe make sure you let it the platter fully dry. If you write on it while it’s wet it will take the paint off. Just be careful and patient and you should be fine!
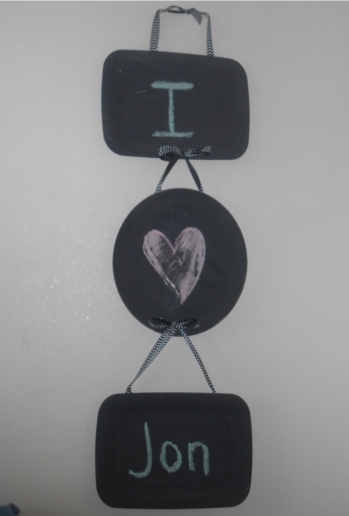
I think my husband loves this more than me. He is always writing messages to me, I love it. (I wrote this one, he doesn’t love himself!) Another great project thanks to the Dollar Store! Hope you guys enjoy it!
—————————
Did you enjoy this post? Leave me a comment below with your thoughts or if you have any questions. Also check out my other post on How to make your own DIY Picture printable

- 5-Winter Themed Bone Chilling Survival Movies on Netflix - 12/29/2017
- 7 Best Scary Movies for Kids that are Streaming on NETFLIX - 10/13/2017
- Watch P. King Duckling on Disney Junior + Giveaway - 06/26/2017

What do u think about using this method over a white board that is no longer usable? All the dry erase pen regardless of brand will barely write or come off. I don’t want to throw it away. The nieces & nephew play with it all the time. If I could make into chalkboard, that would be cool! I know it’s really slick & shiny so it may not work. Thanks.
If it was me, I would try it. I am not quite sure how it would turn out because it is so slick. Maybe if you do enough coats of paint, it may work. I have done it on cardboard before and it worked great. you could always do the back of the white board as well. They could choose chalk or markers. Let me know what you decide to do!
1