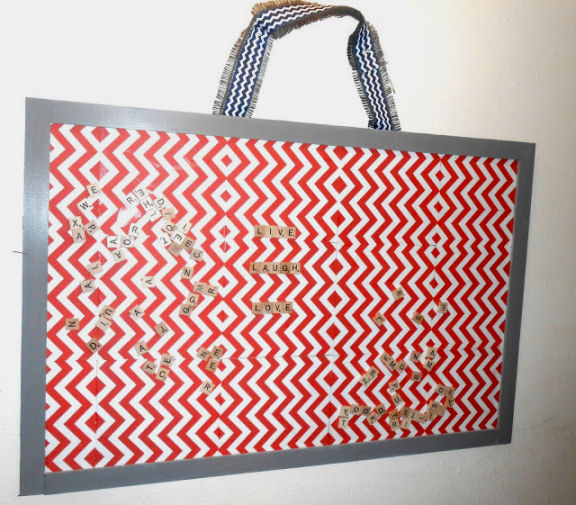
I came across this sweet idea to make a homemade scrabble board. Once I saw I instantly knew I HAD to make it. But…I had to figure out how to make it on a budget. And guess what? I did! I knew the perfect spot to put it as well, I was just overall giddy about this project!
(The border looks like ducktape, but it’s not, I promise. I’m a little saddened of how it looks in pictures. But I love it in real life).
Supplies:
- Sheet metal (I got mine- 24×36 at Home Depot)
- Thin wood-for the frame (I will show a pic later on to explain better. I got this at Home Depot as well. I got just the right amount to fit around all the sheet metal.)
- Wood glue or adhesive or any type of glue really
- Paint and paint brushes
- Ribbon-for hanging it
- Scrabble pieces (I bought 2 games at a thrift store, if you don’t know what I am talking about look at the pictures below)
- Magnets (I used the rolled strip kind)
- Modge Podge
- Some kind of cute paper (Printed mine off my computer)
What to do:
1. Beautify it- Print off cute patterns on paper. You could also use cute scrapbook paper, dictionary pages like the one I got this idea from did, you could even paint it! Use your imagination, you’ll come up with something! Here’s my design that I used, red chevron…I’m totally into the chevron phase right now, I love it!
2. Modge Podge it- Once you have your paper all ready, take your modge podge and paint brush and brush it over the sheet metal. Go paper by paper with modge podge, meaning, put just enough modge podge so that you can put the paper down and you don’t see much after that. If you do the whole thing you will have to put more on. (Look at picture below)
This is the perfect amount of modge podge per sheet of paper.
Lay all your sheets of paper down. I actually wished I wouldn’t of done chevron because once the sheet of paper was done it looked kinda funny. What’s done is done. It’s still cute, but I would of bought scrap book paper instead. I think it would of been cuter.
3. Stick it-
While your modge podge is drying you can start putting your magets onto the back of your scrabble pieces. I used 2 games of scrabble. I was reading through some tutorials of people making these and they bought the tiles online for $10+shipping= $15 or more, or they bought a brand new game for $15 dollars. SERIOUSLY, just buy a used game. It will save you money. I spent $8. The only scrabble games I could find were the ones were it comes with 4 games-Sorry, Clue, Yahtzee, and Scrabble. So I got some other games as well. It was worth it for me, even though I have an extra one…I might just give it back to the thrift store! 🙂 But most likely you can find a scrabble game for $2-3 dollars at a thrift store.
This magnet roll I got at Hobby Lobby for $2.00 because I used a coupon! Yay! Plus I already had this for another project I was doing.
These type of magnets rock, because all you do is….peel and stick. Done. This would be a great part of the project for your kids to do, I’m sure they’d love it!
4. Measure it-
Next you’ll want to take your board pieces and measure them to fit your sheet metal. Since my sheet metal at 24×36 I asked the nice man at Home Depot to cut them for me so I didn’t have to when I got home! I told him to cut (2) 24 inch pieces and (2) 36 inch pieces. But I totally forgot that I had to put all 4 boards as the border around it. So when I got home I still had to cut it…sadly. I drew a line where I cut it again.
5. Paint it-
Paint your boards your desired color. I chose gray and made a rookie mistake…it looks like duck tape! I was so sad, but it only looks like duck tape from a distance, luckily.
6. Border it-
Once your paint is dry, it’s time to put your border on. This part was tough for me. I didn’t want to spend money and buy wood glue. I tried to think of everything I could do so I didn’t have to buy anything. I looked through my house and found Seal-All. This is purchased at a some kind of car shop, like O’Reily or Napa. I decided to try to see if it would work, and it did! Hot glue does not work!!! I tried this and the glue dried before I could put it on the sheet metal.
I had to press it down for about 3 minutes for it to dry, but it worked and I’m glad I didn’t have to buy any glue!
7. Hang it-
You’re almost done! All you have to do is hang it up. When I hung mine up I used ribbon. I just used a ton of hot glue. On the back.
This is after it was hung, I forgot to take pictures.
I used regular ribbon, then glued it onto another type of burlap ribbon that I had.
8. Scrabble it-
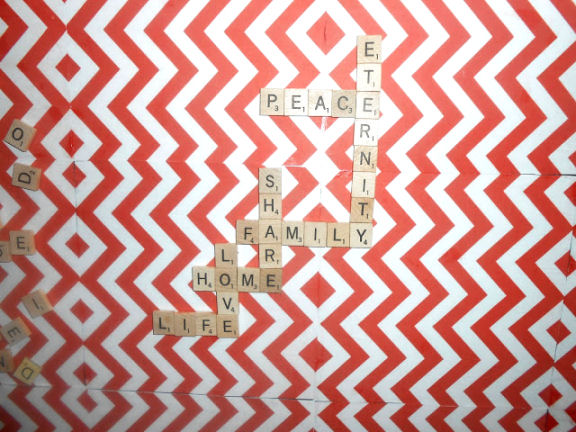
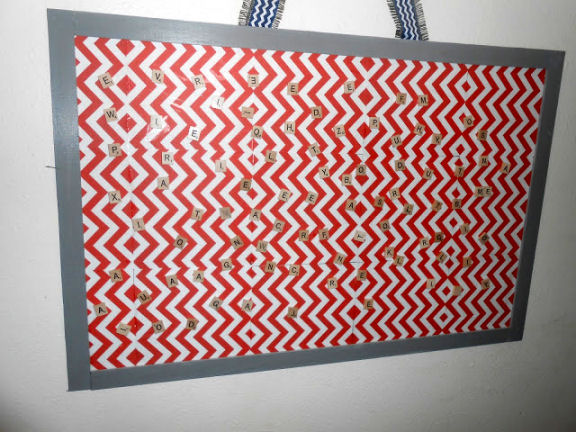
Put your scrabble pieces on.
9. Love it-
Enjoy your new piece of fun artwork for the whole family, and guests as well.
Have fun with your spouse and kids while you play scrabble- on the go. Take a turn whenever you have time. Or this can be just to write messages to each other. You could also use this for kids practicing for spelling tests. Again the possibilities are endless! Enjoy!
Latest posts by Irina (see all)
- 5-Winter Themed Bone Chilling Survival Movies on Netflix - 12/29/2017
- 7 Best Scary Movies for Kids that are Streaming on NETFLIX - 10/13/2017
- Watch P. King Duckling on Disney Junior + Giveaway - 06/26/2017


Thank you Irina for the idea! Such a fun way to engage with each other even when not everyone’s at home. Also don’t worry, it doesn’t look like ducktape to me. The whole board reminds me of a tote bag… which inspires me to another Scrabble project. So thanks for the double inspiration 🙂 I just love to play Scrabble. Do you like to play as well (besides on this board of course)? If you ever need help, check out this little helper: https://www.word-grabber.com/scrabble-word-finder Have fun playing and DIYing!
1
1