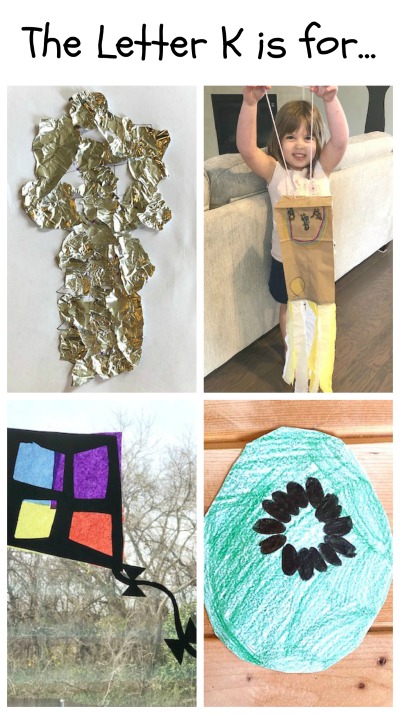
Here are the activities we did for the letter K!
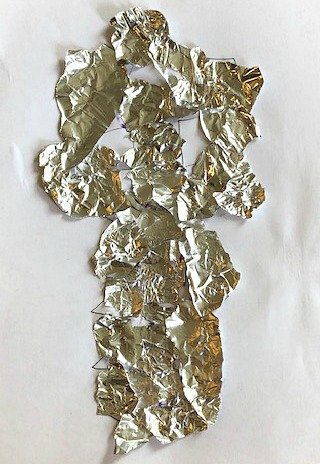
The first activity we did for the letter K was make a tin foil key.
Supplies:
- Paper
- Glue
- Pen
- Tin Foil
How to do this activity:
- First I drew a big key on a piece of paper.
- Then I gave my daughter the paper, a sheet of tin foil and glue.
- Then rip small pieces out of the tin foil and glue them to the paper inside of the key drawing.
This was a super easy activity but also a unique one. I don’t think I have ever done a craft with them that involved tin foil, or at least gluing tin foil. My daughter did get a little bit inpatient gluing all of the little pieces of tin foil, that could be why the bottom section of the key doesn’t look too much like a key, but it is still an activity I would recommend.
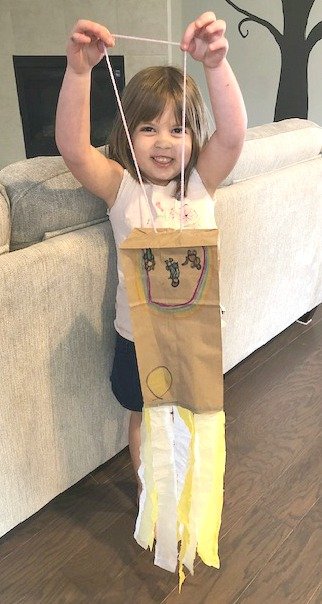
The next letter K activity we did was we made kites and “flew” them around the house.
Supplies:
- Paper Lunch Bag
- Tissue Paper
- Crayons
- String or Yarn
- Glue
How to do this activity:
- First have your child decorate the paper bag in any way that they want.
- Then poke two holes in the top of the bag and thread a piece of string or yarn through it and tie the ends together.
- Finally glue strands of tissue paper around the opening of the bag. I cut out long strands of tissue paper from my stash of gift tissue paper.
Since it is colder right now we decided to have fun with our kites inside. This was one of the crafts that my son decided to not participate in but he soon found out that he would regret that decision. Every day since my daughter made her kite he has asked to make his own, we haven’t had time to do so yet but it is finally a craft he is excited to do!
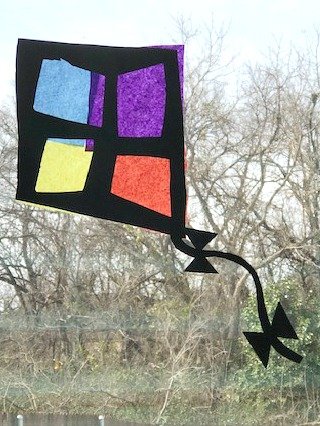
The next letter K activity we did was make window kites.
Supplies:
- Black Construction Paper
- Tissue Paper
- Glue
- Scissors
- Tape
How to do this activity:
- First I cut out a diamond shape out of the black construction paper and cut four diamond shapes out of the center of that.
- Also from the black construction paper we cut out a string for the kite and four triangles to make the bows.
- Have your child pick out the colors of tissue paper they want to use. Then have them glue the tissue paper onto the back side of the kite.
- Once the glue for the tissue paper is dry, glue on the string and the bows.
- Once everything is dry tape the kite to the window.
This was an activity that ended up turning out really cute. I think it would be even better to use tissue paper that are lighter colors so the sun can shine through them better. But despite that, our finished product is still up on our window on display!
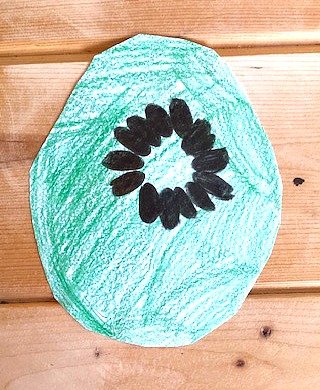
The last letter K activity we did was make a kiwi.
Supplies:
- Paper
- Scissors
- Green Crayon
- Black Marker
How to do this activity:
- Have your child cut out an oval from the piece of paper
- Have them color it green with the crayon.
- Then they can add the seeds with the black marker.
This activity was actually not part of my plan. I had originally planned on making kiwi gelato but before I could make it we ended up returning out blender and our new one has not been delivered yet. So while I was getting supplies ready for one of the other activities my daughter ended up making this on her own and I thought it was way too stinking cute not to share!
What other letter K activities can you think of? What is your child’s favorite thing that starts with the letter K?


1
1
1