
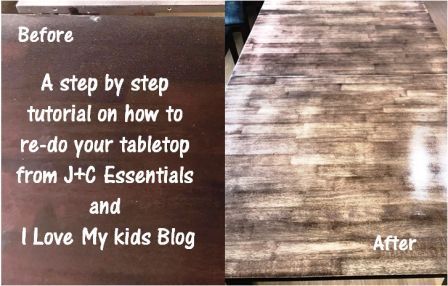
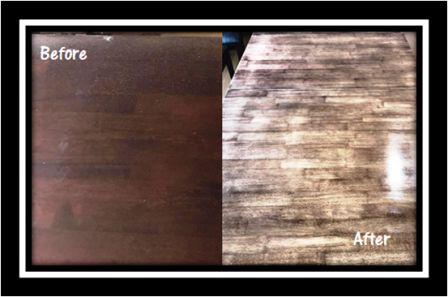
If your wood tabletop is in dire need of a face lift you’ve come to the right place to learn about this easy method to redo your table! My friend Chris, from J+C Essentials blew me away today when I saw her before and after photos of her table she had recently re-done. First let me tell you about Chris! She has 4 kiddos-two in elementary school and a toddler and baby at home all day. This table redo took about 6 hours and had these fabulous results! She had never done anything like this before and said she was thrilled with the results! Take a look!

Wow, right?! Gorgeous! The need to redo your table may be the same reason Chris’ needed to redo hers. She said, “Our table is awesome. Then something happened to the finish that made it super sticky ALL the time. Even after scrubbing. It got to the point where I didn’t even want to sit down at the table at all!” So she set out to get it done and took photos along the way for all of us! Thanks Chris!
To redo your table you need:
*Radial Sander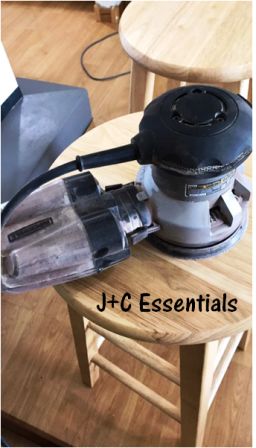
*60 grit, 180 grit, and 220 grit sandpaper
*Paper towels and water
*A sponge brush
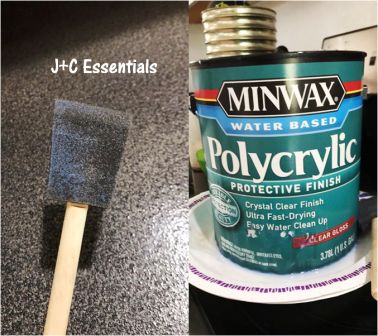
*Water based Polycrylic protective finish (She used clear gloss finish like this one*)
Step 1 to redo your table: Start Sanding
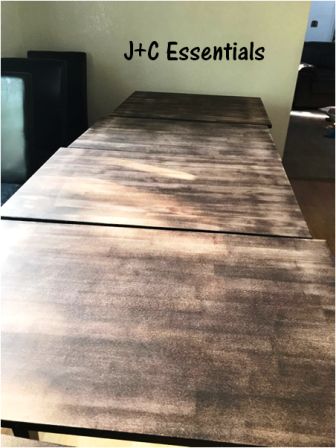
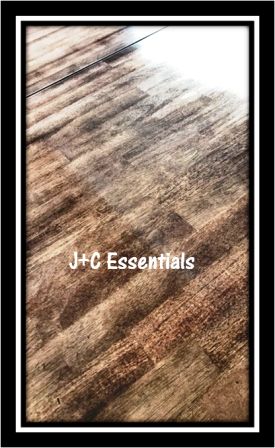
The top finish of this table had to have been a mixture of glue, wood, and stain because it really gooped up the sander. She had to peel it off the sand paper several times! Using the radial sander and 60 grit sand paper the nice shiny finish started to come off. Not sure why it was sticky, maybe it happened during the move or the kids spilled and didn’t tell her. She said, “It almost felt like when you spill fingernail polish remover on wood. Ever done that? It was like that!” When she was through sanding it, it looked like this.
Once all the pieces of her table were sanded with the 60, she switched to a 180 grit sandpaper which really got it down to the grain! She did that for each piece. 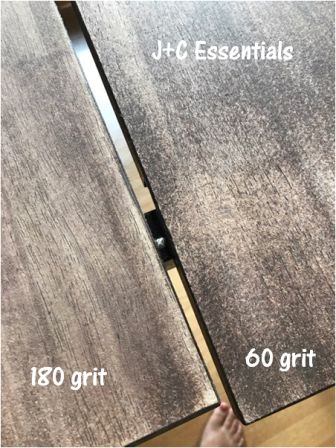
Step 2 to redo your table: Clean up
Next, she wanted to make sure the table top pieces were clean and wood dust free. She wiped them all down with dry paper towels. Then she used a paper towel that had been wet with water to make sure it was really clean. Once the paper towel came back clean it was time to start the final step!
Step 3 to redo your table: Apply Polycrylic
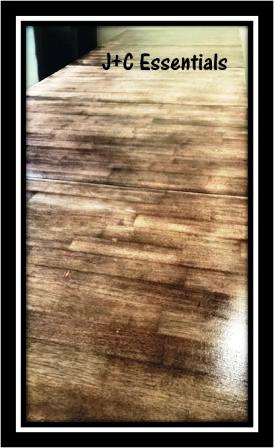
As mentioned before she used a water based Polycrylic. Chris chose water based over oil based just for drying time purposes. Using a cheap sponge brush, she applied 2 light coats of the polycrylic to each section of the table. It appeared to be quite dark but it dried lighter.
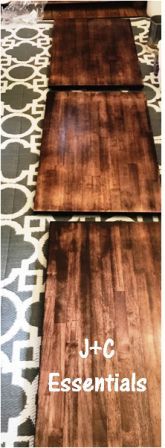
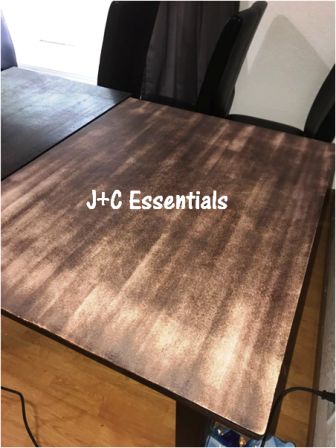
Once it was dry, she lightly hand sanded it with 220 grit sandpaper until it felt smooth. To make sure it was clean, she then used an old shirt to wipe it down. She did another 2 coats and lightly sanded as needed again and the result……breathtaking!!!
Right? Wow!
That is it! That is how she turned a sticky table into the most beautiful table I have ever seen! Are you looking to redo your table? Try this method! If you do, please post a picture to our Facebook page so I can see and share it with Chris! Be sure to check out her shop J+C Essentials. If she does this well at things she’ never tried before, you can bet that the products she is a pro at making are phenomenal too! 🙂 I hope you’ve enjoyed this tutorial!
*Affiliate link is present in this post

- A VIVO Mask Will Complete Your Costume! - 10/18/2019
- 10 easy tips to make beautiful pies! - 07/09/2019
- 10 Boredom Busters for Summer Break! - 05/28/2019

1