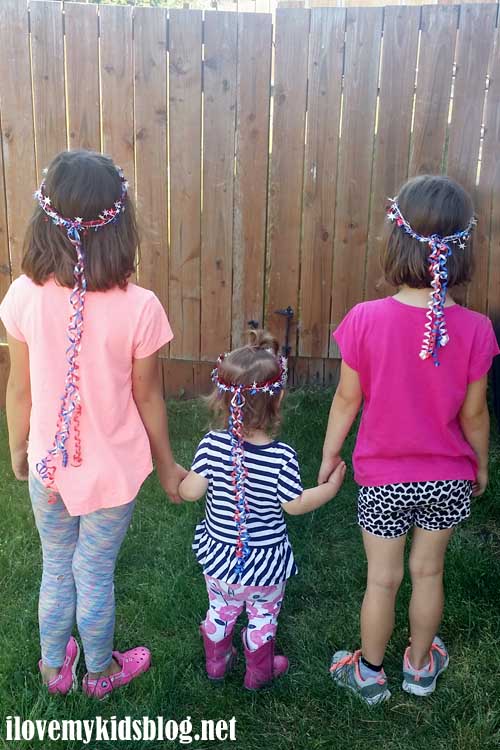
When you have four children ranging in age from 1 to 9, crafts need to be easy, fun, and affordable. Not to mention, fun for both boys and girls. One night I was perusing Pinterest and had the idea to make each of girls a ribbon tiara.
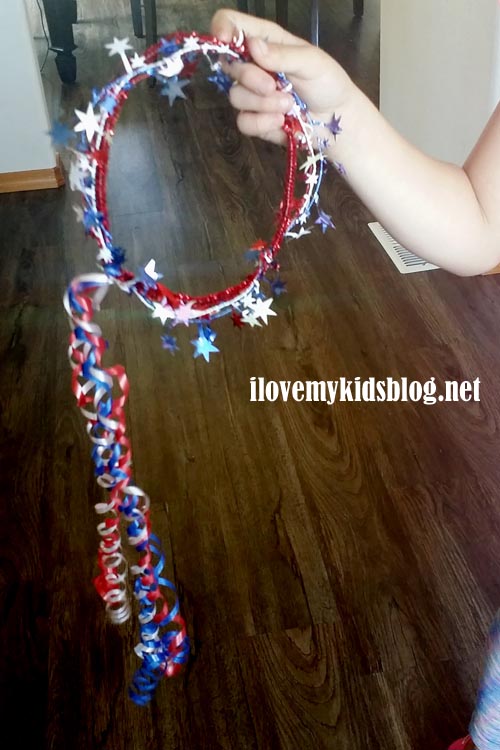
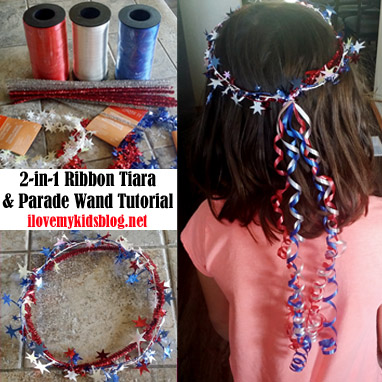 With the 4th of July coming, it was the perfect craft to add a little pizzazz to the upcoming festivities. When the tiaras were finished, I came to a realization that my son could also enjoy this craft. You see, instead of it being a tiara that is worn on the head, it transformed into a parade wand. Made the same exact way, just used differently. It was a brilliant idea! Parade wands are fun and catch the attention of those who may be throwing treats and prizes into the crowd…at least that is how I presented it to my son. They are fun for all ages.
I have a creative side to my life, so recreating crafts that I see pictures of comes somewhat easy to me. However, I know that is not the case for many others. Because of that, I have decided to put together an easy to follow tutorial for you to use to create this 2-in-1 ribbon tiara and parade wand craft. As with all crafts, you can add more details or simplify the project if you so desire. By changing the colors, and decorative garland, you can completely transform the look of this ribbon tiara and parade wand. The possibilities are truly endless.
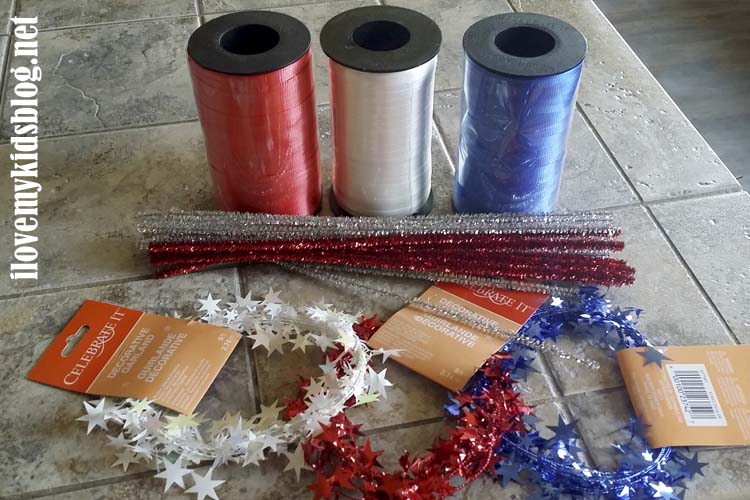
2-in-1 Ribbon Tiara & Parade Wand
Curling Ribbon
Pipe Cleaners
Decorative Garland
Scissors
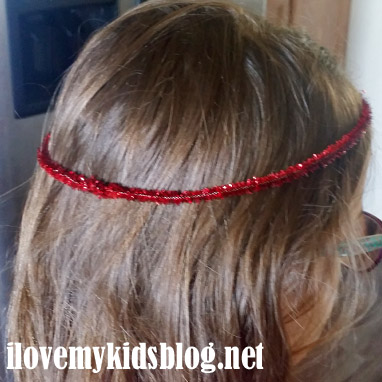
The first thing I did was get two pipe cleaners and connect them, making one large pipe cleaner. From there, I placed them on the head of the child I was creating the ribbon tiara for a size guide. I decided to use the pipe cleaner as the foundation of the ribbon tiara so it was more durable. You could skip this step if you wanted, but your tiara may fall apart easier.
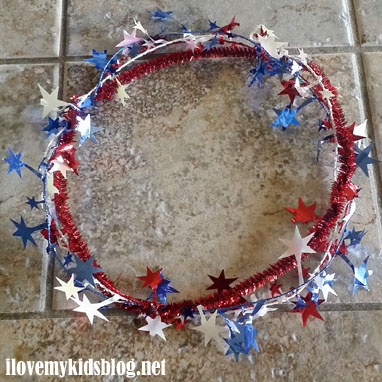
After creating a guide for each ribbon tiara, I cut the decorative garland to match the size of the it. Twisting the ends together, I wrapped the decorative garland around the pipe cleaner and secured it. Once this step is done, the tiara itself is complete. If you wanted, you really could just end here, but it wouldn’t be as fun. However, if you wanted to make decorative rings for a game of ring toss, then stopping here would be completely acceptable.
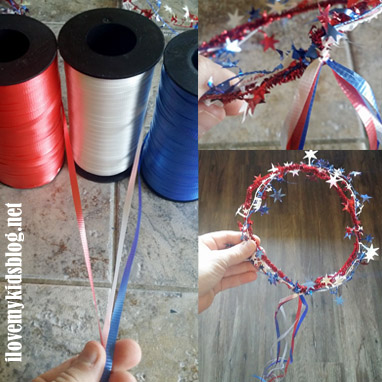
The final step to making the ribbon tiara and parade wand is adding the ribbon and curling it. There isn’t really a trick to adding the ribbon, but what I did seemed to work well. I pulled the curling ribbon to the length I wanted it to flow from the back of the ribbon tiara, and then bent the ribbon over one more time, doubling it in length. I snipped it there and then looped the ribbon through the tiara. Once the tiara was in the middle of the ribbon, I tied it. This game me six strands of ribbon with one simple knot. Using scissors, I curled the ribbon for the finishing touch.
Three steps and about 5 minutes is all it takes to make one tiara. The final project is fun, not only as a fashion accessory, but also for parading around with.
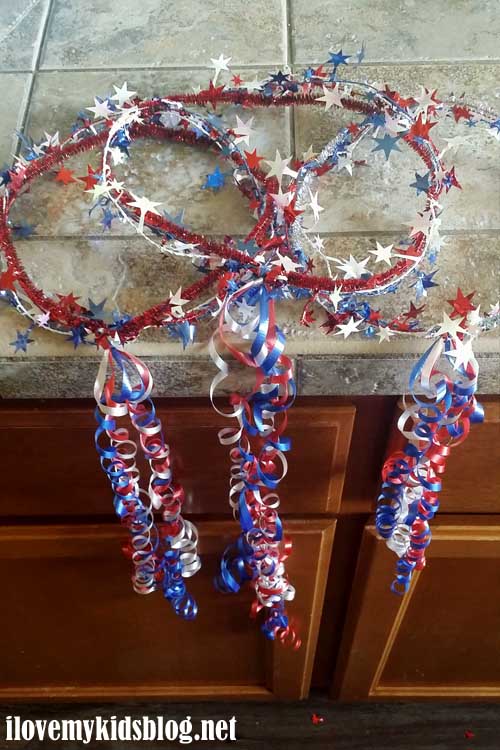 I would love to see how you have used this tutorial to add some pizzazz into your activities. I love to hear your feedback, so please leave a comment sharing your thoughts on this tutorial. And as always, share with your friends, and enjoy!


1