
 A few weeks ago I was mindlessly scrolling through Pinterest searching for ideas of activities I could do to keep my kids busy during spring break. All too often I allow electronics to rule our household because it makes my days much easier. Let’s be honest here, four children 7 years old and younger drains most of my energy just preparing breakfast, let alone entertaining them for an entire week. I knew that if I made a goal to do specific activities that I would complete about 65% of them. So I began making a list of fun things we could do and planning out the week ahead.
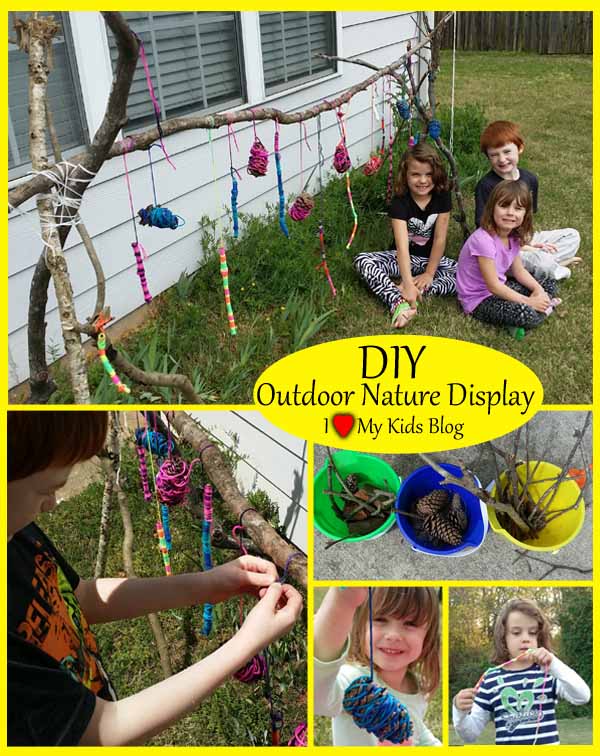
As I started creating boards on Pinterest and compiling ideas, I started getting excited for the possibilities that could come from our great spring break activities. Then it dawned on me, I wasn’t going to do a lot of different things, but instead focus on one activity that could be done over time, that my kids could continue to add on to. My idea was to create an outdoor nature display.
The outdoor nature display requires creativity, focus, teamwork, and individual participation. It is a continual work in progress and showcases the beauty of nature and art, reflecting great character and charisma. As days turn into weeks, and weeks turn into months, the outdoor nature display can change shape, size and appearance. It can be whatever your little artists want it to be. It can be created in backyards, forests, bedrooms…virtually anywhere you can imagine.
Step One: Gather the Supplies
The outdoor nature display we were creating used four supplies: yarn, sticks, pinecones, and scissors.
I didn’t have any yarn in my house, so we took a trip to our local shopping center and I let each of my children select their own yarn. It is best to pick a multi-colored yarn to give each item a unique pattern, adding to the character and charisma of the outdoor nature display. This was the only part of the activity that cost us money, but now that we have our yarn we will be able to continually add on to the display as often as we would like, and make other things with it as well.
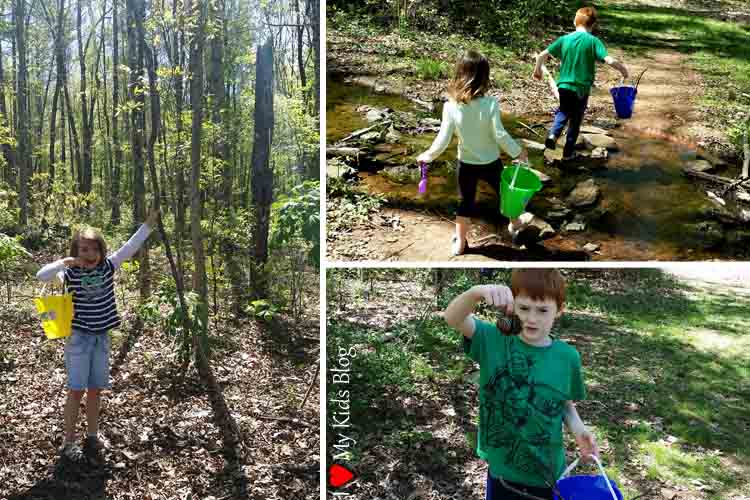
When we returned home from buying the yarn I had my children grab their buckets and we went on a nature hike looking for pinecones and sticks. Every stick and pinecone is unique. There isn’t one identical to another, which makes this activity so wonderful. My children enjoyed being able to pick their own pieces and were excited knowing that the sticks and pinecones they were collecting were going to be used with the yarn they had also chosen. We talked about the beauty of the earth and how great it is to be able to use our creativity to enhance simple objects that are surrounded by us daily. In addition to the little sticks, we also searched for seven large sticks that we could use as the support bases for our outdoor nature display.
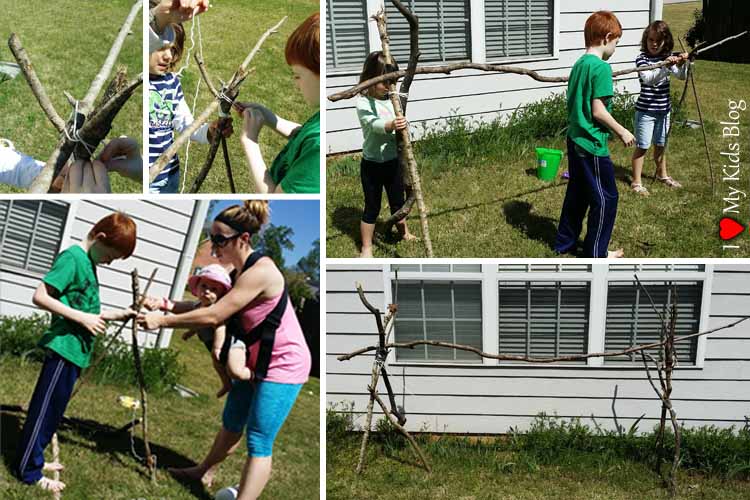 Step Two: Creat the Outdoor Nature Display Frame
Having limited knowledge of how to properly secure sticks together using string, I focused on my inner outdoorsman and visualized the top of an Indian teepee. With the help of my children, we created two tripods using three sticks similar in size and stature. We tied string around them all, and once stable, placed a large stick across the top of each tripod, creating the frame of our outdoor nature display. It took me a few tries to get it just right, but eventually it was sturdy and ready to be decorated.
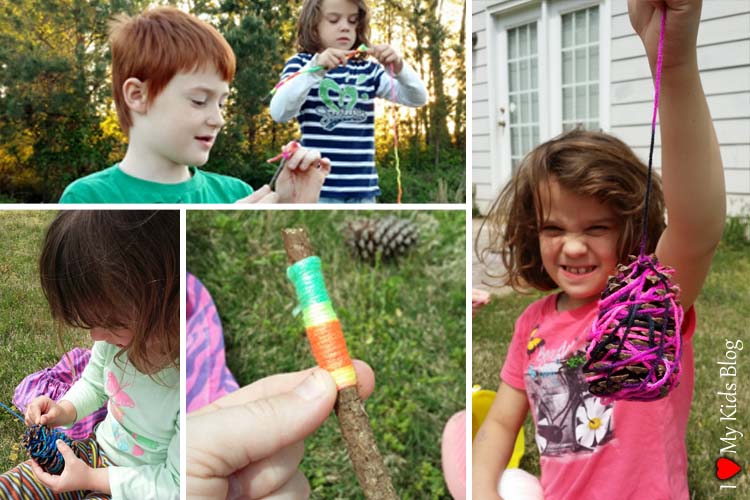 Step Three: Creat the Art Displays
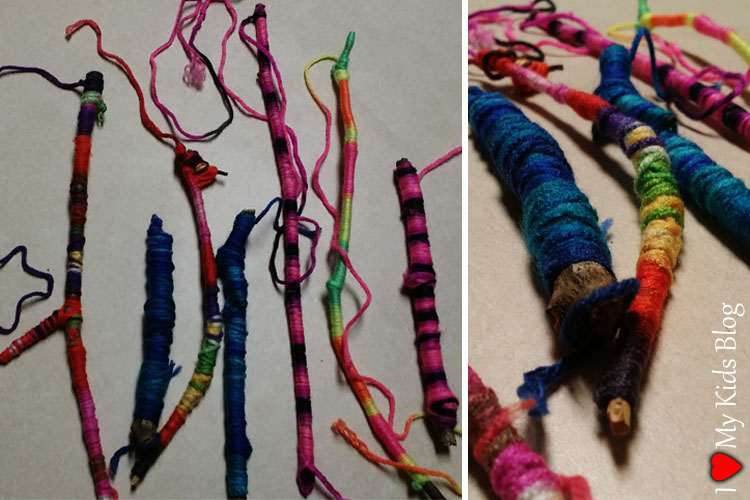
Once we had all the supplies together, we were able to begin creating the unique art pieces that would go on our outdoor nature display. Everyone selected a stick from their bucket and I secured the corresponding yarn to the stick by tying a knot to one end of it. One by one I showed my children how to properly wrap the yarn tightly around the stick so that it was covered from top to bottom with very minimal gaps. The end results were beautiful and unique. No one stick looked like the other. We made sure there was a long enough tail, once the stick was complete, to be able to tie it to the outdoor nature display’s frame.
My children loved doing this part of the project. We sat outside wrapping sticks and talking. It was an amazing experience to watch them focus intently on their individual projects and learning how to appreciate the uniqueness of nature around them. We were able to talk about being resourceful with nature and recycling. As more and more sticks were completed, we started talking about what our outdoor nature display would end up looking like.
 Some of the sticks took longer than others to complete, depending on their size. Many times we would stop mid-stick for a break and come back to it when we were ready. This made the activity more appealing to my children because they could go play for a while then come back and relax to finish up the sticks.
Once a few sticks were completed we shifted to pinecones. The pinecones were quick to wrap but look better with a lot of yarn wrapped around them. I would suggest the use of gloves while wrapping the pinecones. The pinecones we had collected were beautiful and full, but also had sharp pokies on the ends of them as well, making it painful at times to wrap. Each child had a preference on which project they liked to do best, so throughout the duration of the project they would continually alternate between sticks and pinecones, even making extra to give to friends and teachers as gifts.
 Step Four: Place the art on the Outdoor Nature Display
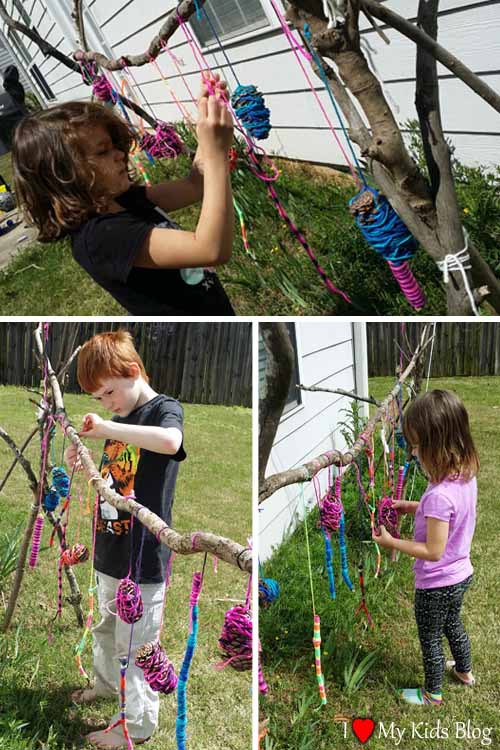
Once the frame was complete and we had enough sticks and pinecones decorated with yarn, we started placing the art displays on the frame. We tried to spread out the colors so that matching patterns were not next to each other. This was the most fun part for me because each time an art piece was put up my children glowed with excitement seeing our hard work and effort transforming into something beautiful right before their eyes.
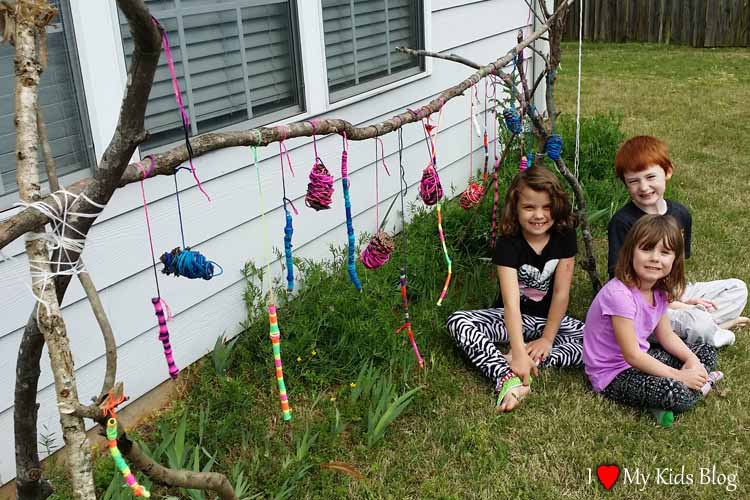
After all the pieces we had completed were hung up, we sat and talked about what our outdoor nature display meant to us and what we can do to keep adding onto it, making it more detailed and unique. As mentioned earlier, this is a project that will be added onto over time. It will be exciting to see what changes we make to it and how the personality and charm of it changes as well.
 Some ideas that we came up with of the things we will be adding to it over time are bells to act as wind chimes, long sections of fabric to blow in the wind allowing the release of positive energy flow, dream-catchers, and painted rocks at the base to bring another element of nature into the display.
This project has so many unique elements that can be added to it, so no one will be like another. I hope you find time to use this idea with your children at home. It is the perfect activity to encourage creativity, focus, teamwork and individual participation year around. I would love to hear your experiences with this as you create an outdoor nature display of your very own, in the comments below.


1