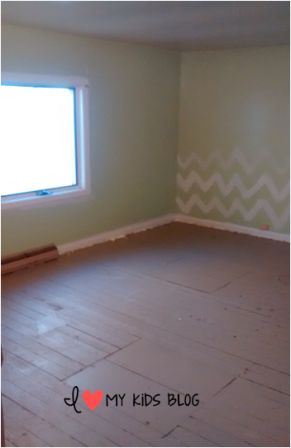
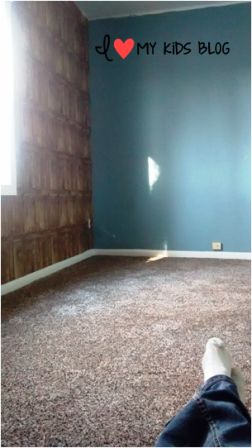
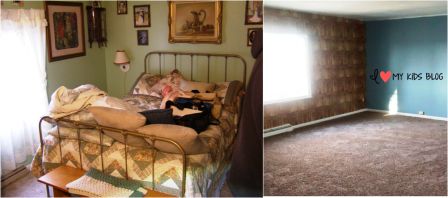
Wallpaper. Either you love it or hate it! If you’ve ripped it off a wall, chances are you hate it. If you’ve tried to put it up in the past, chances are, you hate it. If you use some of Graham & Brown easy to hang wallpaper, chances are, you will LOVE it! I know this, because I’ve been there! We recently moved to a new home where I had a blank slate to work with. The 70’s mint green in the bedroom is officially back in style but there was no texture on the walls or ceiling and we could see every bit of drywall tape all over the place. Since I am hoping this is our forever home I wanted to make this bedroom unique, beautiful, with a hint of my personality! Here is what it looked like before we moved in:
 I really did like the mint green color and thought it would be so cute with chevron. We had to texture it no matter what, so one day I decided to paint a couple lines of chevron on the wall. I didn’t like it at all! Next I tried paper bag texture. That turned out even worse! So bad that I can’t even bear to post the wall that I tried that on! I’d be too embarrassed!
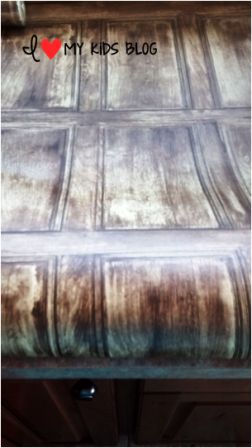
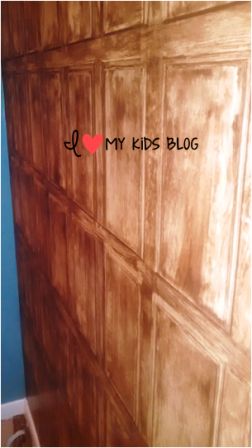
I was chatting with a few ladies at church one Sunday and mentioned that I really wanted to do some kind of faux finish on my walls in my room. My friend suggested wallpaper. My initial thought was oh my goodness no! I’ve heard too many horror stories about putting up wallpaper! After church I looked online and found the most gorgeous wallpaper I had ever seen on Graham and Brown website, it was called Common Room. It was styled after the University of Oxford’s Fellow’s Library. Isn’t it beautiful? (PS: It’s washable once it is on the walls!)
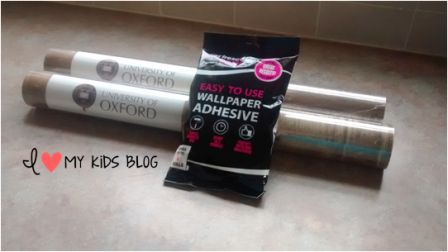
I was a bit hesitant still so I asked a few more friends hoping they had a pleasant experience to share to give me the courage to try it. I was hit with an overwhelming supply of NO! Don’t do it! I waited 4 more days and finally thought, wallpaper has changed so much in past few years and the people on HGTV do it….why can’t I? I couldn’t pass up the deal at just $25.50 a roll! Graham and Brown have an awesome tool on their website that calculates how many rolls you will need. You just plug in your measurements and it takes care of the rest. It even accounts for pattern matching. It made the ordering process worry free! I also got the easy to use wallpaper adhesive.
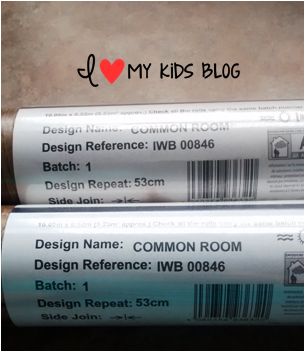
The very first thing the instructions mentioned, was double check to make sure each roll (if using more than 1 roll) is the same batch. This will ensure a perfect match in the pattern matching! Mine were both batch 1, so I was ready to go. My walls had no texture so I didn’t need to sand them. If your wall is textured it is recommend that you do prep them well.
 For the paste I used the Superfresco easy to use wallpaper adhesive. It was super easy to use. One bag will hang up to 8 rolls! Since I was only going to use 1.5 rolls I wanted to only use part of the bag. The chart on the back was only instructions for mixing the entire bag and I really didn’t want to mess this adhesive up, so as much as I didn’t like wasting it, I wanted it done right the first time, so I mixed the entire bag.
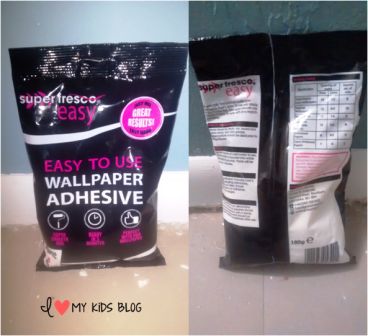 I filled up the proper amount of water it called for, poured in the dry adhesive powder, and mixed it. It was ready to use within 3 minutes just as the package said.
This is why it is so easy to hang wallpaper now, there are so many different types of wallpaper pasting choices. This wallpaper was a paste the wall type. I just used a paint brush to apply the paste to the wall. I worked in small sections and put paste on the wall 1/2 inch farther than my wallpaper would go. I did this so I wouldn’t get paste on the first sheet when I was trying to apply the 2nd sheet of wallpaper. Starting at the top of the wall, I rolled the roll of wallpaper down and pressed it against the paste.
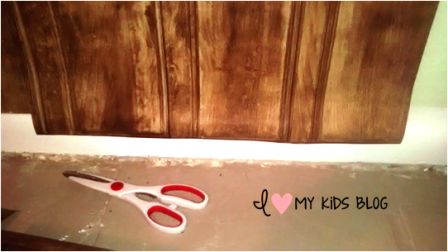
The paste is very forgiving, I was able to easily adjust the wallpaper to make it straight and even. I left a space at the top of the wall because we are planning on adding some crown molding. I used my hands to press it firmly against the wall and remove any bubbles. Honestly the first section was terrifying. I thought for sure I was going to mess up….but I didn’t mess up, because hanging wallpaper is really easy! Once I got to the bottom of the wall, I cut it free from the roll and left a bit of excess paper that hung over the baseboard.
I would then fold the wallpaper up along the top of the baseboard and make a crease. In the picture below, you can see my black gloved finger is bending the wallpaper up above the baseboard. It is a bit tricky to see because the back of the paper is white and so is the baseboard. Take a good look at the picture and you will see what I mean. Once it was creased I was able to take a utility knife on top of the baseboard and trim the excess off.
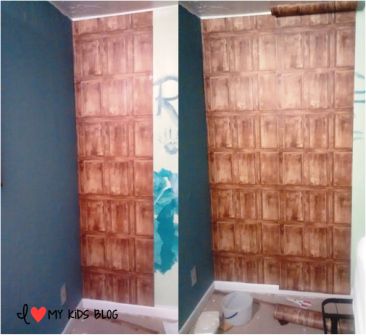
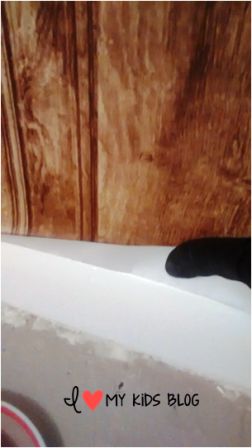 After the first round is done, you just do it again! Oh, you can see a little sneak peek of my paper bag wall experiment! When you do your 2nd round it is important to match your pattern at the top. So once again, I creased the wallpaper to make it easier to trim off. The pattern was really easy to match and I was surprised at how I could actually hang wallpaper by myself!
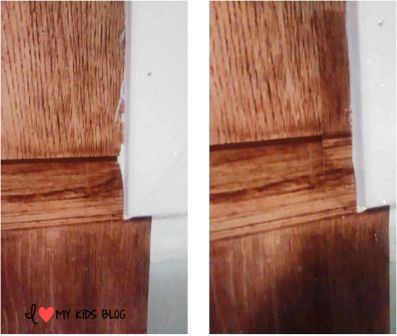
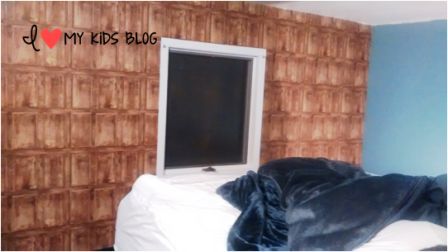
When I reached the window I did more of the crease and cut technique. Right by the windowsill I had a little TOO much paste behind the wallpaper. When I tried to use the razor blade to remove the excess paper, the wallpaper did tear, leaving a less than awesome cut. Rather than taking down the entire section, I just cut a tiny piece out of a scrap and patched it up. If you look close you can tell, but honestly from a few inches away you can’t tell a thing!
I was absolutely delighted with how well this was going. I was so nervous and I didn’t have to be!
The one wall that I did took me about 1.5 hours because I had that tricky window in the middle of it. It could have been done in 40 minutes if it was just a blank wall! My kids came in to get a kiss and a hug goodnight and said, WOW! You put wood in your room? It honestly looks rich and real! Graham & Brown offer a ton of different types of wallpaper, this one is kid friendly and can be washed without worry of it falling apart!
I had this preconceived notion that it was going to be hard to hang wallpaper or that I would regret it. Once I got over my worries, I realized this ain’t your mama’s old school wallpaper! It was so easy! Maybe I should be on HGTV! Ha! We were getting new carpet the next day, so we removed our bed and couldn’t wait to compare the before and after!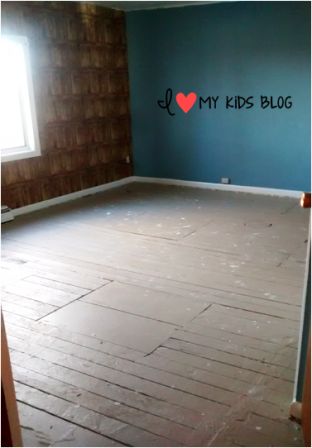
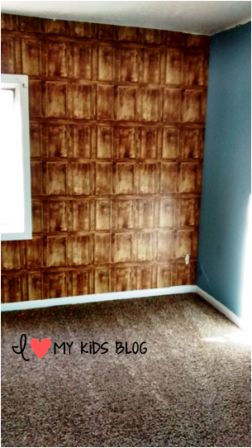
The end result (well almost end result, I still need to get the crown molding up) was exactly what I wanted. It was a gorgeous finish, a peaceful, classy room and it had my personality written all over it! I couldn’t have accomplished this feeling without the help of wallpaper! There are so many cool options out there now!
The Common Room wallpaper has a very bold and beautiful look to it. I’m not too worried about it going out of style anytime soon as it’s been in Trinity College’s library since the 15th century! I absolutely love the warm, rich, cozy feel it gives to our room!
Here is just one more before and after…because who doesn’t love a before and after picture?!?!
Overall, I’d say if you are contemplating trying wallpaper to get a uniquely beautiful room, I’d say go for it! Graham and Brown have tons of options from elegant to exciting. Their roll calculator tool makes it easy and stress free to order and in just a couple of hours your room can go from drab to fab! I’m so glad that I gave it a try! With the left over wallpaper I think I’m going to cover a couple pieces of particle board and make an awesome backdrop for pictures! I can totally see a great 1 year old smash cake session going on with that background! Graham & Brown offer free shipping over $50 and often run impressive sales! You can find them on Facebook, Twitter, and Instagram! Check them out today! Have you been thinking about re-modeling a room in your house? Would wallpaper make the statement you are looking for? Leave me a comment below telling me which room you want to redo with Graham & Brown wallpaper!
Disclosure: I received the items mentioned above so I could form an opinion to share with you. Regardless of this arrangement, I was not required to give a positive review. All opinions expressed above are my own honest thoughts. Thanks for reading!
- A VIVO Mask Will Complete Your Costume! - 10/18/2019
- 10 easy tips to make beautiful pies! - 07/09/2019
- 10 Boredom Busters for Summer Break! - 05/28/2019



1