When my daughter bounded into my room this morning, she poked and jostled me until I opened an eye. “Mom,” she whispered, “you said we could do Easter crafts today. Remember?”
“Uh-oh,” I groaned internally. I suddenly remembered agreeing to some kind of Easter crafts the day before. My daughter had begged and begged to do crafts, as I was cleaning up lunch and consoling a crying baby. I told her we would do crafts the next day, mostly in an effort to appease her, so I could finish cleaning. If my daughter knew that I had forgotten, she would be devastated. So I smiled, patted her hand, and told her we would be crafting in no time. She hopped out of the room like a victorious little bunny. Crap.
As I‘ve mentioned before, I’m not particularly crafty. I craft only when it’s absolutely necessary, when it’s cost-effective to do so, or when my daughter really wants to. My daughter, on the other hand, loves to craft. She is always begging to do more crafts. She spends hours cutting, coloring, and designing new crafts and projects.
When I trudged out of the bedroom, she was dancing around the house and singing about eggs, candy, and bunnies. What to do…what to do? I had about five minutes to come up with a decent Easter craft, before my daughter figured out that I had forgotten. I looked through our craft shelf and grabbed some tissue paper that I had purchased for a recent birthday party, a marker, and some white paper. I brainstormed a simple craft, and ten minutes later my daughter had a blast creating a festive Easter egg picture. Whew!
To save myself from any future Easter craft emergencies, I have created a list of 5 incredibly simple and fun Easter crafts for kids of all ages. These crafts require only basic supplies that are often already in your home, and each craft requires almost no prep time. Soon your little ones can be creating beautiful Easter masterpieces for your home.
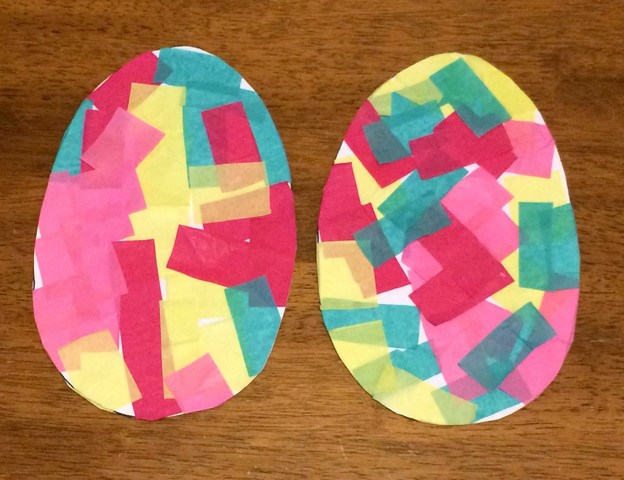
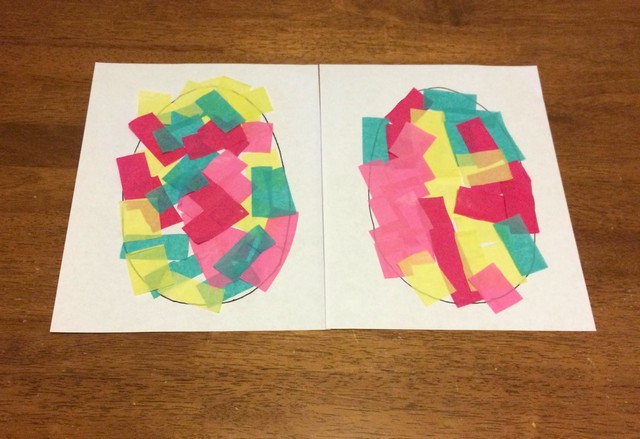
Tissue Paper Easter Egg
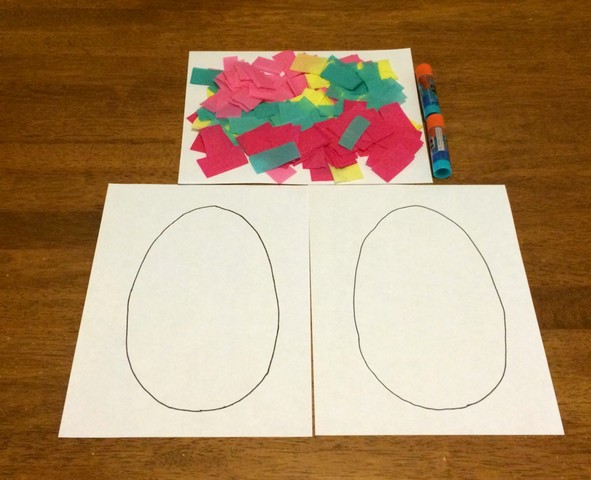
For this craft all you will need is:
- Several different colored sheets of tissue paper cut into squares
- A glue stick
- A marker or pen
- A white sheet of paper
- A pair of scissors
Using your pen or marker, draw an egg shape on your piece of white paper. If your child is younger, you may want to help them with that step. Next, use the glue stick to put glue on ⅓ of your egg.
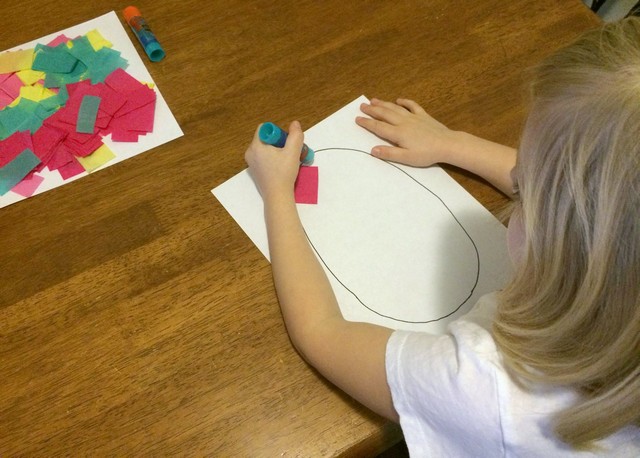 Attach tissue paper squares to the section of the egg that has glue on it. Continue gluing and attaching tissue paper squares, until your entire egg is covered in tissue paper. After the glue has dried, have a grown up cut the egg shape out of the paper.
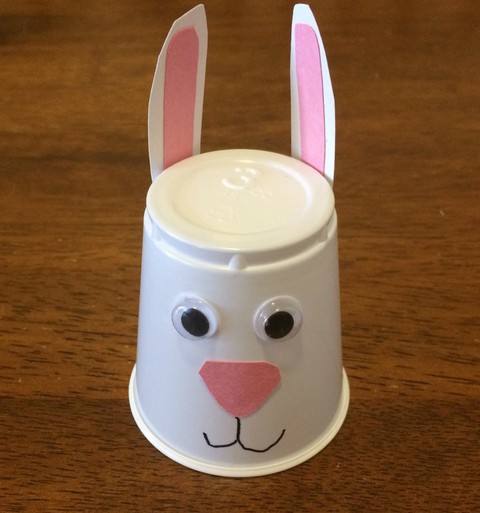
Plastic Cup Bunny
You will need:
- 1 white plastic cup
- Pink paper
- White paper
- A glue stick
- A pair of scissors
- A marker or pen
- *Optional* Craft eyes
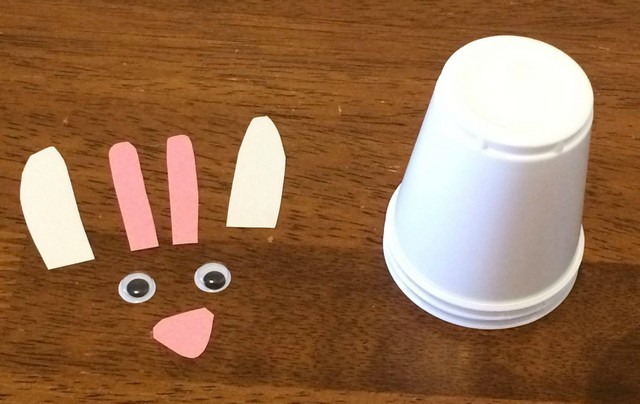
Begin by cutting two ears, two pink inner ears, and a pink nose from your construction paper.
If your children are younger, you will want to help them with the cutting. Next, use your glue stick to glue the pink inner ears to the white paper ears. Glue the pink nose to the center of the white plastic cup. After the ears have dried, glue them to the edges of the plastic cup. If you are using craft eyes, use the glue stick to attach them to the plastic cup, just above the pink nose. If you are not using craft eyes, you can draw them with your marker. Finish your bunny with a cute marker mouth.
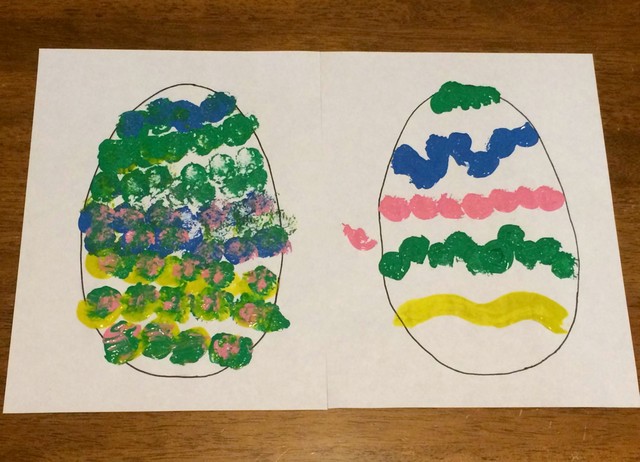
Pom Pom Easter Egg
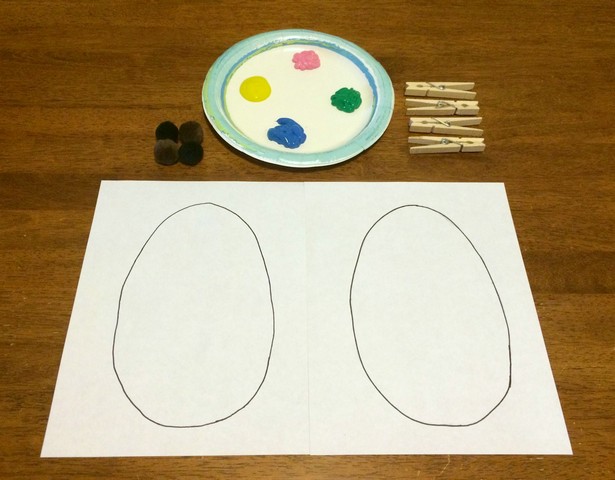
- Four craft pom-poms (medium size)
- Four clothespins
- White paper
- A marker or pen
- Four colors of paint (finger-paint and acrylic pint would each work)
- A paper plate or flat surface to hold the paint
- Newspaper to minimize the mess
To begin making your pom-pom Easter egg, put each color of paint on the plate or flat surface.
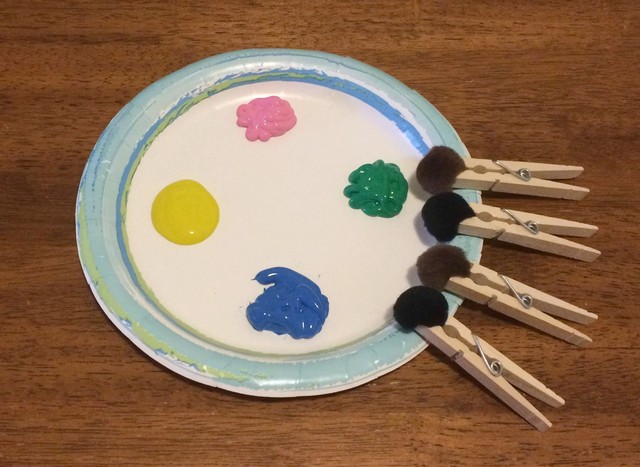
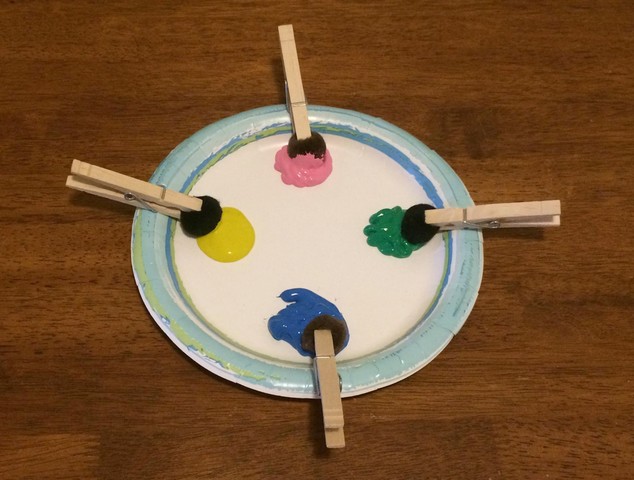
Next, use a clothespin to grab each pom-pom. Place a pom-pom in each color of paint.
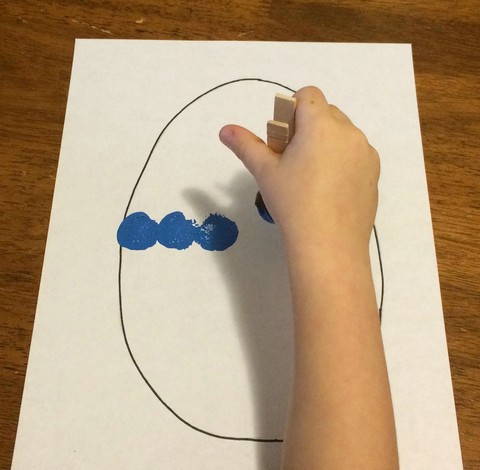
Use the marker or pen to draw an egg shape on your white sheet of paper. Use the clothespins and pom-poms to create fun Easter patterns on your paper egg!
After the the paint has dried, you can cut out your pom-pom painted Easter Egg.
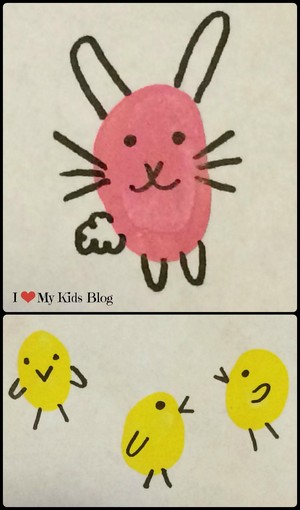
Fingerprint Bunny and Chicks
You will need:
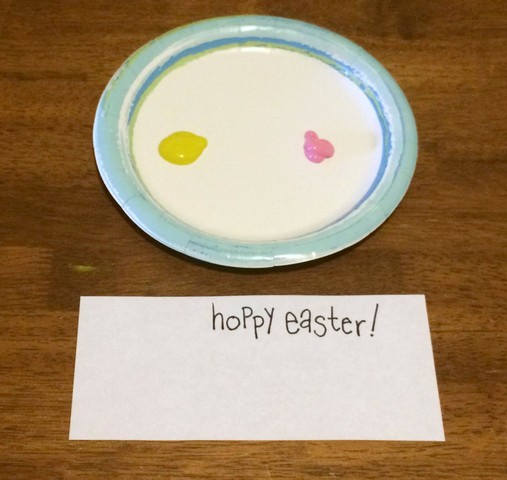
- 2 colors of acrylic or finger paint
- A plate or flat surface to hold the paint
- A white piece of paper
- A marker
This craft is super simple and so cute! Choose one color of paint for your bunny and one color for your chicks.
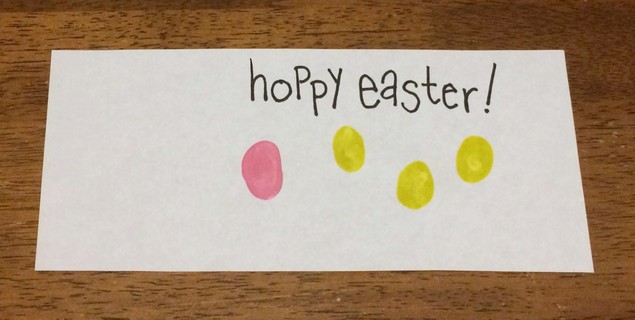
Dip your child’s thumb in the color of paint that you have chosen for the bunny. Lightly press their thumb on a white piece of paper. Dip your child’s index finger in the color of paint that you have chosen for the chicks and gently press their finger on the white paper several times.
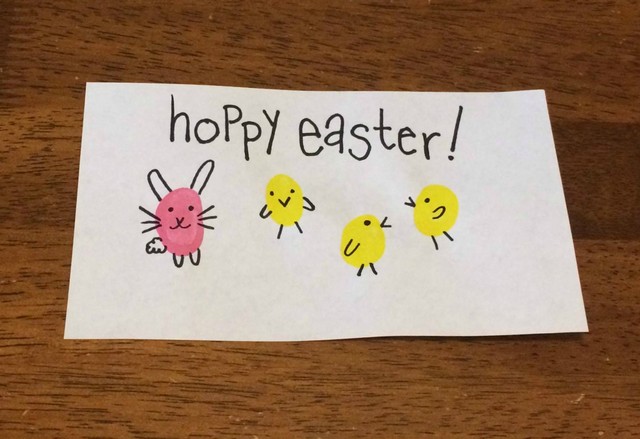
Allow the paint to dry. Next, using the marker. Decorate your chicks and bunny.
If you add a cute Easter phrase, this would be great as an Easter card for grandparents or other relatives.
Traced-hand Chicks
For this craft you will need:
- Yellow construction paper
- Orange construction paper
- A pencil
- Scissors
- A glue stick
- Craft eyes
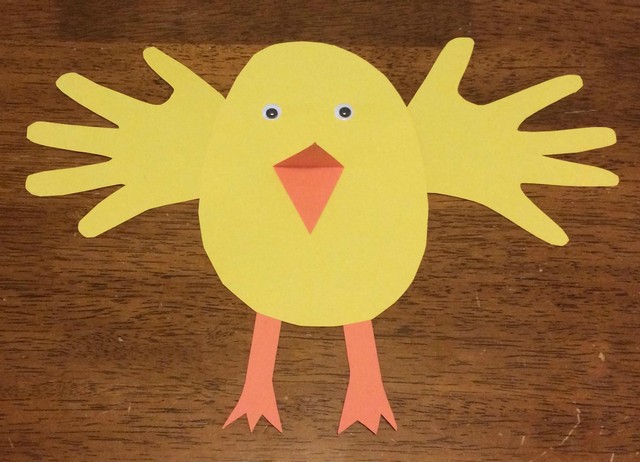
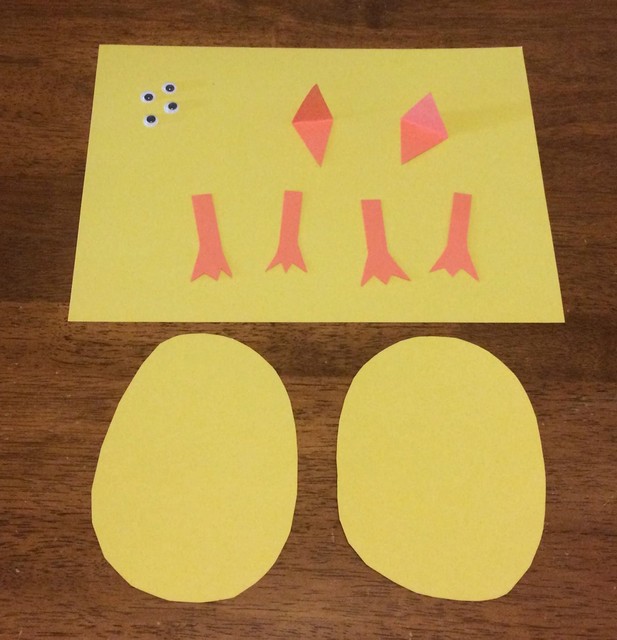
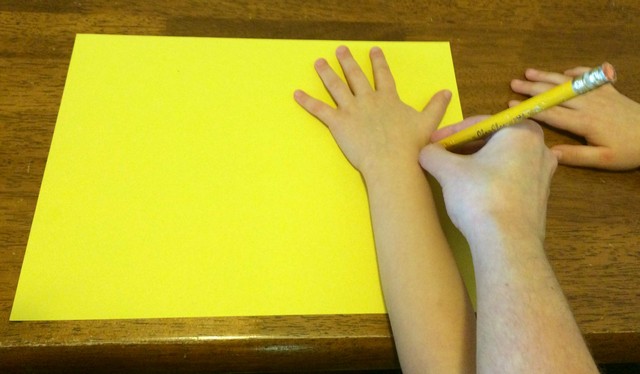
Before starting the craft cut a yellow oval out of the yellow construction paper and two orange feet and an orange beak out of the orange construction paper. Place your child’s hands on the remaining yellow construction paper and trace them with your pencil.
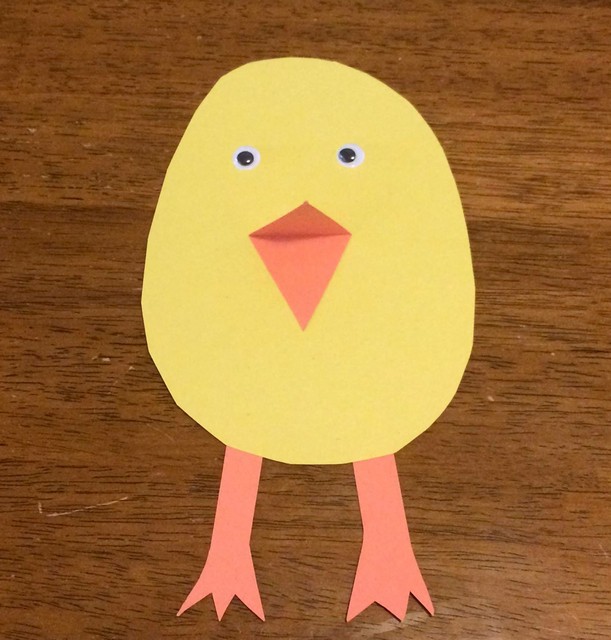
Help your child cut out their hand prints. Next, help your child glue the feet, eyes, and beak to the yellow oval “chick”.
Finally, help your child glue their handprints to the chick, like little wings.
What are some simple Easter crafts that you have done with your children?
- 5-Winter Themed Bone Chilling Survival Movies on Netflix - 12/29/2017
- 7 Best Scary Movies for Kids that are Streaming on NETFLIX - 10/13/2017
- Watch P. King Duckling on Disney Junior + Giveaway - 06/26/2017


1