• Home
  • About
    • Disclosure And Privacy Policy
    • PR / Media Kit
    • Privacy Policy
    • Contact
  • DIY & Crafts
  • Lifestyle
    • Parenting
    • Healthy Living
    • Food
    • Fashion
    • Fitness
    • How To
    • Kids
    • Reviews
  • Toys
  • Entertainment
    • Movies
    • Disney

I love My Kids Blog

Parenting tips, Crafts, Product Reviews and More!

  • Home
  • About
    • Disclosure And Privacy Policy
    • PR / Media Kit
    • Privacy Policy
    • Contact
  • DIY & Crafts
  • Lifestyle
    • Parenting
    • Healthy Living
    • Food
    • Fashion
    • Fitness
    • How To
    • Kids
    • Reviews
  • Toys
  • Entertainment
    • Movies
    • Disney

Perfect Peanut Butter Playdough

05/06/2014 By Irina Leave a Comment

Share

Perfect Peanut Butter Playdough

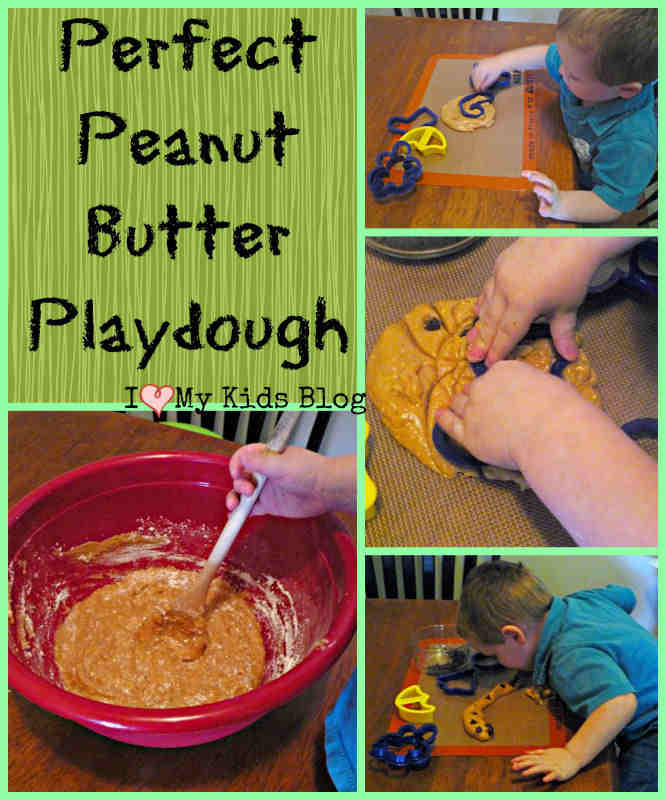
My daughter had a playdate today, and my son was so sad that she was gone.  He moped around for a little while, and I decided to whip up one of my favorite snacks/crafts from when I was little: Peanut Butter Playdough!  Not only is peanut butter playdough fun to play with and fun to eat, but my son could help me make it.  My kids love getting to create and play in the kitchen!  I know that there are lots and lots of peanut butter playdough recipes on the internet, but this is a special recipe that I got from my Kindergarten teacher years and years ago.

I haven’t found any other recipes that I like, nearly as much as this recipe.  Most other recipes have one of two fatal flaws:  either they have way too much powdered milk, which makes for a weird consistency, or they use honey as their main binding agent, and I’m not a fan of things that are primarily flavored with honey.  I like honey, a little bit, sometimes.  This recipe has no honey, and uses just a little bit of powdered milk, for flavor.  To make this amazing recipe, you will need:

Ingredients you will need to make Perfect Peanut Butter Playdoh

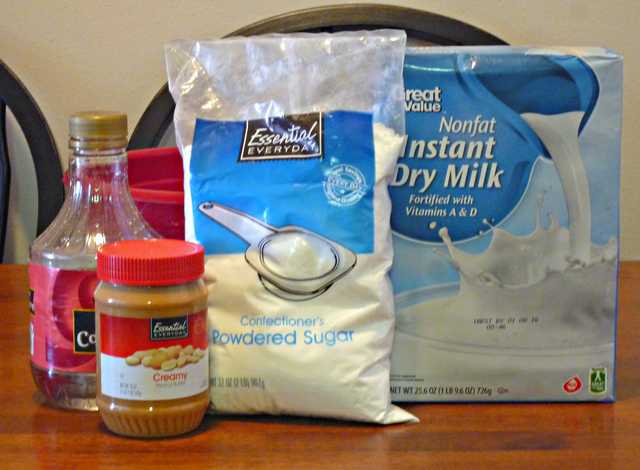
1 C Creamy or Smooth Peanut Butter
¾ C Corn Syrup
2¼ C Powdered Sugar
¼ C Powdered Milk


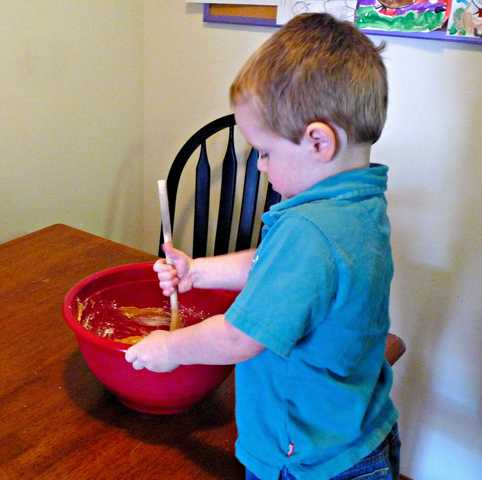
I had a handsome little helper to stir the mixture.  

Hansome helper stirring playdough

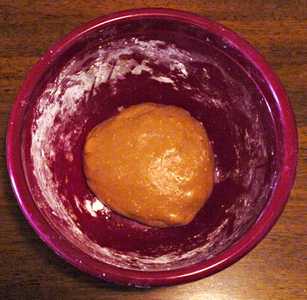
The playdough is somewhat grainy, at first.

Playdough is grainy at first

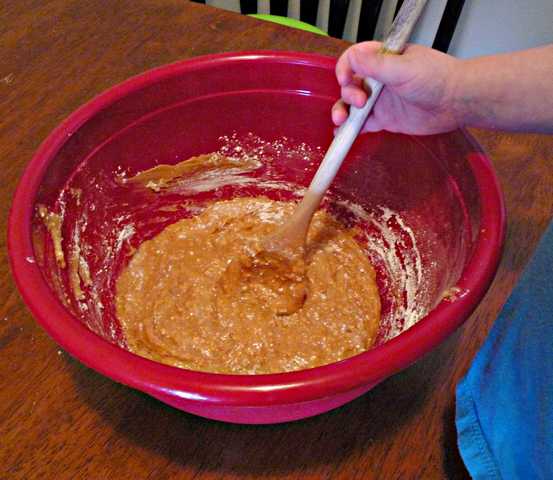
 After the mixture is combined, I knead it for a few minutes to help it get a smoother texture.  

Perfect Peanut Butter Playdough

Next, I refrigerate for 20-30 minutes.  This step is not required, but I find that the dough is better to mold and play with, after a little refrigeration.  I gave my son a large ball of dough and let him play and explore (and eat of course).  He asked me again and again if he could really eat it.  I would recommend putting out a mat or parchment paper to play on.  

Chocolate Chips and Peanut Butter playdough

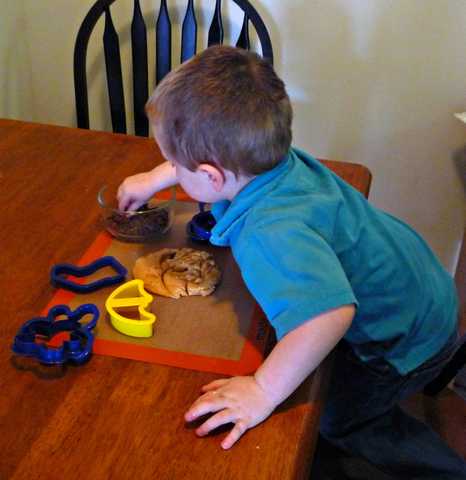
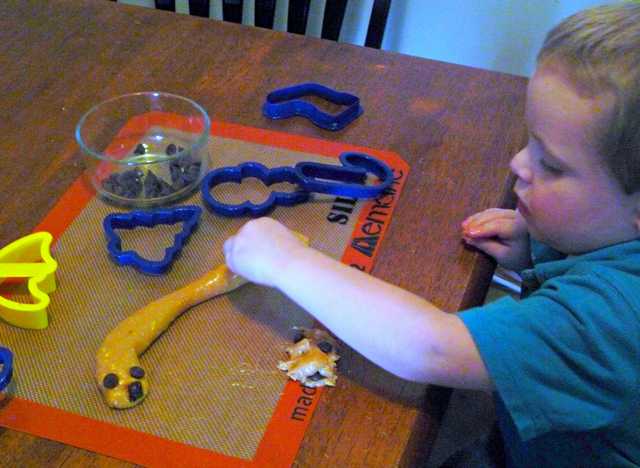
We are a little low on snacks at the moment, but I did have some chocolate chips for him to play with.  Marshmallows, pretzels, and small crackers or cookies would also be fun to play with.  My son played for about 20 minutes, before he decided he just wanted to eat the playdough.  

Playing with Perfect Peanut Butter Playdough

It was a great afternoon activity!  This recipe makes quite a bit of dough, and it refrigerates beautifully, so I would recommend only using what you need and refrigerating the rest to play with another day (or to eat during nap time).  I won’t judge.   Enjoy!

  • Author
  • Recent Posts
Irina
Irina
Irina is the owner and editor at I love my kids Blog. Mom of 2. She enjoys writing about parenting tips, DIY projects and feature lots of toys and products for family and kids of various ages.
Irina
Latest posts by Irina (see all)
  • 5-Winter Themed Bone Chilling Survival Movies on Netflix - 12/29/2017
  • 7 Best Scary Movies for Kids that are Streaming on NETFLIX - 10/13/2017
  • Watch P. King Duckling on Disney Junior + Giveaway - 06/26/2017

Share this:

  • Click to share on Facebook (Opens in new window)
  • Click to share on Twitter (Opens in new window)
  • Click to share on Pinterest (Opens in new window)

Related

Filed Under: DIY Projects with kids

About Irina

Irina is the owner and editor at I love my kids Blog. Mom of 2. She enjoys writing about parenting tips, DIY projects and feature lots of toys and products for family and kids of various ages.

« Nifty Trick for Mysterious Bug Bites
Make easy heart shaped waffles with this Kalorik Waffle Maker! (Giveaway) »

Leave a Reply Cancel reply

Your email address will not be published. Required fields are marked *

Follow our blog

Follow Us on FacebookFollow Us on TwitterFollow Us on PinterestFollow Us on YouTube
Enter your email for a free daily update:

Our popular posts

Moon Dough play dough! Softest Play Dough EVER! - only 2 ingredients!
Ease Your Baby to Sleep with the HALO Bassinest Swivel Sleeper and HALO SleepSack Swaddle
Learning the ABC's with Pull & Learn Alligator from VTech
How to make DIY Stanchions for your event!
How to make a Unique Cherish for a lifetime Mommy & Me gift using Salt Dough and your child's hand print
A safe way to bath your newborn baby! Angelcare Baby Bath Support {Review & Giveaway}
L is for Lollipop, Lego, Leaf, and Ladybug: Preschool Activities for the Letter L
8 Fun & Unique Halloween Hairstyle Ideas For Kids

Recent Posts

  • 10 Ways to Practice Self Care During Social Isolation
  • Make Brushing Teeth Fun with BriteBrush GameBrush and Baby Shark
  • 2019 Gift Guide for Elementary Girls: 10 Fun Ideas!
  • 2019 Gift Guide for Preschoolers: 5 Fun Ideas!
  • 2019 Holiday Gift Guide for Toddler Gifts: 7 Fun Ideas
  • A VIVO Mask Will Complete Your Costume!
  • How to Make DIY Mason Jar Pen Holders for Your Desk
  • 10 easy tips to make beautiful pies!
  • X is for X food, X-ray, X Marks the Spot and Xylophone: Preschool Activities for the Letter X
  • W is for Worm, Water, Watermelon and Web: Preschool Activities for the Letter W

Copyright © 2025 · Tasteful theme by Restored 316

[footer_backtotop]

Copyright © 2025 I Love My Kids Blog - Site Design by SerightDesigns
About | Privacy | Disclosure | Contact