Hold onto your seats folks because I am about to introduce to you the most amazing hand grain mill I have ever laid eyes upon–it is the Wonder Junior Deluxe Hand Grain Mill by WonderMill! There are sooooo many incredible features about this amazing mill that I am going to break this review into 6 different posts AND host a Giveaway for this versatile mill (over $200 value–so stay tuned–and get EXCITED!)
This isn’t your average “run of the mill” (ha ha pun intended) hand grain mill. It can grind not only dry items like wheat, beans, herbs, and spices, but it can also grind nuts, coffee beans, soybeans, etc. just by simply changing the style of grinding burr!
This hand grain mill can grind your wheat for your bread and make the peanut butter too! Awesome, right? It doesn’t stop there! There are so many features I want to point out, but today’s blog post will focus on basic information about this WonderMill Junior Deluxe Hand Grain Mill, what it comes with, optional accessories, how to put it together and basic care instructions.
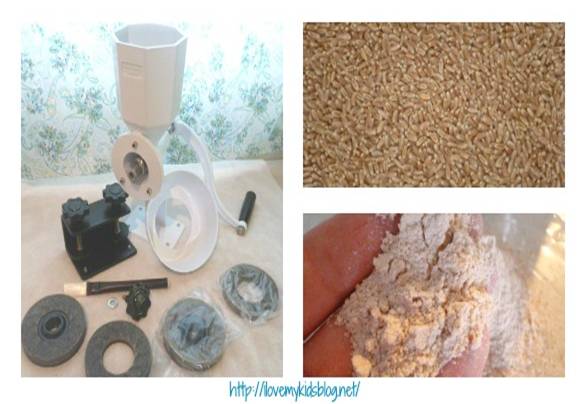
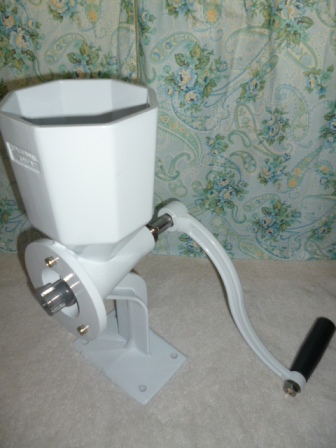
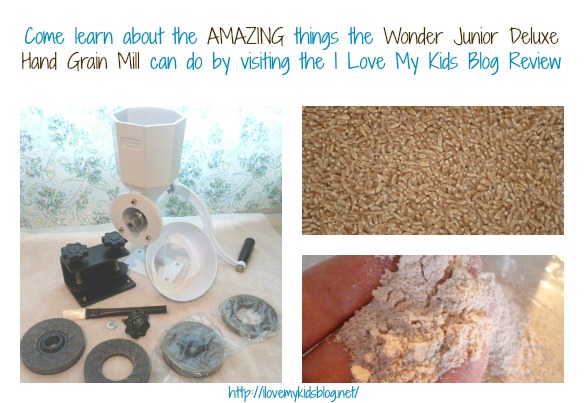
The Wonder Junior Deluxe Hand Grain Mill by WonderMill comes standard with the body, the handle and the auger already put together. Making it super easy to assemble!
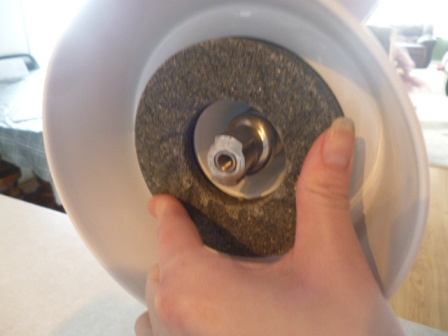
It comes with a set of stone grinding burrs: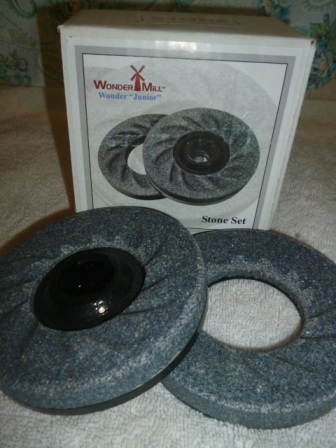
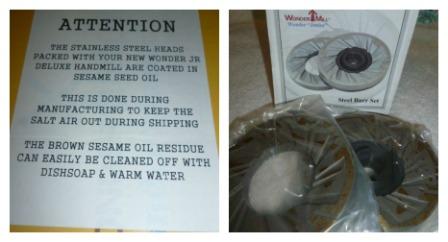
A set of stainless steel burrs:
These were coated in a food grade sesame seed oil to help keep salt air out during shipping. It was clearly indicated in 3 places so I wouldn’t be alarmed at the sight of it. They can be washed clean with warm soapy water. Tip: Never store milling heads in sealed plastic bags.
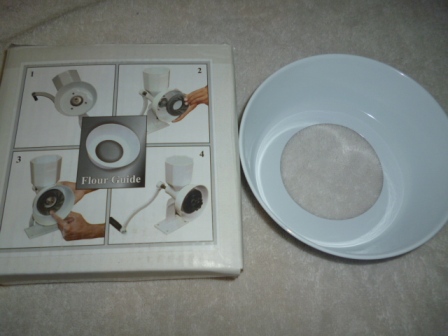
You also receive a flour guide:
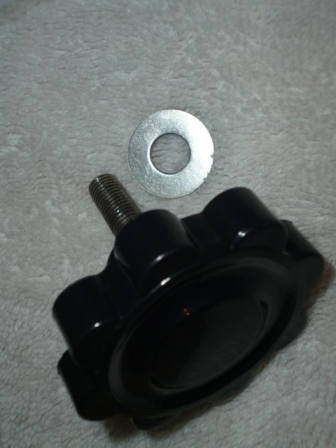
An adjustment knob:
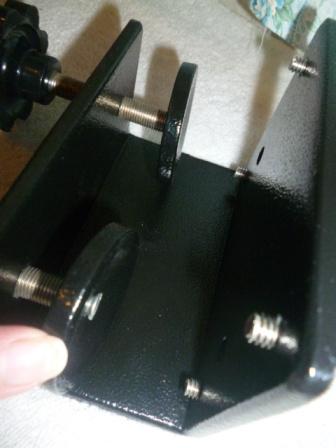
As well as the world’s only patented super grip dual clamp which can “clamp” your Wonder Junior Deluxe on surfaces up to 2″ thick! Do you see the round part I am pointing to there? That will go “under” your counter/table top securing it to the top but not causing any damage to your surface….awesome, right?
This clamp is one of a kind and very impressive. To use this clamp you must attach it to the body of the Wonder Junior Deluxe. Simply loosen the bolts, place the body onto the “top” of the clamp, and replace the bolts securely. Now you are ready to attach it on any surface up to 2 inches thick! Loosen and tighten the bottom of the clamp as needed to get it onto your surface and secure it firmly.
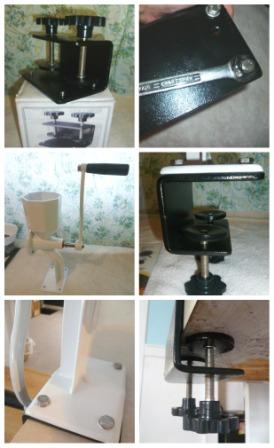
I think we can consider ourselves officially “friends”, since I am showing you the imperfect underside of my countertops!
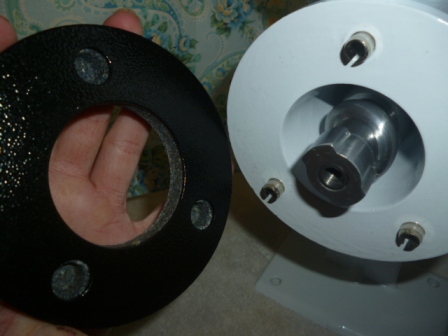
Now that we are attached to a sturdy surface we get to choose what burr to use. I was going to grind wheat into flour and make some bread to pack for school lunches tomorrow so I chose the stone burrs. These provide the finest ground flour and are best for DRY grains. I didn’t take step by step pictures of this process, because it is kind of a 2 hand job, but it is pretty easy to understand. On the back of the burr there are 3 holes. They match up (they fit only one way–so don’t force it, adjust until it fits just right) with the 3 posts on the body of the mill:
Simply place the flour guide on the body around the 3 posts (it fit’s perfectly) and then line up the holes on the back of the stone burr with the body’s bolts.
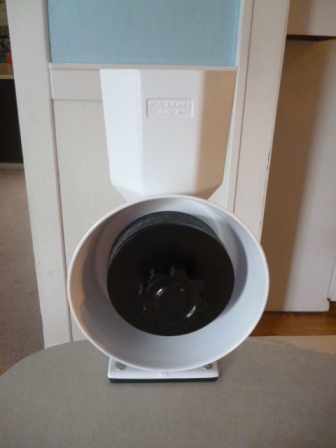
Place the other stone burr (stone side in, glossy side out) on top of the first burr, then place the washer on the threaded adjustment knob and carefully screw it on. This knob attaches it to the auger (on the inside) and controls how fine or coarse your grain ends up. Here is the Wonder Junior Deluxe Hand Grain Mill all put together and ready for action!
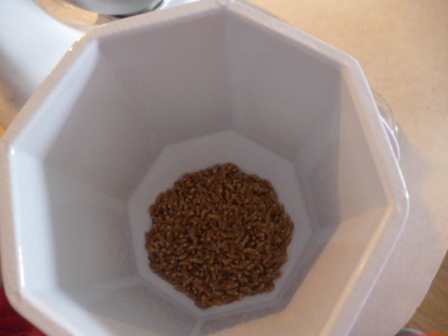
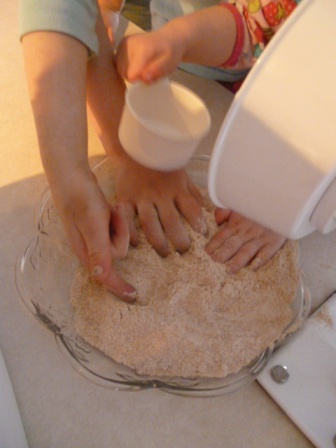
It took me less than 2 minutes to put it together the very first time I tried. I was impressed with it’s ease to assemble. I couldn’t wait to get grinding….and neither could my helpers who seemed to have finished their homework faster than usual just so they could help! I started out with just 1/2 cup of wheat and took a few rounds with the handle before passing the fun off to my kiddos. I reviewed the rules with them: 1) Always turn the handle clockwise 2) Never grind if there is nothing in the hopper 3) ONLY do this when Mom is with you-hey, safety first! They were anxious to help and the other 2 watched when it wasn’t their turn.
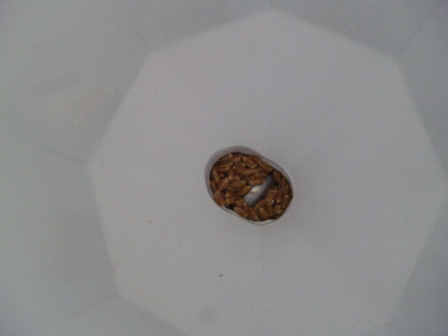
As we reached the end of our first 1/2 cup my oldest daughter pointed out that she could see the auger doing it’s work to push the grain to the grinding stone burrs.
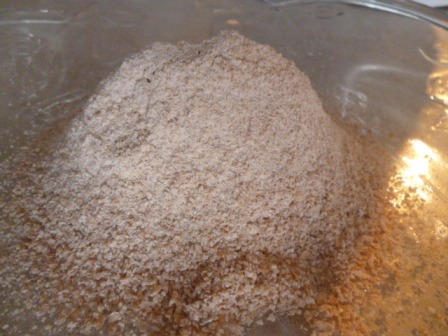
Once the handle was turning the result of flour was immediate. I realized instantly that even though I thought I had adjust the knob to the tightest setting, there was still more “adjustment” to go to get a finer flour near the top. You can see in the photo below how the flour went from coarse near the bottom to a finer flour. I did that by just twisting the knob a little tighter. EASY! You can adjust the adjustment knob either direction for a coarse or fine grind.
My children were loving helping and couldn’t believe the transformation!
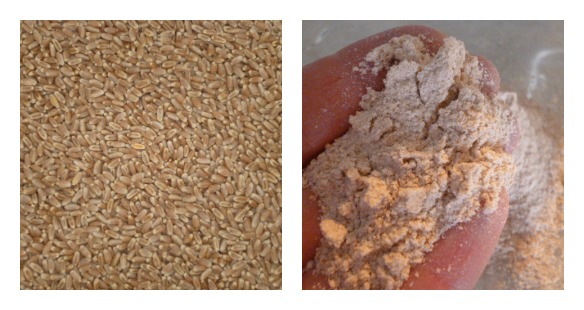 Of course once I touched the flour to take a picture they were pretty sure they needed to feel it too! I was okay with this only because WonderMill suggests that you discard the first batch of flour you grind with your new mill because high spots on the stone burrs settle and may knock off pieces of stone. It is part of the breaking in process and although we didn’t see ANY stone pieces, I thought it would be best to follow the manufacturer’s recommendation.
My kiddos took turns turning the handle and before we knew it we had several cups of flour ground and ready for bread baking! It is recommended that the mill be placed at waist level for best grinding and least amount of effort. Unfortunately, I am incredible short and my counters are tall. The mill was well above my waist level which required more “effort” to use the mill. I think the next time I will attach it to the table as it is much lower than the counter. When you are done grinding there will be some excess left on the flour guide, gently tap the side of the flour guide until all the ground flour is removed.
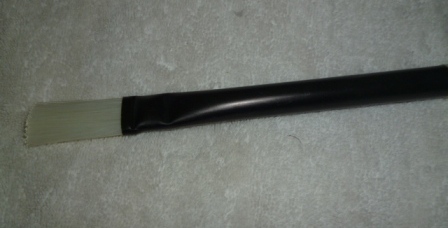
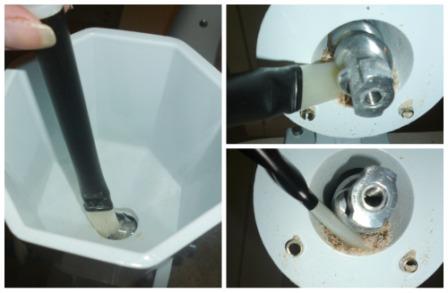
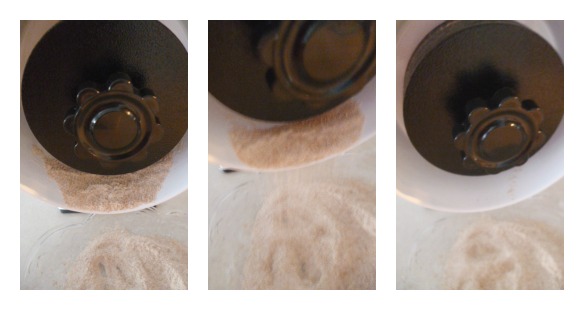 The Wonder Junior Deluxe Hand Grain Mill is easy to clean…which I LOVE. When you remove the adjustment knob and the burrs there will be some excess grain/flour, so make sure you leave a plate or a bread pan underneath as you remove them so you won’t have a mess to clean up later! Never put any part of your Wonder Junior Mill into the dishwasher but you can fully immerse it warm soapy water (which is unlike the last hand grain mill we had). Every part is coated with an anti-rust finish. The cleaning brush also makes a handy tool for quick cleaning.
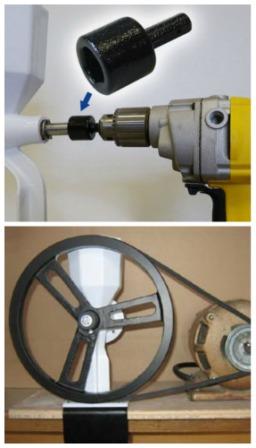
I really like that this mill is a hand grain mill, not electric. If there ever comes a time when power is out for a few days, I know I will at least be able to grind some wheat and bake bread over a fire if I have to….but my children will NOT be hungry! It does require some effort to use but there are some accessories that can give you alternative power, like the drill bit attachment that can power this mill with a drill! Or there is the motorizing pulley accessory which allows you to hook up a bicycle (or something similar) to power the hand grain mill! So awesome!
You can purchase the Wonder Junior Deluxe Hand Grain Mill for $219.95. You can also get just the Wonder Junior Basic for $169.95. The Wonder Junior Basic doesn’t include the stainless steel burrs (meant for milling wet grains), the flour guide, or the dual clamp. I highly recommend spending the extra $50 and getting all the fabulous extras that come with the deluxe model! They also offer an electric mill.
You can follow WonderMill on Facebook, Pinterest, and YouTube. They also have many resources available on their site such as: flour guide, will it grind (a list of things their mills can and can’t grind–it’s an impressive list, check it out!) videos of how to assemble, clean and grind with your new mill, the owner’s manual, information on their awesome warranty and much more!
Please share this post with other so we can spread the word about this awesome hand grain mill and gear up for the giveaway we will be hosting soon! You can click the “pin it” button on the picture below or simply share the post on Facebook or Twitter!
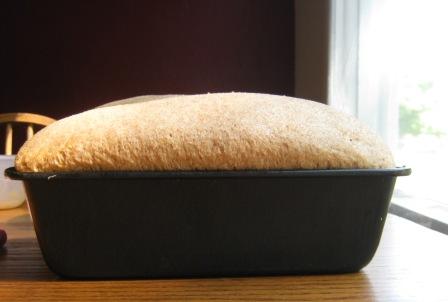
In the next post I will be sharing my absolute favorite whole wheat bread recipe-made with freshly ground wheat flour courtesy of my Wonder Junior Deluxe Hand Grain Mill! YUMMMMMMM I love the look of fresh homemade wheat bread rising on my kitchen table! See you soon!
Disclosure: I was given a Wonder Junior Deluxe Hand Grain Mill to try out in order to form an opinion to share with you. Regardless of our arrangement all opinions posted above are my own and were not swayed by our agreement. I hope you will join me over the next 5 blog posts to learn more about this awesome hand grain mill! I am thoroughly impressed so far and have only touched on it’s basic features!
- A VIVO Mask Will Complete Your Costume! - 10/18/2019
- 10 easy tips to make beautiful pies! - 07/09/2019
- 10 Boredom Busters for Summer Break! - 05/28/2019


I used to have a hand mill years ago and ground my own flour and made healthier pizza dough. I like this hand mill. It really works good and would love to grind my own flour to use in making pancakes and pizza dough. This looks like a very good Hand mill.
Excellent read! I like my Wondermill Jr. Deluxe manual grain milll. It is a terrific grain mill. It requires a little time to refine grains and nuts with it, but the finished product is terrific. Thank you!