
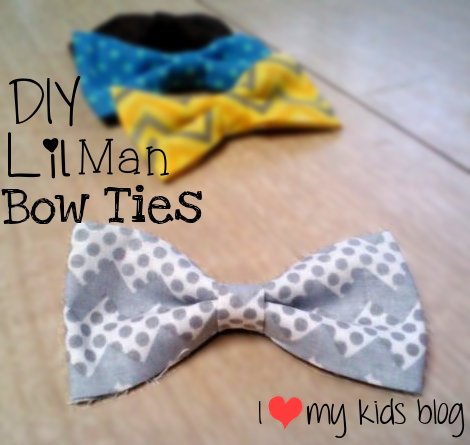
Bow ties are the new thing now a days, especially for little boys. When I found out I was expecting a little boy in April, I was so happy! The day I was assured we were having a boy I ran to JoAnn’s and got some fabric.
Like RIGHT after the ultra sound.
I was a little excited. Okay a lot excited!
About a year ago I found a very awesome detailed post on how to make bow ties. I can’t seem to find that post anywhere anymore. I luckily remembered how she made her bow ties and I was able to make these cute bow ties for my lil’ man. I did get the measurements and found this tutorial that was very close to the lady I had found a year ago.
How to make lil’ man no-sew bow ties
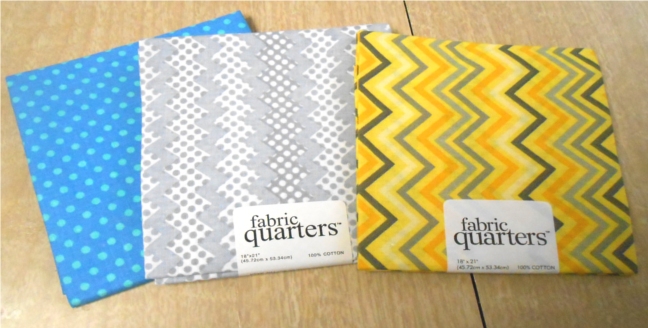
I wanted a variety of fabric. So I chose to get fabric quarters.I got them from JoAnn’s.
They were $2 a piece and you can make 6 bow ties with each fabric quarter. (Great if you want to make matching ones for cousins or brothers, it’s only 30 cents a bow tie!)
I can’t remember how what the length of the fabric is.
Maybe 18×20 inches. Probably somewhere close to that.
Items you’ll need:
Fabric
Glue gun
Ruler
Pen
Iron (very necessary especially if you get fabric quarters)
Bobby pin or alligator clip
How to make the bow ties step by step instructions:
1. Cut out your fabric and make it 5 inches long and 9 inches wide. Also cut out a small strip about 3 inches wide and 3 inches long for the middle part of the bow tie.
2. Turn your fabric upside down and fold over both edges
3. Iron the fabric. It makes it stay better and is much easier if you iron it. (Image 2 and 3)
4. It should be about 1.5 – 2 inches in width.

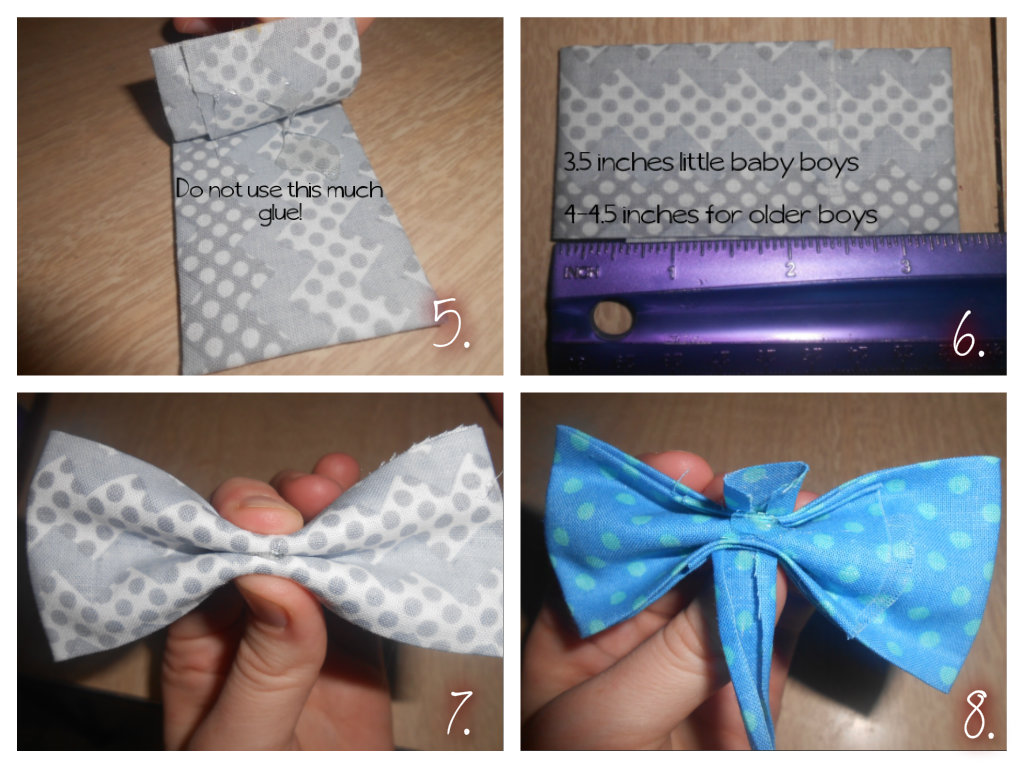
5. Fold over your 1.5 inch strip of fabric (it use to be your 5×9 inch fabric) on each side. And make a small strip of glue to stick the sides together. Don’t do as much as I did. It will be very hard to fold if you do.
6. The total length should be 3.5 inches, for little boys. This is the size I made for all my bow ties. It seems like the perfect size and isn’t overly huge.
7. Fold the piece of fabric to look like a bow tie. It’s kind of hard to explain so look at photo #7. Make a small dot of glue in between to hold it together a little better.
8. Get your small strip the bottom of picture #1 of fabric and iron it. This will be the middle part of the bow tie. Glue it together. Make sure you glue the back of the bow tie. You’ll know which side is the back because of the fabric you folded over.
9. Cut the excess fabric off.
10. You should be able to slip a bobby pin through the back of the fabric piece you glued on.
You can also use an alligator clip. I have done those before and they work great. I just didn’t have any and when I saw you could use a bobby pin I was so happy! 🙂

I love these bow ties and they take under 5 minutes to make. They’re so easy and I can’t wait to put one on my sweet boy when he comes.
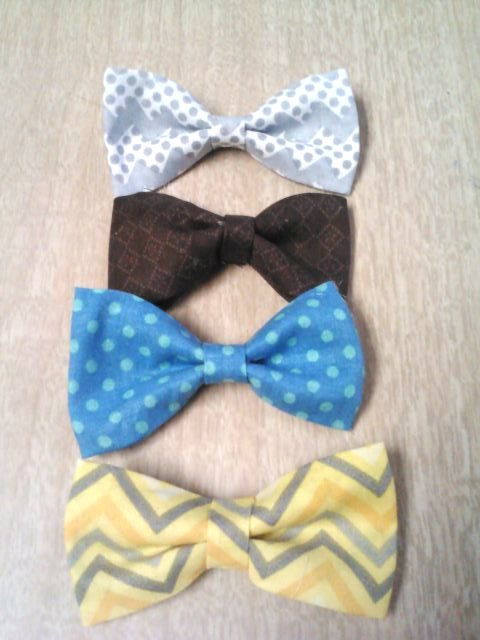 The blue one isn’t very even, but I don’t think you’ll notice once it’s on him. What do you think of the bow ties?

- 5-Winter Themed Bone Chilling Survival Movies on Netflix - 12/29/2017
- 7 Best Scary Movies for Kids that are Streaming on NETFLIX - 10/13/2017
- Watch P. King Duckling on Disney Junior + Giveaway - 06/26/2017

great post! I like the pictures.