
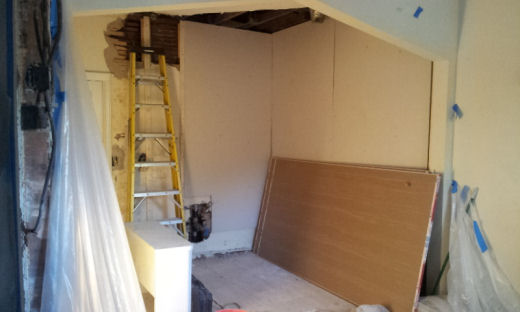
Today was day 4 of our home renovation (see Day 1 and Day 2) and my husband was determined to rip up the rest of the marble tile floor in our kitchen. While he was hammering and clawing away our handyman Pete was setting up the walls and ceiling for some new sheet rock.
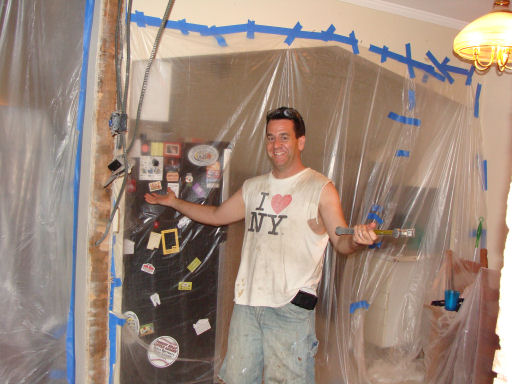
My husband shall I call him “Davey” that’s my name for him he vigorously attacked the kitchen floor. He was dressed in his work gear which included jean shorts that were cut from pants, a t-shirt, a head band, gloves, eye protection of course and he was off to the races.
He ripped the second half of the kitchen floor up in a couple of hours. Being this was his second day of ripping up the tile he had a special technique down.
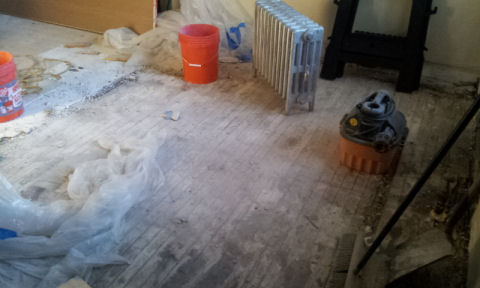
He told me that some tiles had to be finessed off using a pry bar and a sledge hammer while other tiles just had to be smashed off. After that him and Pete pulled up the wire mesh that was nailed to the floor. Finally we were able to see the bare wood that was beneath all of the tile. After that he went at the tile in the bathroom.
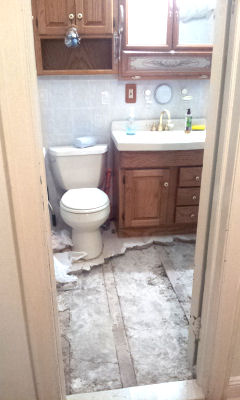
This proved to be even more difficult since it was cemented to the sub floor. After taking most of it off he helped Pete hang the sheet rock on the walls and eventually on the ceiling. The walls went by pretty smoothly but the ceiling sheet rock was a bit more tedious. He told me at one point he had to balance the sheet rock on his head while Pete held up the other end and screwed it into the beams. A couple of hours later I heard a big crashing noise. I immediately yelled out, “Is everyone OK?” They replied,” YES”. Apparently while they were trying to hang one of the ceiling pieces of sheet rock it slipped and fell, cracking on the way down. They said some of the screws were not into the beams so it didn’t hold. Luckily they had extra sheets of sheet rock and the broken pieces could be salvaged as fill-ins. As the day closed all of the sheet rock was hung, the tile floor was removed and we are now ready to tape and plaster everything. After that is a coat of primer and paint. This is where I come in. I have to choose the paint for the kitchen. Any suggestions?

- 5-Winter Themed Bone Chilling Survival Movies on Netflix - 12/29/2017
- 7 Best Scary Movies for Kids that are Streaming on NETFLIX - 10/13/2017
- Watch P. King Duckling on Disney Junior + Giveaway - 06/26/2017

We are currently restoring an old home, sanding all wood to raw &staining also removed layers of wall paper glue & paint. With all the natural oak exposed I am painting with Benjamin Moore Daredevil red trimmed with a high gloss white
aaaaah Jane…sounds very interesting…like I saw in few magazines… I would love to see the finished result on how it will look. Good luck with your project!
At least you are making it to a more fun part – the picking out colors and painting! I keep watching as we are going through some home remodeling here too!
Sooo can not wait for the painting part. I will totally DIY it and do it myself (isn’t it the same meaning?) I have painted my kids rooms before…usually 2 coats about 2-3 hours…the hardest part is to mask the tops and bottoms…:)
1