
Mother’s Day is coming up, and I have the perfect gift that can be from your little ones to you. How many of you have kids who don’t know it’s Mother’s Day because they are too little to realize it? With my help of this wonderful tutorial I will show you how to make the PERFECT Mother’s Day gift.
My 10 month old daughter was able to give ME this gift. You can have your babies giving you a gift that you will cherish for a lifetime. This can be from any child, it doesn’t just have to be from babies. Although it works best for younger children.
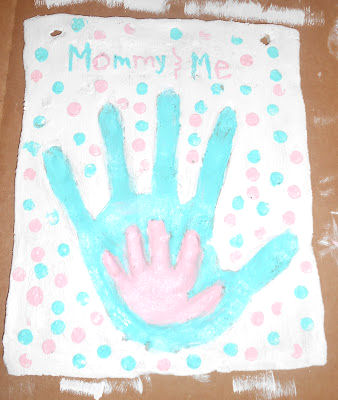
I found the idea from a lady who makes clay crafts. All credit of the idea goes to her. I figured I could do this with salt dough. And it turned out great! Here is a picture of hers. She is professional, but I think mine turned out great, don’t you?
How to make Salt Dough:
(I had to make 2 batches of the dough so I could fit my hand on it as well. If you are only doing a child’s hand or foot print, just half this recipe. I am giving you how I did mine.)
-2 cups flour
-2 cups salt
-1 cup water (give or take a little bit)
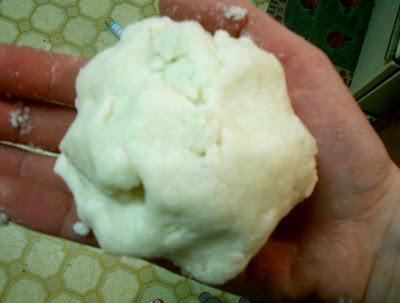
Mix all ingredients together. Knead until soft dough. You will just have to test and try your dough. If it’s too sticky add a tiny bit more flour. If it’s too dry and crumply, add a tiny bit of water. It should look something like this.
Supplies you need for the plaque:
-2 or 3 different color paints
-Modge Podge
-Very small paint brush or mechanical pencil
-Little bit larger paint brush. (Not the sponge kind. Trust me!)
-Small glue stick or pencil eraser
-Ribbon
Instructions on Mommy and Me plaque:
- Flatten your dough with a rolling pin.
- Cut a rectangular shape out with a knife. I measured mine. It was 8 inches wide and 9 inches long. (8×9)
- Put in your hand print. (Mom)
- Put child’s hand print in Mommy’s palm.
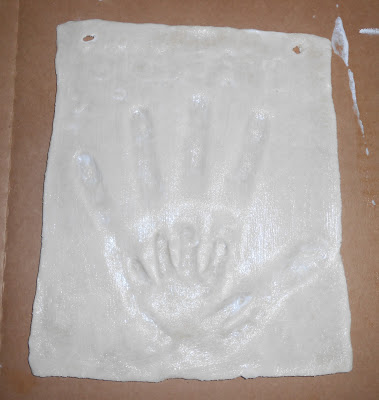
- Put 2 holes top corners. (If you want to hang it)
- Bake for 3 hours at 150 degrees. I bumped mine up to 200 degrees for the last hour. (It sounds like a lifetime, but it goes by quickly!)
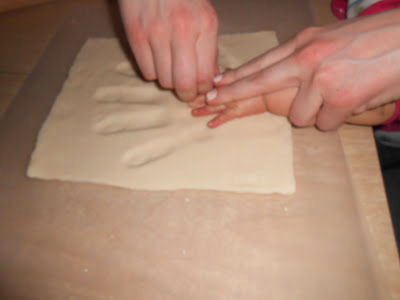
She wiggled and squirmed! But we got it!
(Do not write anything on it at first, it won’t turn out too well. Use paint to write on it.)
- Take it out of the oven and let it cool. It will still be pretty flimsy, be careful.
- Once it is cooled brush a coat of modge podge over the whole plaque. This will give it a glossy look that is in the picture above. Let it dry.
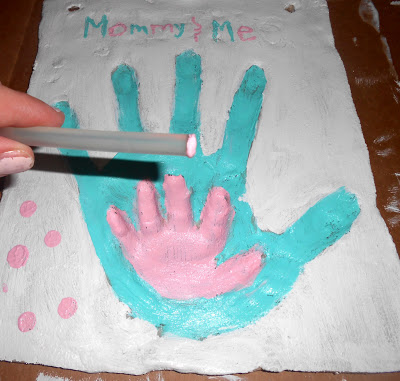
- Start painting the plaque. I advise having the 2 hands 2 different colors so you can see it better. I had 3 different colors. Each layer was a different color. Make sure to go slow and be careful around the corners of the finger. Take your time, you want it to look pretty!
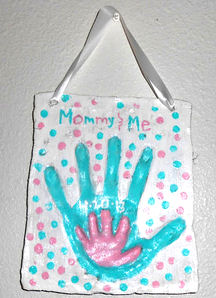
- Once it is painted and dried, take your small paintbrush or mechanical pencil and write whatever words you want up top. I wish I would of put my daughters name, but it wouldn’t of been center, so I just did Mommy and Me.
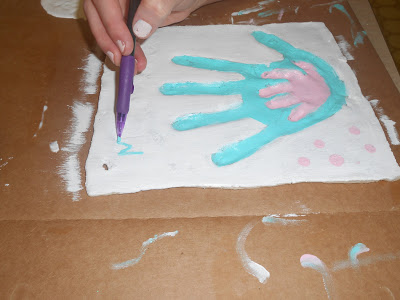
- Take your small glue stick or pencil eraser and go polka dot crazy. If you want polka dots that is.
- Do one more coat of Modge Podge over the painted project and…….
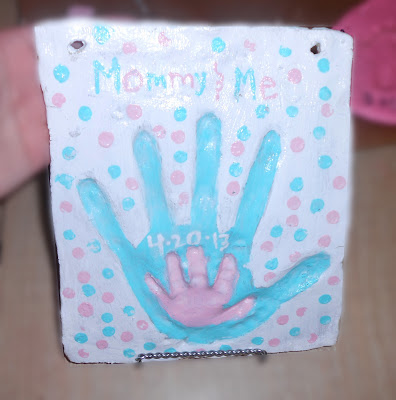
You’re done! You can put it on a stand or hang it with ribbon.

Tie it like this on the back of the plaque and then hang it up. 🙂
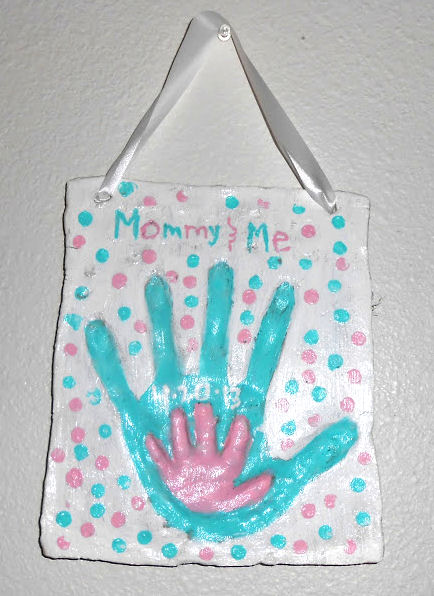
Don’t you think this is a memory that can be cherished for a lifetime? It is so simple, yet so meaningful. And it is perfect for Mother’s Day! Happy Mother’s Day to all you great mom’s out there!

Irina is the owner and editor at I love my kids Blog. Mom of 2. She enjoys writing about parenting tips, DIY projects and feature lots of toys and products for family and kids of various ages.
Latest posts by Irina (see all)
- 5-Winter Themed Bone Chilling Survival Movies on Netflix - 12/29/2017
- 7 Best Scary Movies for Kids that are Streaming on NETFLIX - 10/13/2017
- Watch P. King Duckling on Disney Junior + Giveaway - 06/26/2017

Very informational post. I’m going to try this project with my nieces. It seems very simple to do.
This is super cute! I love the way it turned out. I will have to show this to my sisters!
This is a beautiful Mother’s Day gift! Very cute! Looking forward to more DIY craft projects!
I LOVE IT!
That is an awesome idea. Thanks for sharing.
Excellent post. I certainly love this site. Thanks!
What do I put it on to bake?
What do I put the dough on to bake? Baking sheet, foil?
1
1