Can you believe it? Two letter posts in one week! It has been fun spending the break from school with my family. Being able to spend more one on one time with my kids. It has given me the opportunity to see first hand all of the growth they have made from school so far this year. It has also been fun to watch my three year old and five year old work together and be able to see where my five year old used to be and where she is now. Then also see where my son will be at in just two years. It is truly amazing how much their little brains take in in such a short time!
Here are the activities we did for the letter D:
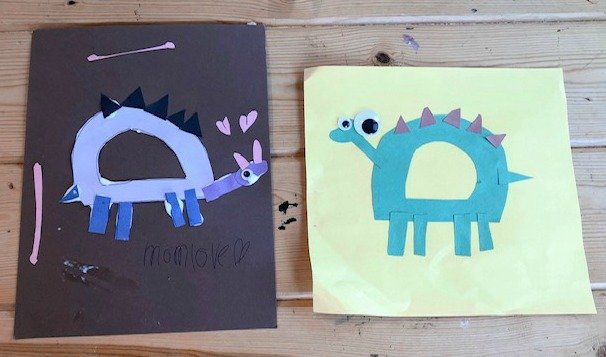
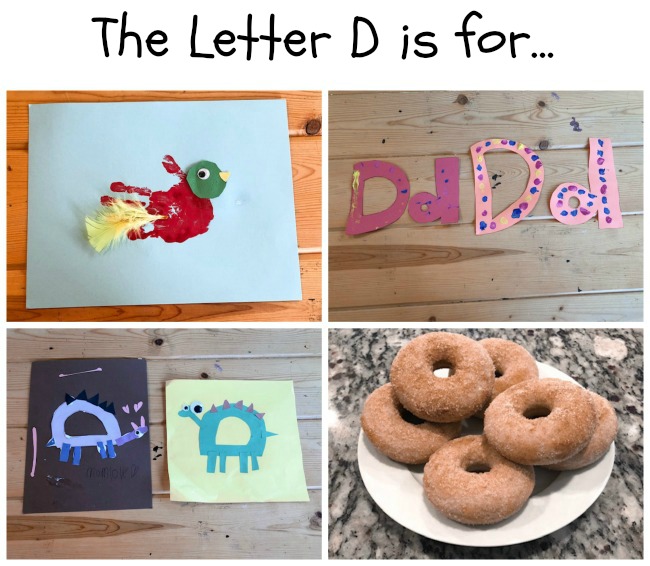
The first activity we did for the letter D was make dinosaurs.
What you need for this activity:
- Construction Paper
- Glue
- Googly Eyes
- Scissors
How to do this activity:
- The first thing I did was let the kids pick out the colors they wanted each part of the dinosaur to be. My daughter wanted every part to be a different color. My son wanted to do his dinosaur exactly the same as the example picture.
- I then drew out the shapes of each part of the dinosaur on the selected colored paper. This included the legs, spines, body (which is a big bubble D), tail, neck and head.
- Next the kids cut out the shapes. Normally I do the cutting when doing these activities but this time I decided to let my kids give it a try. My daughter, who is the five year old, cut out everything on her own. My son, who is three, cut out the spines and did really well but then decided it was too boring for him and wanted me to finish for him.
- Next have your kids glue the shapes on another construction paper to make the dinosaur. They can also pick out one or two eyes to glue on as well. During this step I put the example picture in front of each of them and let them paste the shapes on themselves.
- Last, let your kids add their own touches. My daughter added hearts, words, ears and string lights to hers and it totally ended up looking like something she would make.
I always love how different these activities can turn out when both of my kids are doing them. It is fun seeing both of their little personalities stick out through the extra touches they add in or what choices they made for putting the activity together like the colors of the construction paper.
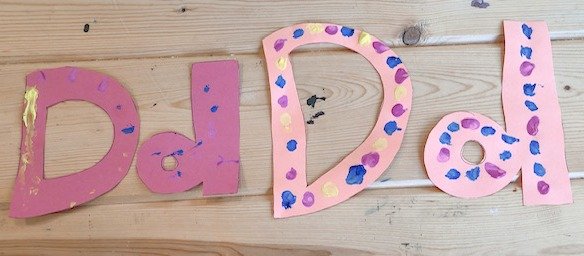
The next activity we did for the letter D was paint with dots.
What you will need for this activity:
- Construction Paper
- Kid Friendly Paint
- Q-tips
- Scissors
How to do this activity:
- The first thing I did was let the kids pick out which color paper they wanted to use and the color paints they wanted as well.
- Then I drew and cut out the bubble letter Ds. This could also be done by the child but they may need help cutting out the center of the D’s.
- Then let them paint and make dots using a q-tip as the paint brush.
These simple activities are always good to have. It lets you get in that extra bonding time and time for your child to learn while also not being too overwhelming for them to be spending so much time sitting in one place. It is also fun to do activities that are different than the norm and see what their reaction is to it.
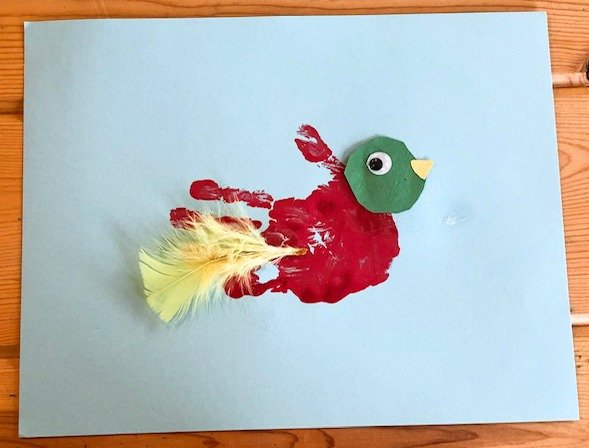
The next activity we did for the letter D was make a hand print duck:
What you will need for this activity:
- Construction Paper
- Googly Eyes
- Feather
- Paint
- Glue
- Scissors
How to do this activity:
- First, like most of the other activities, have your child choose which items they want to use. The colors of construction papers they want for the head and the beak and the background. The color paint they want for the hand print. The size eye they want. Then finally the color feather they want to use.
- Next I drew out the head and beak on the selected construction papers. Then my daughter cut them out
- Then I helped my daughter paint her hand with the color she had picked out. This can be done by pouring paint on a paper plate and your child dipping their hand in the paint. The way we did it was that I painted her hand with a paint brush, this way I didn’t have to waste any extra paint.
- With their painted hand have your child place their hand down on the construction paper they had chosen for the background color. You’ll then need to let the hand print dry. During this time we ended up doing the dinosaur activity from above.
- Once the hand print is dry then your child can glue on the final touches, the head, beak, eye and feather.
I am a huge fan of hand print activities. It is such a fun and easy way to keep track and be able to see how much your child has grown over the years.
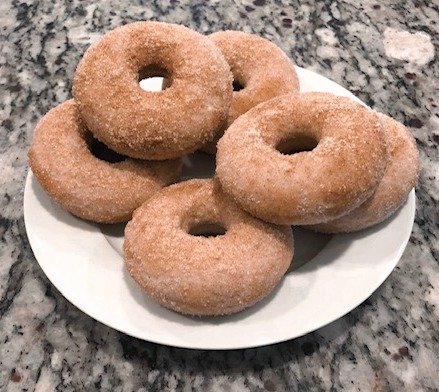
The last activity we did for the letter D was to make and eat doughnuts.
This was my favorite activity because I love sweets. The recipe we ended up using was for Baked Cinnamon Sugar Donuts from the Creations from Kara Blog. A big reason for this was because I prefer baked doughnuts and my dad was visiting and he loves cinnamon. Of course any recipe can be used but I highly recommend this recipe! The results turned out deliciously. Luckily the recipe only makes six doughnuts, it forced me to not stuff my face with it’s goodness.
What kind of doughnuts would you make for a letter D day? Are there any other letter D activities that you have tried that your preschooler loved?


1