I thought Christmas would be an appropriate day to write my post about the letter C. I hope everyone’s day is going amazingly and that you have been able to spend it with those you love! We have been spending our holiday break doing a lot of activities so that the kids, and the parents, don’t go crazy. So the first activities we decided to do was to continue our letter activities, it only took us almost 3 months to get to the next letter. My son will eventually learn them all.
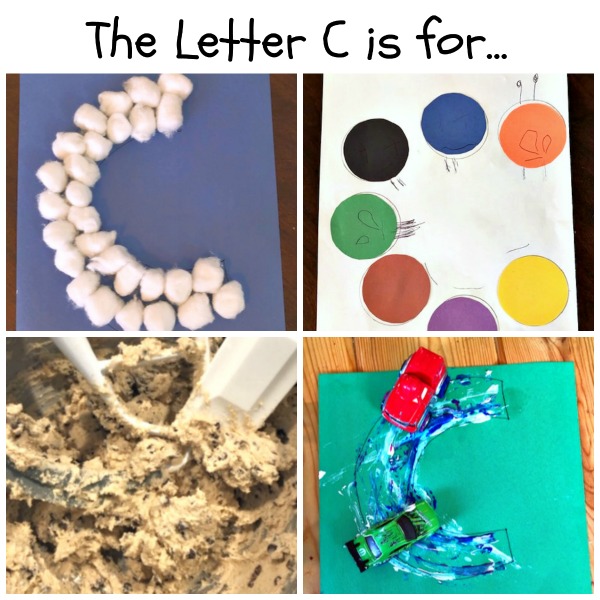
Here are the activities we did for the letter C:
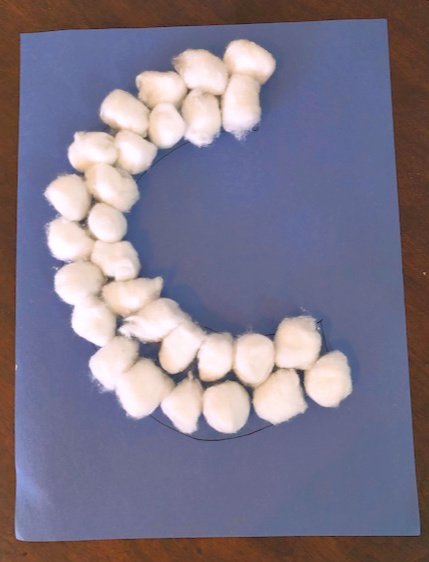
The first activity we did for the letter C was making clouds.
What you need for this activity:
- Blue paper
- Pen/pencil
- Cotton balls
- Glue
How to do this activity:
- Draw a big bubble letter C on the piece of paper. I did this first with a pencil and then drew over it with a pen, that way if I messed up in the beginning I could erase and start over.
- Give your child the glue, we used a glue stick which turned out to be very easy and a great decision. Have them glue the cotton balls inside the bubble C.
That is it! So super simple. To make this activity a little more involved you could then go outside and look at clouds and have them tell you what they think the clouds look like.
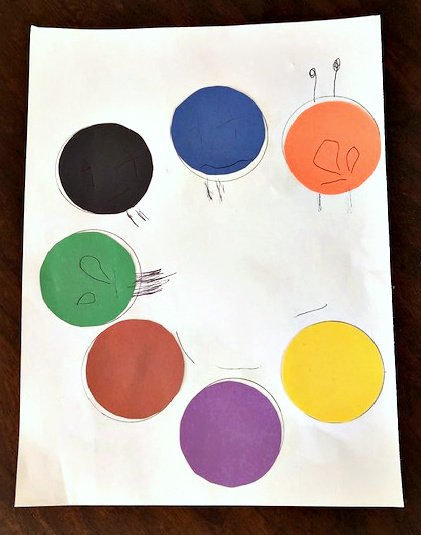
The next activity we did was make a caterpillar.
What you need for this activity:
- A paper for the background (we used white so the colors of the caterpillar would pop more)
- Multiple pieces of colored paper
- A writing utensil
- Glue
How to do this activity:
- Prep by cutting out circles to make the caterpillar. To do this I looked through my house for something that was the shape of a circle, that I could trace but that would make the circles a good size, not too big and not too small but basically it is a preference and will be different for everyone.
- The second step is also a prep step. Use the circles you cut out to trace out where your child should glue them down so they will end up making the letter C.
- Now for the real fun! Have your child glue the circles down in the outlines you made.
- Finally let your child draw legs on each of the parts of the body. Have them add antennas to the head and a face. My son had decided that each circle was it’s own caterpillar so he added a face to almost every circle.
I have realized that these activities are always more fun when I let go of my mom control and let my son add in his special touches. They always turn out so cute that way!
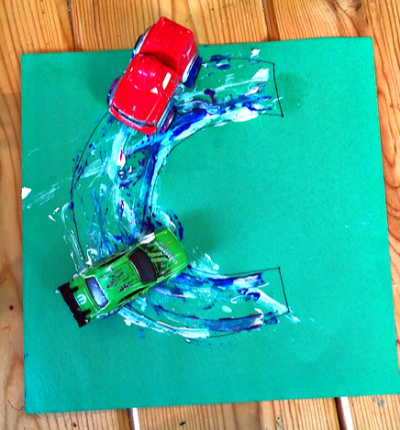
The third activity, and probably our favorite, was painting with cars.
What you need for this activity:
- Construction paper
- Kid Friendly Paint
- Writing utensil
- At least one toy car
How to do this activity:
- Prep by writing a big bubble letter C on a piece of construction paper. Also add some paint to a paper plate, my son used three colors.
- Then all that is next is to have your child to drive their cars through the paint and then drive them on the letter C and repeat.
This one was not just my son’s favorite but was my favorite as well and I only watched. It was fun watching him test out this new way to paint and then have fun mixing the colors to make new ones.
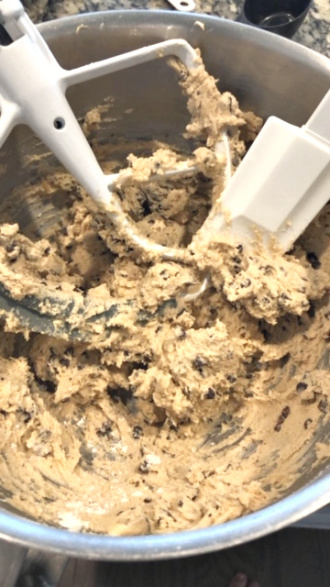
The final activity we did for the letter C was make chocolate chip cookies for Santa!
I decided that from now on we are going to start doing crafts and at least one hands on activity when learning our letters. This was our hands on activity for the letter C. It also came in handy since it was already on the to do list for the day. This can obviously be done with any cookie recipe but the one we did was our favorite chocolate chip cookie recipe, and it has so many C’s!
What is your family’s favorite cookie recipe? What is Santa’s favorite cookies when he visits your house?


1