
Earlier this month I had the opportunity to review and showcase a company that specializes in fun charms and jewelry for tweens. As I was looking through my new collection of jewelry, I realized I did not have the proper place to keep them organized and safe. That is when I got the idea to make a charm and necklace holder. I love the design I came up with. It is easy to make and costs under $10 to put together.
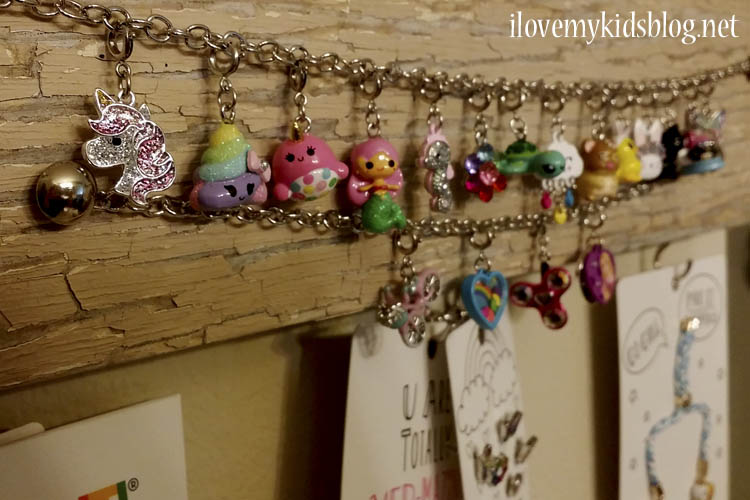
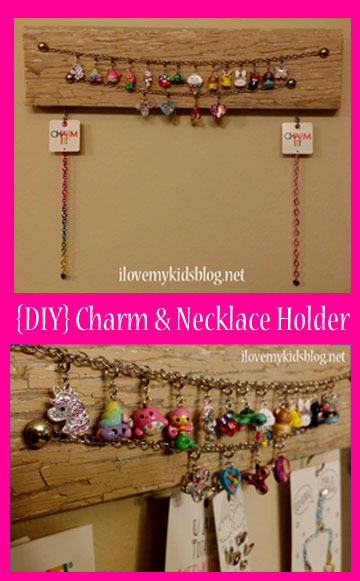 Inspired by the fun features of a charm bracelet, I wanted to use chains that could hold and display individual charms easily. The charm and necklace holder I created has two rows to hold charms, or earrings. Along the bottom of the board, I put in four hooks. These hooks are used as a bracelet or necklace holder.
As I mention in the video tutorial, the wood I am using is from an old farm. Taken from old weathered doors laying around the property of my in-laws, this piece not only has beauty behind it, but also family history. It is a perfect piece to bring a new and modern décor to my home.
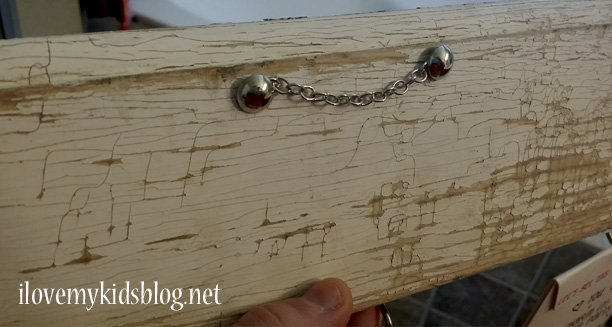 At the end of the video I suggest that you will need to adhere a backing to the necklace holder if you want to mount it on the wall. I forgot to buy one at the store when I was there, so I just used the two upholstery nails and some chain to fashion a wall mount. It has worked great so far, contrary to what my husband thought.
I purchased the three items used to make the charm and necklace holder at Walmart for under $5. If you have some scrap wood laying around, then you can keep the cost under $5. However, if you need to purchase any wood for this project, it will increase the cost of making it just under $10.
 I hope you enjoy this tutorial and are able to create a beautiful charm and necklace holder! Please share your creations or ask any questions in the comments below. If you are interested in learning more about the awesome charms that are featured in the images and video, click HERE.
Creating a Custom Charm and Necklace Holder


What an inspiring way to organize and showcase your favorite jewelry! A well-crafted display not only keeps things tidy but also adds personality to any space. If you’re looking to enhance your new holder with truly elegant pieces, explore our collection at Seh Chic Boutique. Our Custom Charm Necklaces and Custom Pendant Necklaces are designed to reflect individuality and style, making them ideal for any jewelry lover. These pieces bring elegance and charm to any setup. Add a little sparkle and let the beauty of jewelry shine beautifully!
Must Visit – “sehchicboutique.com”
Tak Hej der til alle, det indhold, der findes på denne
že spousta z něj se objevuje na internetu bez mého souhlasu.
1
Naprawdę podoba mi się twój szablon wp, skąd go pobrałeś? Z góry dziękuję!
Doceniam twoje teksty i prawie wszystkie chłonę migiem, dziękuję za link z komentarza, on jest rankingowym dźwigiem.