• Home
  • About
    • Disclosure And Privacy Policy
    • PR / Media Kit
    • Privacy Policy
    • Contact
  • DIY & Crafts
  • Lifestyle
    • Parenting
    • Healthy Living
    • Food
    • Fashion
    • Fitness
    • How To
    • Kids
    • Reviews
  • Toys
  • Entertainment
    • Movies
    • Disney

I love My Kids Blog

Parenting tips, Crafts, Product Reviews and More!

  • Home
  • About
    • Disclosure And Privacy Policy
    • PR / Media Kit
    • Privacy Policy
    • Contact
  • DIY & Crafts
  • Lifestyle
    • Parenting
    • Healthy Living
    • Food
    • Fashion
    • Fitness
    • How To
    • Kids
    • Reviews
  • Toys
  • Entertainment
    • Movies
    • Disney

How to make Pretzel Hugs, the Sweetest Kind of Hugs [Activity Sticks Activity]

07/02/2017 By Ashley Leave a Comment

Share

I am a huge fan of chocolate and pretzels so when I was looking for treats to put on our activity sticks special treats list I knew I needed to include these yummy treats. The best part about the pretzel hugs is that they are easy enough to make that your kids can help, even if they are young. My two year old was even able to help put them together. Now no more stalling, here is how to make your new favorite go to treat!
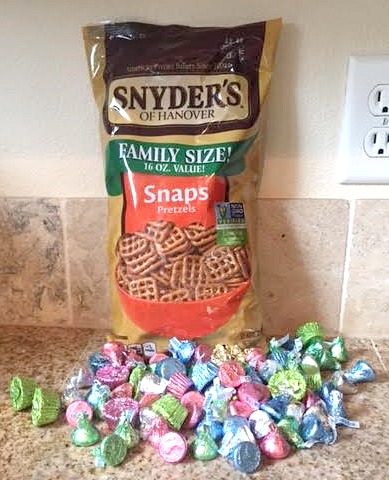
Pretzel Hugs Ingredients

-Pretzel Snaps

-Hershey Kisses (You can use Hershey Hugs but I am not a fan of white chocolate)

-Mini Reese’s Peanut Butter Cups

Pretzel Hugs Prep

Directions:

1. Preheat Oven to 300 degrees.

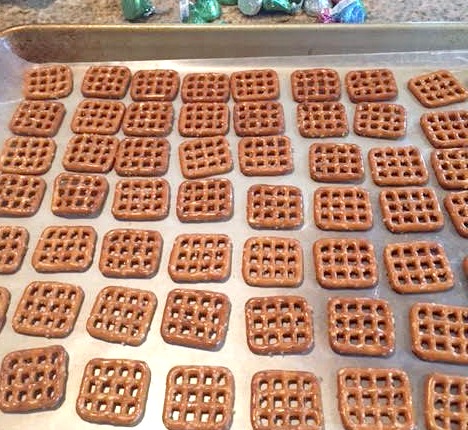
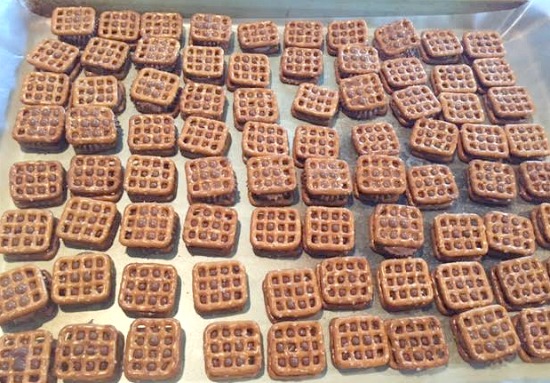
2. Lay out the pretzels on a baking sheet.

This is a great first step for the kids to help with.

Pretzel Hugs Helpers

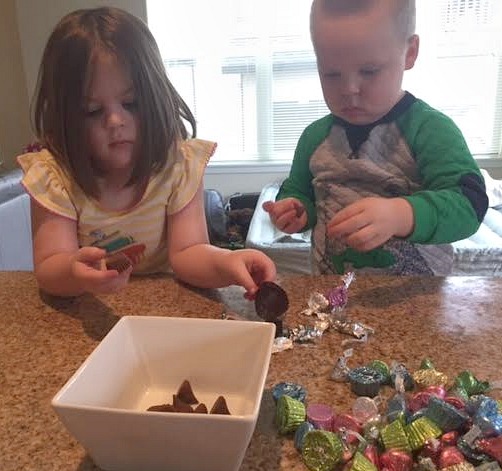
3. While the oven is preheating have your little helpers unwrap the kisses and peanut butter cups.

Pretzel Hugs Assembly

4. Next have your littles place the unwrapped candy on stop of the pretzels.

This can get a little messy so it may be good to keep some wipes near by to disinfect any fingers that may get licked during the process.

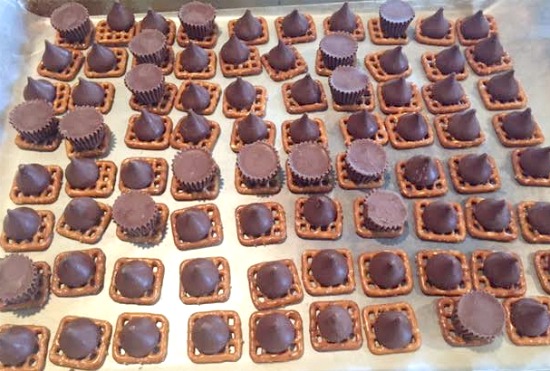
5. Put the pretzels in the oven for 2 minutes, the chocolate should be soft but not melted all over the place.

Pretzel Hugs

6. Top each chocolate with another pretzel.

7. Let cool.

The whole process took about 15 minutes, the longest part being unwrapping the chocolates. So it was an inexpensive and very quick treat to make. I think these would make for a perfect treat to bring to a party or even a treat to have in your cookie jar. You could also drizzle them with some white chocolate, especially if you used Hershey Hugs, and top with sprinkles. This could help tie them into any holiday, like some red white and blue sprinkles for the 4th of July!

What special occasion could you see yourself bringing these delicious treats to?


  • Author
  • Recent Posts
Ashley
Ashley
Hey! My name is Ashley and I have been writing for the I Love My Kids Blog for about 3 1/2 years! I love being able to share crafts, kid activities and reviews with you all. I am a mom to three, a 4 year old girl, a 2 year old boy and expecting our third in January of 2018. If you want to be posted on my day to day life and updates of my new blog posts follow me on Instagram @ashleyblegen. The last three years have been so fun, I cannot wait to see what the next three years bring!
Ashley
Latest posts by Ashley (see all)
  • 10 Ways to Practice Self Care During Social Isolation - 04/24/2020
  • Make Brushing Teeth Fun with BriteBrush GameBrush and Baby Shark - 04/21/2020
  • 2019 Gift Guide for Elementary Girls: 10 Fun Ideas! - 12/19/2019

Share this:

  • Click to share on Facebook (Opens in new window)
  • Click to share on Twitter (Opens in new window)
  • Click to share on Pinterest (Opens in new window)

Related

Filed Under: DIY Projects with kids, Food, How To, recipes

About Ashley

Hey! My name is Ashley and I have been writing for the I Love My Kids Blog for about 3 1/2 years! I love being able to share crafts, kid activities and reviews with you all. I am a mom to three, a 4 year old girl, a 2 year old boy and expecting our third in January of 2018. If you want to be posted on my day to day life and updates of my new blog posts follow me on Instagram @ashleyblegen. The last three years have been so fun, I cannot wait to see what the next three years bring!

« 5 Fun & Affordable Kid-Approved 4th of July Crafts
DIY Rain Sticks, So You Can Enjoy the Sound Without the Mess [Activity Sticks Activity] »

Leave a Reply Cancel reply

Your email address will not be published. Required fields are marked *

Follow our blog

Follow Us on FacebookFollow Us on TwitterFollow Us on PinterestFollow Us on YouTube
Enter your email for a free daily update:

Our popular posts

Moon Dough play dough! Softest Play Dough EVER! - only 2 ingredients!
Ease Your Baby to Sleep with the HALO Bassinest Swivel Sleeper and HALO SleepSack Swaddle
Learning the ABC's with Pull & Learn Alligator from VTech
DIY Paper Bag Journal Craft Tutorial
How To Make Your Own Sensory Weighted Vest
Your child can nap anywhere with the KidCo PeaPod Plus Travel Bed- {Review & Giveaway}
L is for Lollipop, Lego, Leaf, and Ladybug: Preschool Activities for the Letter L
10 Ways to Practice Self Care During Social Isolation

Recent Posts

  • 10 Ways to Practice Self Care During Social Isolation
  • Make Brushing Teeth Fun with BriteBrush GameBrush and Baby Shark
  • 2019 Gift Guide for Elementary Girls: 10 Fun Ideas!
  • 2019 Gift Guide for Preschoolers: 5 Fun Ideas!
  • 2019 Holiday Gift Guide for Toddler Gifts: 7 Fun Ideas
  • A VIVO Mask Will Complete Your Costume!
  • How to Make DIY Mason Jar Pen Holders for Your Desk
  • 10 easy tips to make beautiful pies!
  • X is for X food, X-ray, X Marks the Spot and Xylophone: Preschool Activities for the Letter X
  • W is for Worm, Water, Watermelon and Web: Preschool Activities for the Letter W

Copyright © 2025 · Tasteful theme by Restored 316

[footer_backtotop]

Copyright © 2025 I Love My Kids Blog - Site Design by SerightDesigns
About | Privacy | Disclosure | Contact