
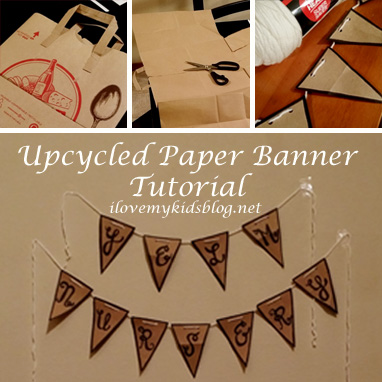
I love crafting. I especially love it when I get to use simple, everyday items I find around my house and upcycle them into something beautiful and decorative. That is exactly what I was able to do to create this cute DIY upcycled paper banner.
 I had been perusing Pinterest daily fanaticizing about making a cute banner for my home. But every tutorial I found required items I didn’t have access to or ended up costing more money then I was willing to spend on materials.
One day, as I was cleaning out my cupboards and grocery bag collection I build up every week, I came across a few paper grocery sacks. I immediately had a flashback to the early 90’s when we were required to cover our school books with paper to protect the covers. (Wowzers, that really made me feel old for a second….ha!)
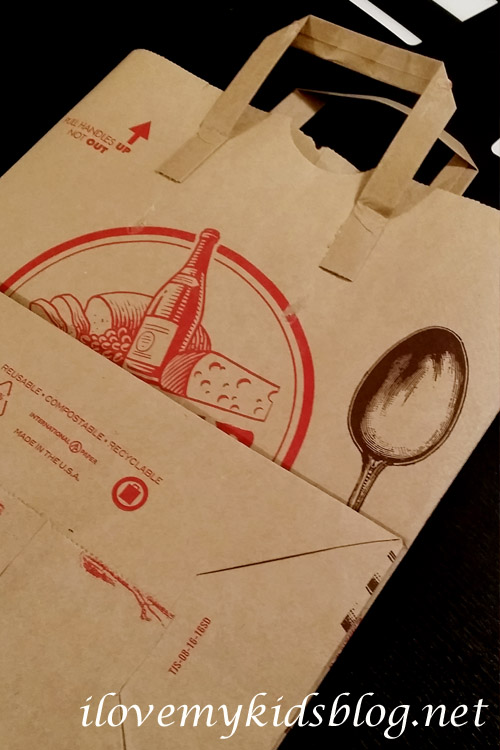 It was then that the idea came to my mind to use this bland brown paper bag as the backbone to my newest decorative display…a fun, modern, and Pinterest worthy DIY upcycled paper banner. Just then, it felt like a crafters epiphany engaged and elated my mind. I could make a banner exactly how I wanted virtually for free, by upcycling.
The necessary supplies were readily accessible to me, which was a huge plus. However, the cost to buy any needed supplies is also extremely cheap. We are talking under $5 for all of it, cheap. Honestly, the most difficult thing to obtaining the needed items it asking the grocery clerk at the store to use paper bags, not plastic! Easy-peasy.
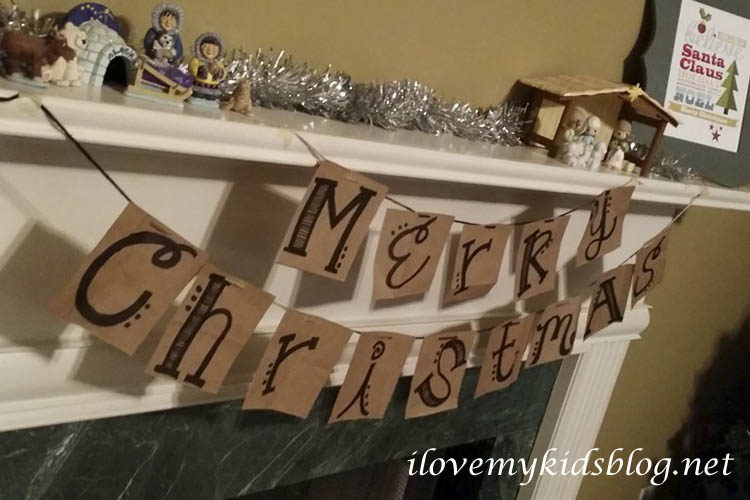 And so it came to be. An upcycled paper banner that has been recreated and used over and over in various forms and events. I have used this idea for bedroom decorations, birthday parties, and my holiday mantel displays. The possibilities are endless and the concept completely customizable.
I hope you share your upcycled paper banner ideas with us on Pinterest and Instagram. Use the hashtag #upcycledpaperbanner and #ilovemykidsblog to show off your designs. I will try to feature your posts and give you a shoutout!
Upcycled Paper Banner Supply List:
Paper Bag from a grocery store
Scissors
Pencil
Marker
Yarn
Steps to Making an Upcycled Paper Banner:
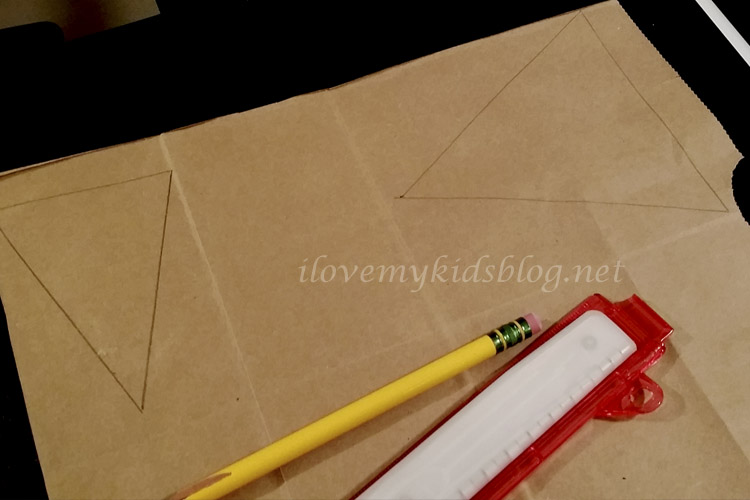
- Carefully cut the edges of the paper bag, allowing it to lay flat on a solid surface.
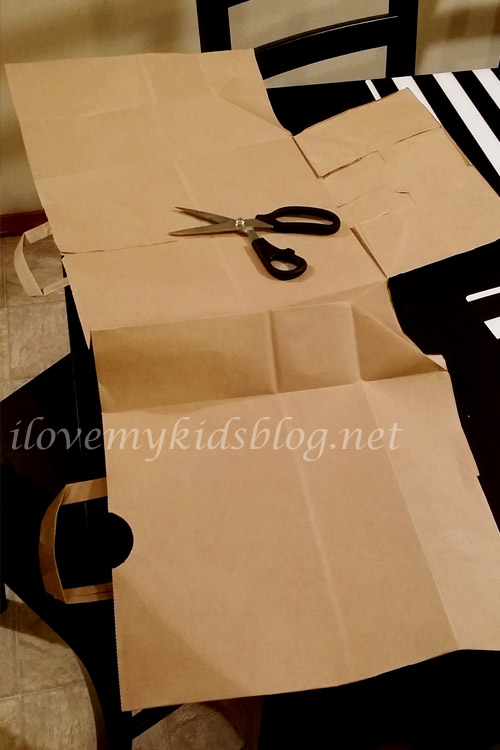
- Trace the outline of the first shape for your banner. This will be used as your stencil for your additional banner pieces. I made a triangle banner, but you could easily do hearts, circles, rectangles, stars, diamonds….you get the picture there. I also used a ruler to help make sure my lines were straight and centered.
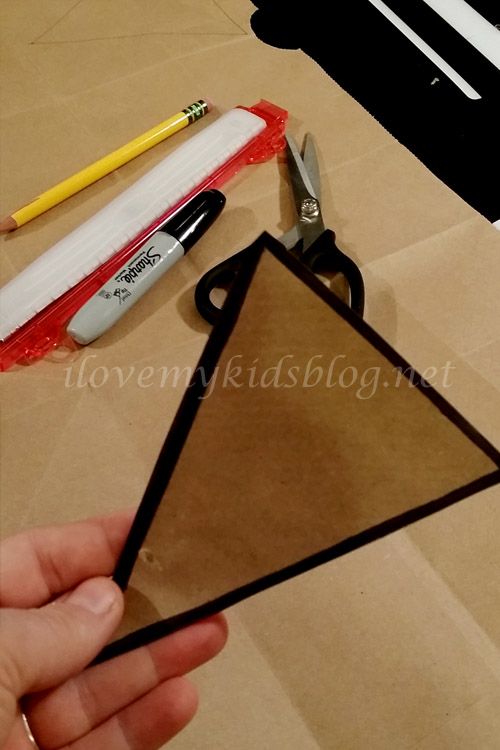
- Cut the banner piece out and outline it with a maker. Outlining the stencil piece helps you be able to see exactly where you need to draw. It also helps differentiate this piece from all others, incase you wanted to keep it for another time or use.
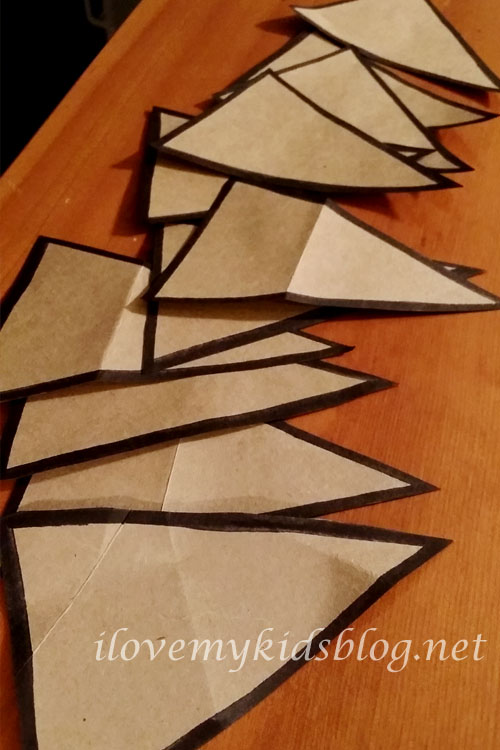
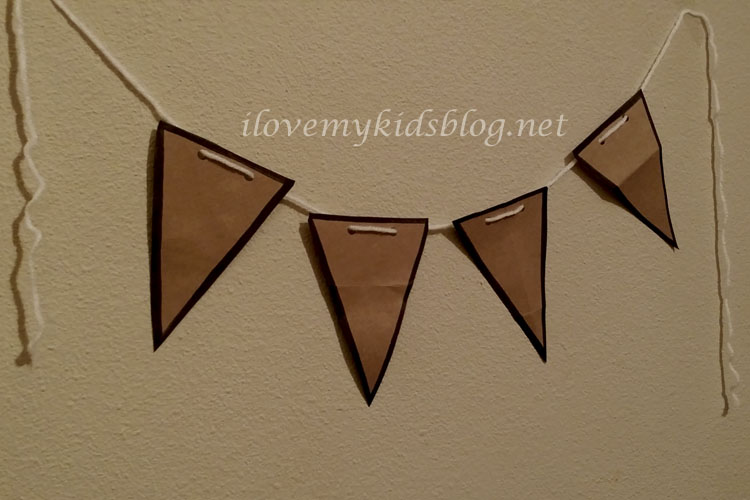
- Cut out all traced pieces. It just so happens that I wanted a small black border on my triangles, so after I cut them all out, I also outlined them.
- Using a hole puncher, I placed two holes on the top of each triangle piece. This step is completely optional. If you do not have a hole puncher, you can make a small cut on the top of each piece, or plan to glue yarn on the back of the triangles.
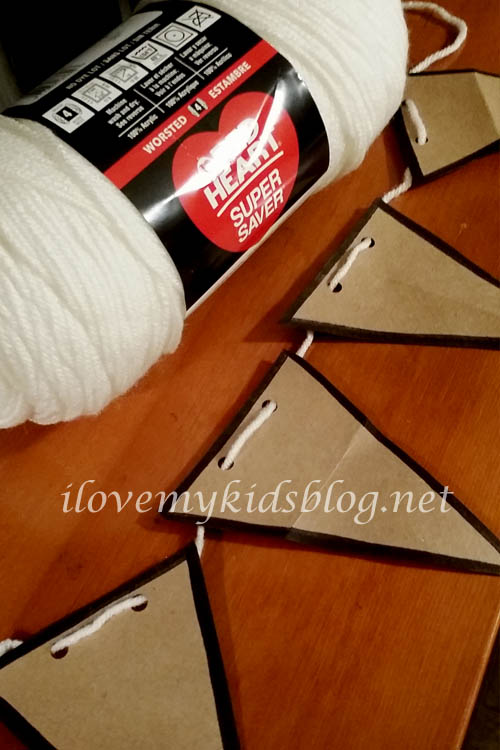
- Thread yard through the holes on the banner. Again, if you don’t have holes on your banner, then you just glue the yarn on the back of the traced banner pieces.
That is it. Quick, easy, and free!
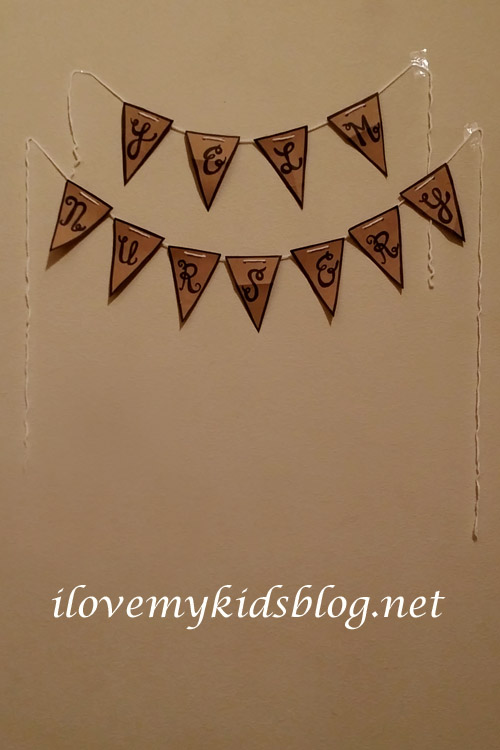
From here, the decorating options are endless. I like to hand-draw my lettering, but if you are not able to do that yourself, you can purchase stickers from the store, cut out letters from magazines, or have a friend help you out. You could also use patterned paper as a filler inside the triangle pieces or any other cute embellishment to add personality and style to your upcycled paper banner.
 So, next time you are wanting to use a paper banner as a decorative piece or display, consider doing it this way. Not only is it quick, but it is upcycling at its best. Enjoy!


To the ilovemykidsblog.net Admin.
1
1