
Sometimes I think it is easy to forget that when you become a parent you are not the only one who’s life changes. Yes you are becoming a parent but there is also those who raised you who are becoming grandparents, whether for the first time or the 10th time, it is always an exciting and life changing moment for them also. That is why I love to make or buy gifts for my parents and in laws that have to do with them being grandparents because it is such an important role that they have and I am so grateful that I have all of them to be in my children’s lives.
This past Christmas I decided I would make the majority of the gifts I would be giving and I found an idea for a Grandkids plaque. I took that idea and made it my own and I love the end result. Don’t worry though you won’t have to worry about having to wait for Christmas to be able to gift this cute plaque to your mom, you can give it to them on May 10th, MOTHER’S DAY!
One of the reasons I loved these gifts so much was because I was able to make it my own by buying different variations of the supplies I needed, so even if you choose to make these for all the grandparents you can make each one unique.
Supplies:
-Wooden Plaque (For this buy whichever one in the store that you like and any size!)
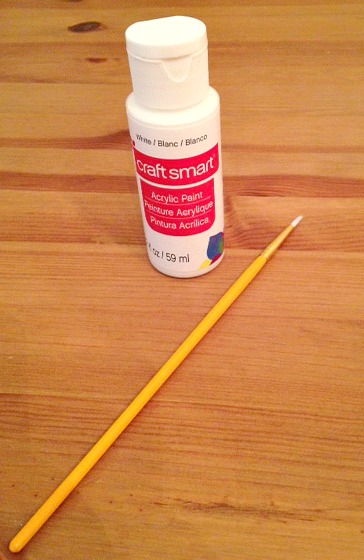
-Paint (I used white, black and brown but this is another thing you can personalize by using as many or as little of any colors you want)
-Paint Brushes (a very small one, medium sized and a thick black brush)
-Stencil (Try to choose one that will allow the word Grandkids or Grand Kids to fit on the plaque that you have chosen)
-Pencil
-Thin twine
-Thick twine
-Embellishments (I loved looking for these because a craft store is full of pretty, silly and whatever kind of extras you want to add to your plaque. I found ones that I could just stick to the plaque so I didn’t have to worry about gluing them on.)
-Push Pins (I was able to find ones that had a pretty design on them so they weren’t just plain)
-Clothes Pins (I found some cute colored ones by the stickers in the craft store)
-Hot Glue Gun
-Pictures of your little ones
Directions:

1. Paint your plaque a base color. I used white and did two coats. This was also where I used my thicker brush so that I could complete it faster.
2. Let the plaque dry completely.
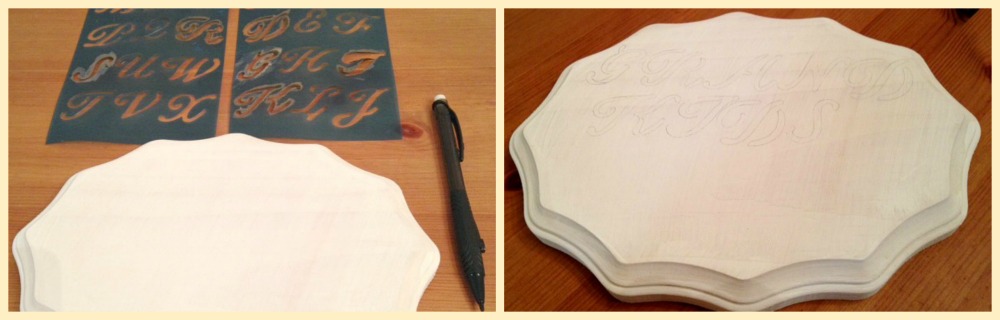
3. Lightly trace out your words in Pencil with your stencil to create a guide for yourself so when you paint the words on you don’t overlap the letters, it is a lot easier to erase pencil than it is to erase paint. In the picture on the right, it is a little hard to see, but it shows how I put my words. My plaque was not long enough so I separated Grandkids into two words.

4. Hold down the stencil on top of the letters and paint. For the color I combined all three of my paints into a dark brown color that I really liked, this way no matter what embellishments I used they would match. I did each letter one at a time so in order to do one letter after another I had to find a letter I could fit the stencil on without touching the last letter or just wait for the last letter(s) to dry before doing another one. The harder you push down the stencil the less paint that will bleed underneath the stencil and the less mistakes you will have to fix.
5. I used my tiny paint brush and the white paint to go over any brown paint that leaked under the stencil. If you use a lighter color, like how my white is lighter than my brown, than use a good amount of paint to make sure it covers up the mistakes without being able to tell.
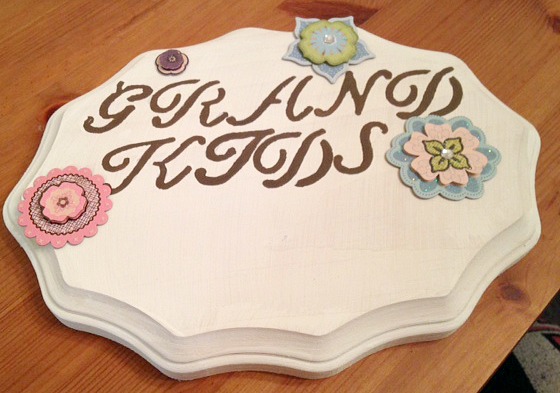
6. Add your embellishments but leave room on the bottom to add your string.
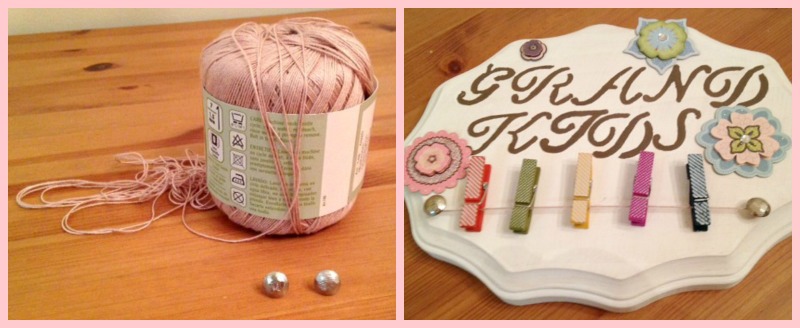
7. Grab your thin twine, push pins and clothes pins. Push one pin into each side of the plaque but only half way so you have enough room to tie the twine around. Tie the twine around the push pins making sure it is tight. Cut off any extra twine. Clip on the clothes pins. For this I wish I had used a thicker twine because when the clothes pins weren’t holding photos they were very loose.
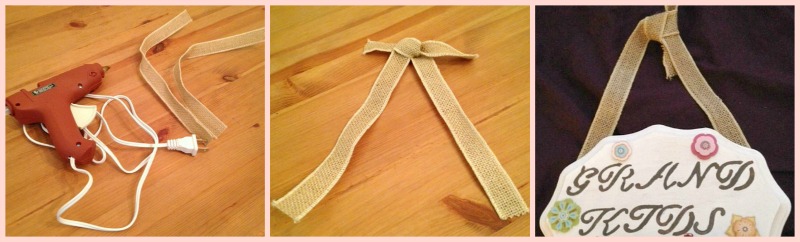
8. Grab your thick twine and glue gun. Cute two pieces of twine at equal lengths. Pick a length you like, this will determine how low your plaque will hang. Tie the twine pieces together at one end with just a simple knot, pull tight. Take the other ends of the twine and glue it to the back of your plaque with your hot glue gun, be careful not to burn yourself (I did!). Let the glue dry.
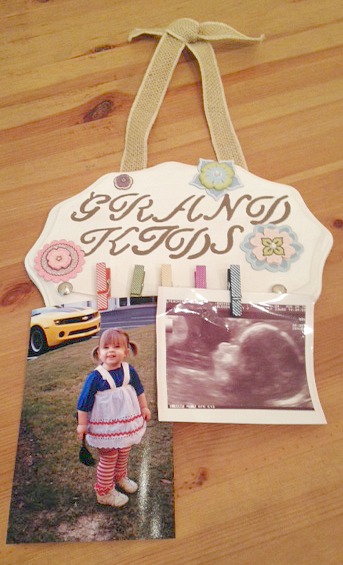
Now your cute Grandkids Plaque is done and you can clip your photos onto the clothes pins!
My little boy wasn’t born when I made this, his birthday is 4 days before Christmas so I was in the hospital and didn’t have time to print a new picture of him, but I thought his ultrasound picture was cute enough for them to use until they could print out a new picture. I also am a little bummed I didn’t plan the sizes of my photos better but I am still so happy with how they turned out!
I love how you can add extra clothes pins for any new grandkids that may be born after the ones that are already here.
Happy Mother’s Day!


1