Recently in my enormous pregnant state I have been craving popsicles but I didn’t have molds to make any in but I knew I wanted to get one so I could make popsicles whenever I had a craving for them which is often. So I searched online to see what I could find and I came across the Zoku website. They have some really great products for making cold treats but the ones that caught my eye off the bat were the Triple Quick Pop Maker and the Storage Case. After trying both of these products out this past weekend I have decided that I was right to get these for my Popsicle needs. Keep reading to find out why I would recommend these two products!
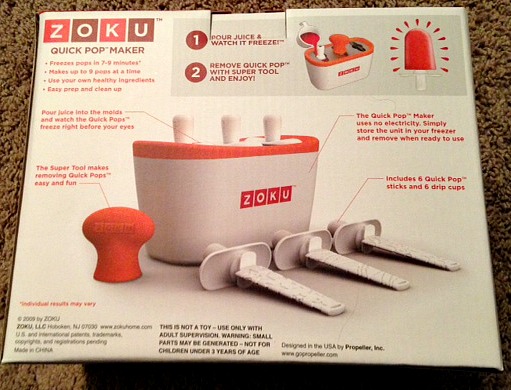
The quick pop maker is really very easy to use and there are so many cool things you can do with your popsicles while using this maker. Some of the cool ways that you can make popsicles with this pop maker is you can make zebra popsicles with different layers on top of each other, you can put slices of fruit in the popsicles and you can even make popsicles with fillings. The directions for each come with the pop maker.
How to make popsicles with a quick pop maker:
1. Stick the pop maker in the freezer for 24+ hours.
2. Insert pop sticks into the mold. (The triple pop maker comes with 6 pop sticks but you can only do 3 at a time.)
Below are the 6 sticks, 6 drip guards and the super tool.
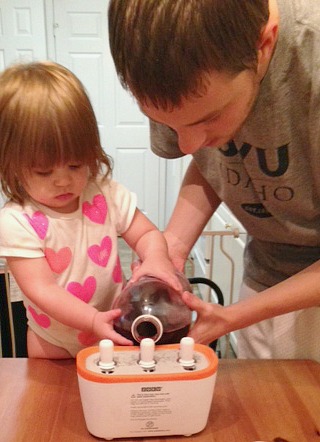
3. Pour chilled juice in the mold up to the fill line.
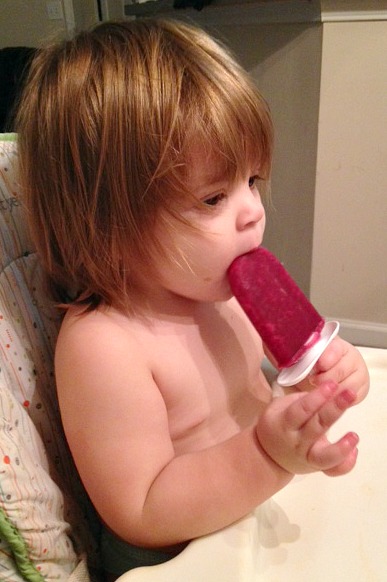
We chose to use grape juice from Costco because it was the current juice we had sitting in the fridge. Another great thing about this product was that my daughter was able to help and she loved it!
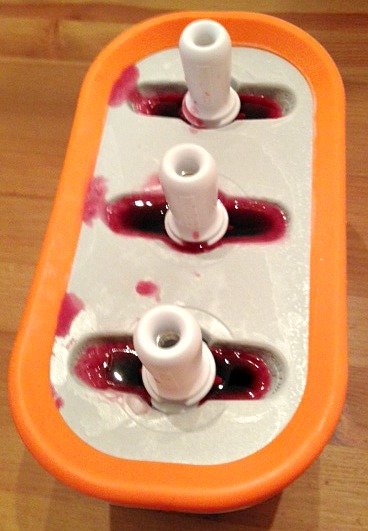
4. Leave it on the counter and let it freeze, and watch! On their website it says it should take between 7-9 minutes to freeze but mine took more like 15-20 minutes but there are a bunch of different factors that play into the freezing time like the juice might not have been cold enough so next time I will pour in colder juice to see if that helps. It is really cool to watch the juice freeze though!
I do love that the juice freezes in the pop maker outside of the freezer because we have an older fridge with the freezer on top and there would never be enough room to find a perfectly level spot to put the maker to let juice freeze in it.
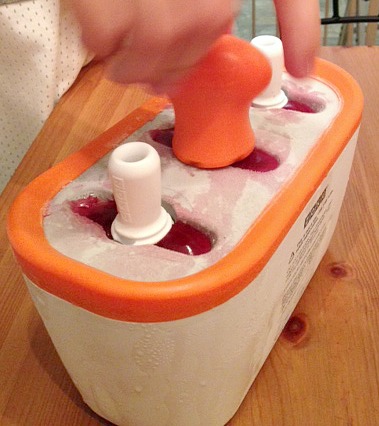
5. Once the popsicles are done take the super tool and twist it onto a popsicle stick until the popsicle starts to slide up out of the maker. (I thought this was very genius idea since I tried to just pull one out without the tool and it was pretty much impossible, but with the tool that job became 100x easier.) By the way, the hand below is not mine it is my husbands just in case you were wondering about my manly hands.
6. Pop on the drip guards and enjoy your popsicles!
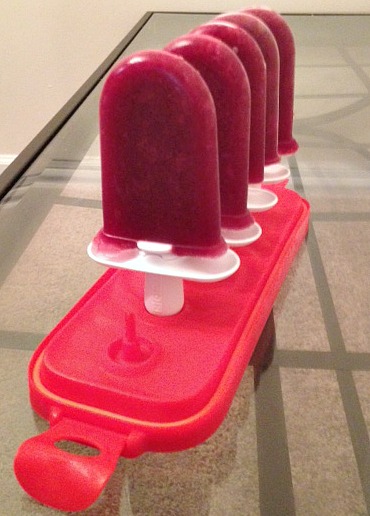
If three popsicles are not enough for your family you can do at least three more popsicles in the maker as long as you kept it in the freezer for a good amount of time, at least 24 hours. We were able to make 6 popsicles using up all the sticks and drip guards and that is when the storage case came into play.
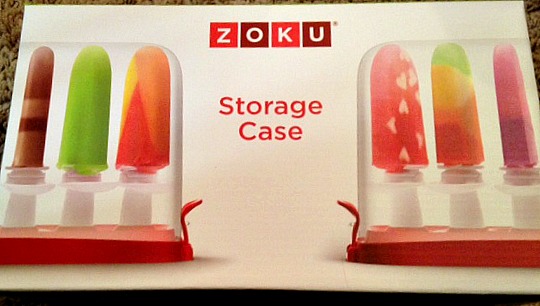
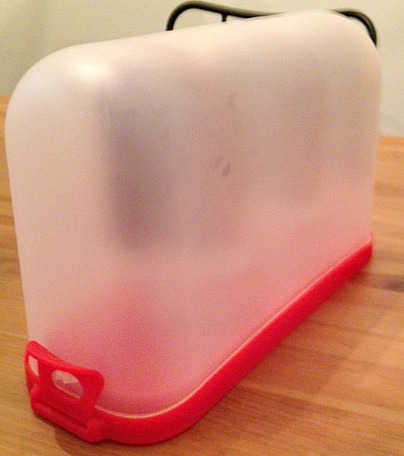
Since we only have 3 people in our family, and although I am sure our daughter would have eaten all 6 popsicles if we had let her, we were not going to finish all the popsicles that night. Since we have the Zoku storage case we were able to have somewhere to put them until we wanted more.
The sticks fit nicely into the holders in the case and there is even a cover to keep them from getting dirty. It is not too big and it fits nicely in our small freezer.
I would highly recommend these products to anyone looking for some popsicle molds and makers and also for anyone looking for a great gift for the upcoming holiday season!
*I received samples of the products mentioned above for free to facilitate this post. All opinions are mine.



I love this! we love to make and eat popsicles. the zoku looks like an easy way to make them
This looks like a lot of fun. I would love to make these with my nephews. They would enjoy it.
Yum! I love making my own fruit pops. I’ve heard about this company is it any good?