
I was helping my girls decorate their room in our new house and wanted to get then matching comforters for their beds….UNTIL I saw how expensive they were! Over $100 a piece for the style/design they wanted! My frugal-ness kicked in and I got busy searching for an affordable alternative. I ran into this super simple duvet cover on this blog and thought, hey I can do that for my girls! Below is a step by step tutorial!
You will need:
2 flat sheets (in the size you want)
A needle, thread, fabric marker, and a measuring tape.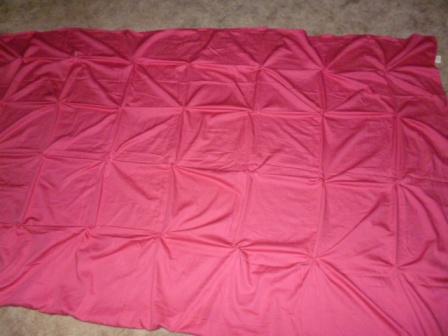
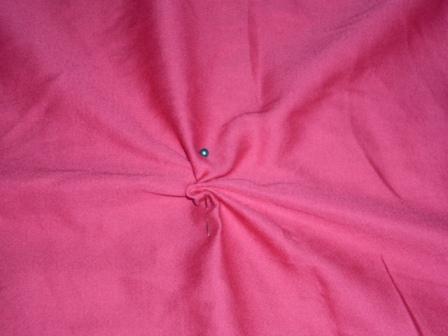
STEP 1: Lay your “top” flat sheet out and mark with your fabric marker every 12 inches for a twin size, 18 inches for a queen or king size.
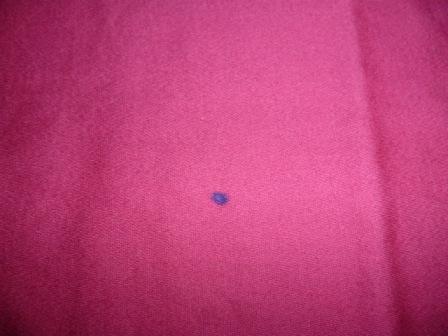
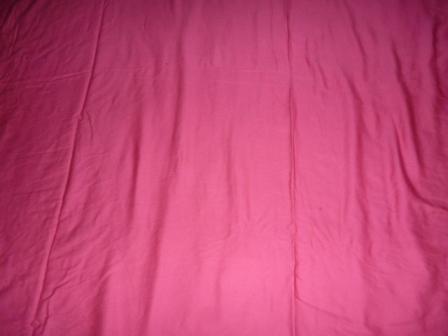
You can’t really see the dots….but they are there!
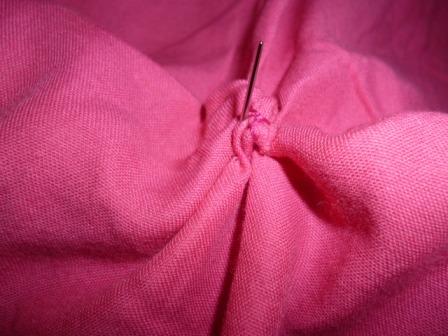
STEP 2: Once all your dots are marked simply
PINCH
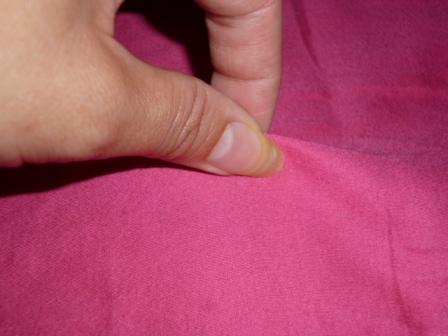
TWIST

and PIN!
Do the Pinch, Twist, and Pin to all of the dots to create “pinwheels”.
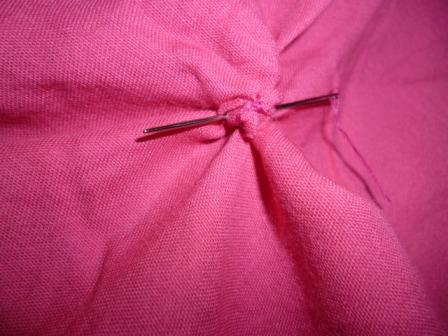
STEP 3: Is to sew the pinwheels. Get your needle and thread. Simply start from the bottom side and sew “UP”
Then sew “through”. Do this about 10 times, up and through, up and through.
To do all 3 of these steps to my twin size cover it took me 4 episodes of Storage Wars…so just under 2 hours.
STEP 4: Once all of your “pinwheels” are hand sewn then you need to add Velcro to one of the shorter ends on both your top “pinwheel” sheet and your flat fitted sheet for the bottom. This is how you will keep that ol’ comforter that you are going to stuff inside from slipping out. **MAKE sure that you sew the Velcro on the “wrong side” of both sheets** So when you sew “Right sides together” and flip inside out the Velcro will connect with each other….go ahead….read that again, it was a little confusing to say, but if you think through it again, hopefully it will make sense! 😉
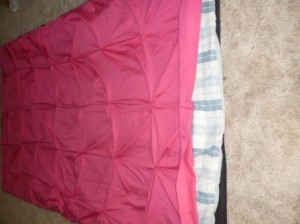
STEP 5: Take your bottom fitted sheet and pin them RIGHT sides together. Pin along the 3 sides that don’t have the Velcro. When you are pinning them, make sure you do a little pleat where the “pinwheel” is at, so the cute pattern will continue to the edge.
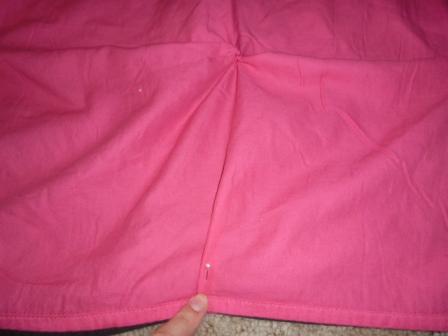
Don’t pictures make it so much easier to understand?
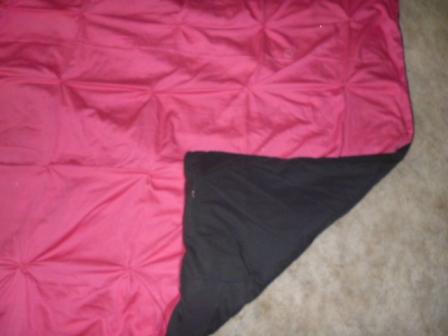
STEP 6: Sew along the edges with a sewing machine and turn right side out!
STEP 7: Insert an old comforter. Like this one I got for my high school graduation to take with me to college…..over 10 years ago!
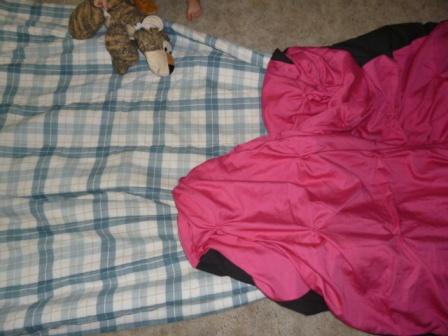
Velcro it shut and YOU ARE DONE! Wohoo! Enjoy the cuteness!
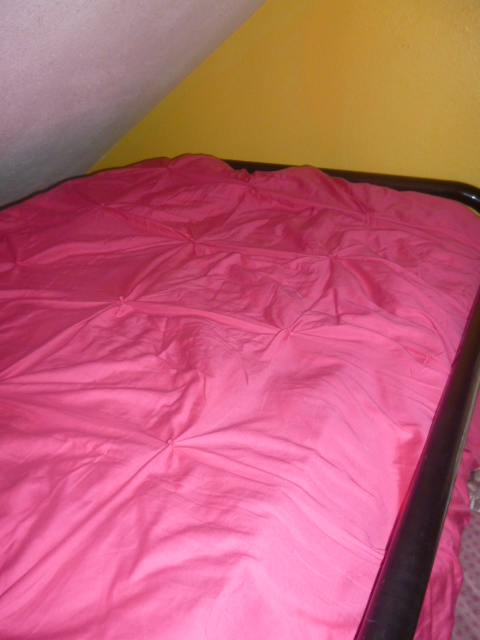
Can’t wait to get rid of the bunk bed and put this on a cute twin bed, so everyone can see it’s cuteness!
Hope you enjoyed this tutorial! Don’t forget to Pin it onto Pinterest!

- A VIVO Mask Will Complete Your Costume! - 10/18/2019
- 10 easy tips to make beautiful pies! - 07/09/2019
- 10 Boredom Busters for Summer Break! - 05/28/2019

This is a great idea!! Very creative!!
Thanks!
I’ve been exploring terpene-based products runtz terpenes recently, and I’m remarkably enjoying the experience. The scents are with, natural, and pleasant. They add a outgoing be a match for to my constantly habit, dollop beat up a compare the atmosphere and atmosphere. A great find to save anyone who appreciates perfumed wellness tools.
CBD products experience disinterestedly changed my life! I not in a million years expected something so reasonable like cbd gummies to convey such calm and compatible into my daily routine. Tension that once felt prodigious is trendy so much easier to control, and my snooze has appropriate for deeper and more refreshing. Square muscle aches after protracted days die out faster. It feels amazing to at the end of the day suffer with something light even now potent that supports both body and mind. I can’t surmise my days without CBD anymore!
1
1